
Hello Crafties!
Hope you all are doing absolutely fantastic!
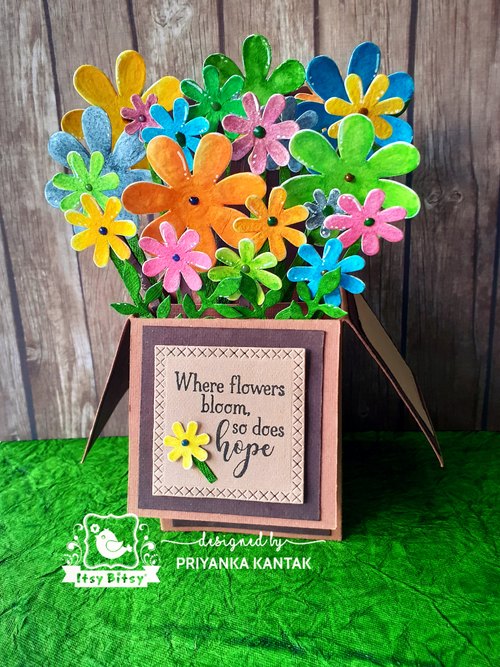
I have a tutorial for you for a Flower Bouquet Card!
Flowers that don’t wilt!!!
You can see my card in action below :
https://www.instagram.com/p/Bvk-2EFHv9t/?utm_source=ig_share_sheet&igshid=19hi08xlurlht
Read on further to see how to make the Flower Bouquet card…..
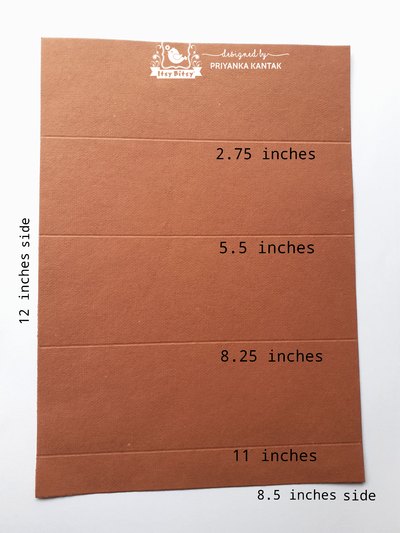
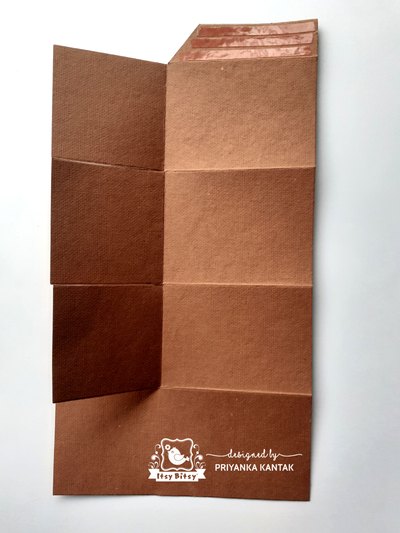
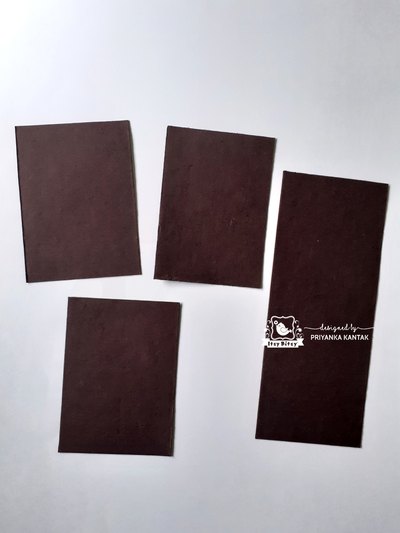
Let’s make the base first :
Step 1:
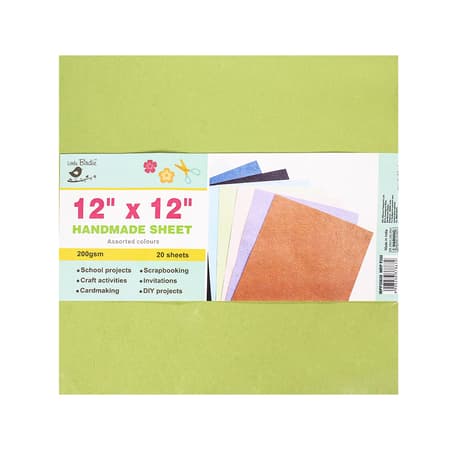
I first took a light brown handmade paper by Little Birdie measuring 8.5″ × 12″. Scored this piece on the long side at 2.75″, 5.5″, 8.25″ and 11″.
Step 2:
Then I cut off 2″×12″ from the above panel. Kept this strip aside as we would require it later.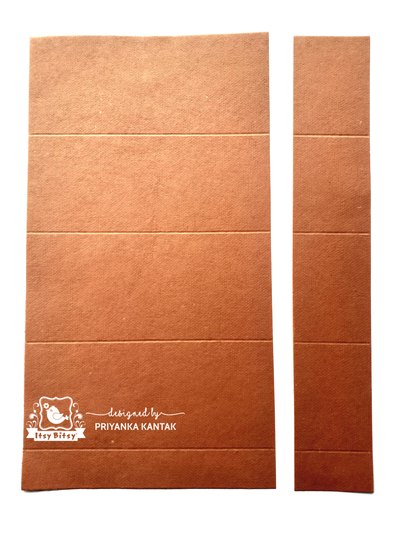
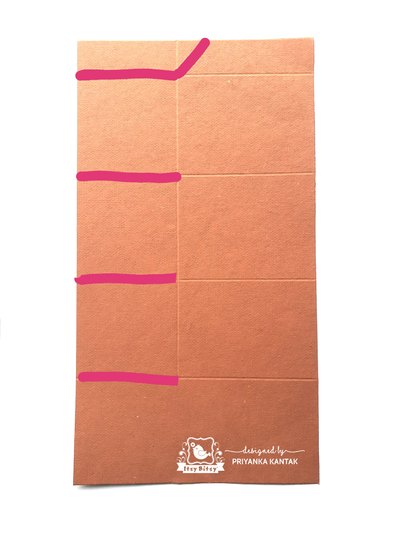
Step 3:
I then scored the 6.5″ × 12″ panel at 2.75″ on the shorter side and cut along the red lines as shown in the pic.
 It will look like this :
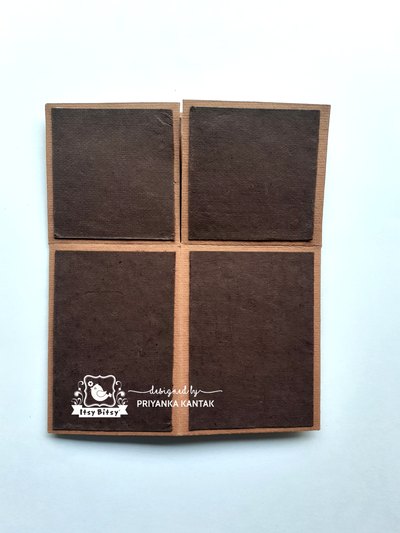
Step 4:
Then trimmed it in half… the long way to get 2 strips of 1″ x 4.75″ each as shown in the pic. Scored them and added double sided tape to the scored ends.
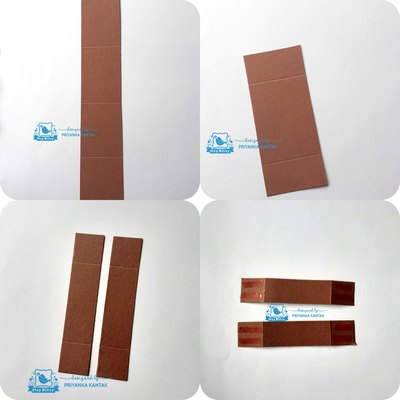
See how I attached them to the box:
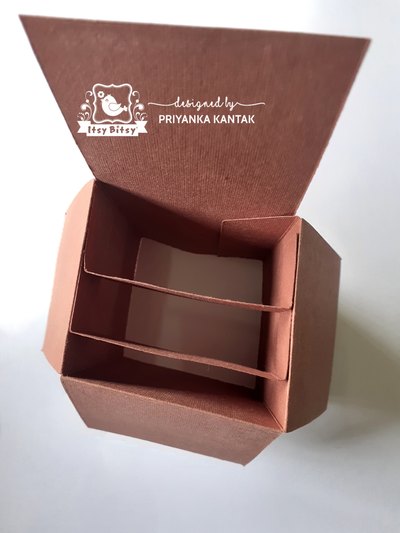
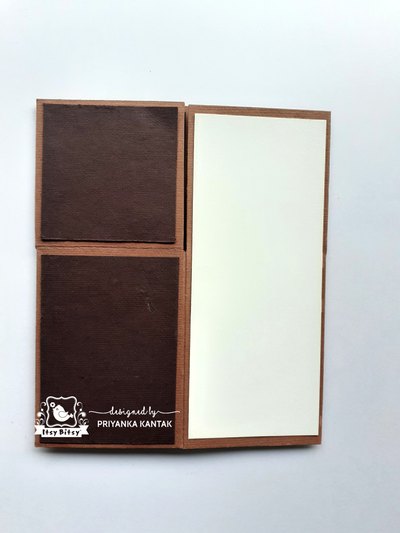
Step 5:
2 panels of 2.5″ × 6.5″
See how I adhered them below :
I adhered a white piece of cardstock on the back to write a message for the recipient.
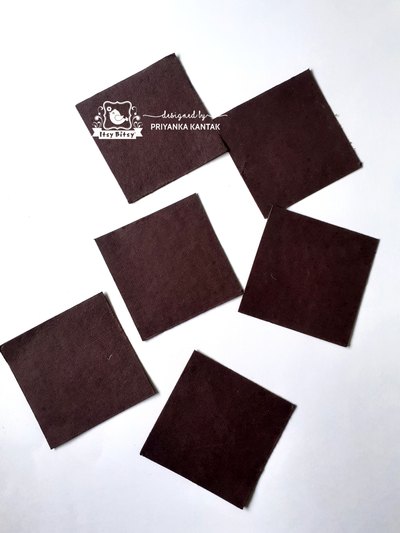
For the flowers :
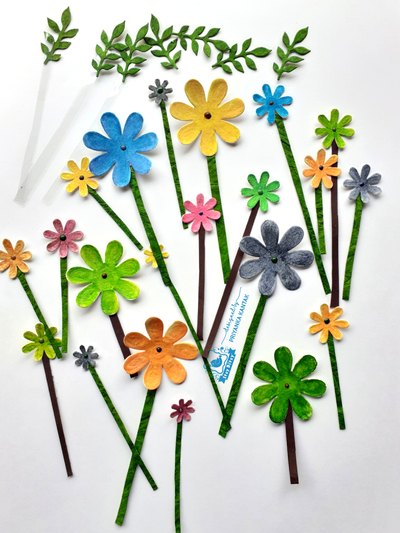
Step 1:
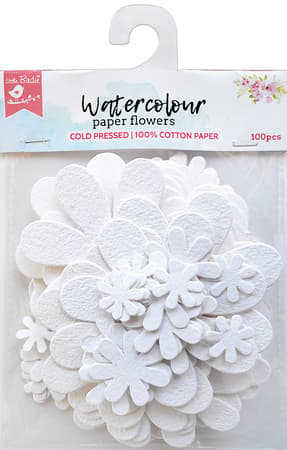
I used a Little Birdie Watercolour Paper Blooms. You get 100 flowers of 4 different sizes in 1 pack . Pretty economical! Leaving the largest size, I used the other 3 sizes of flowers.

Step 2:
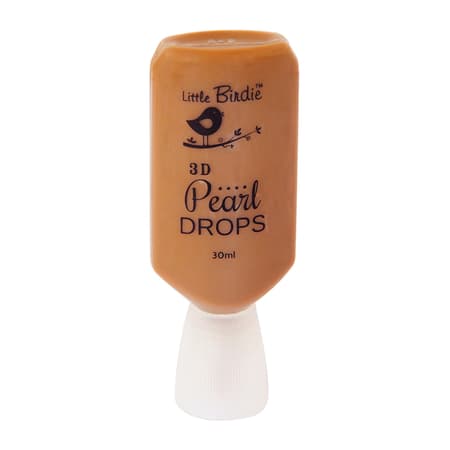
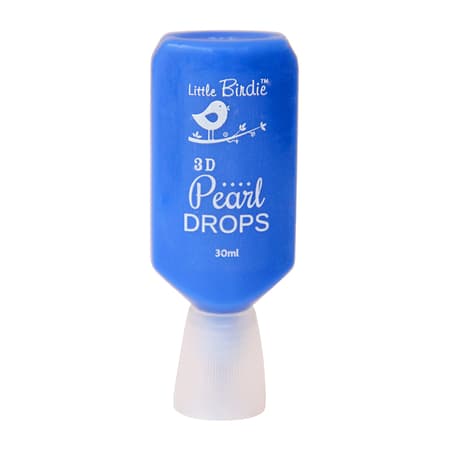
You can watercolor them as per your choice. I used watercolor pencils to color them. Then I embossed the petals a little bit and decorated the center with Little Birdie Pearl drops. I let the drops dry overnight.
* You can make smaller or larger dots based on your choice. They dry hard. *
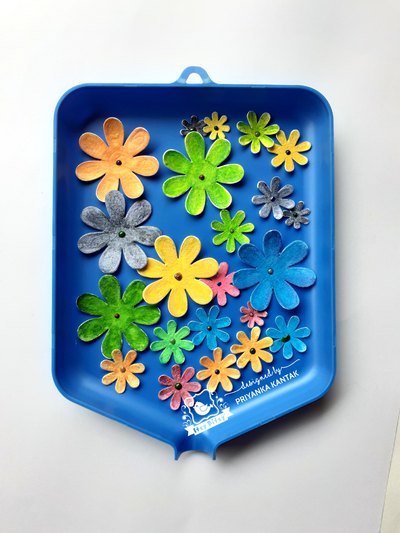
Step 3:
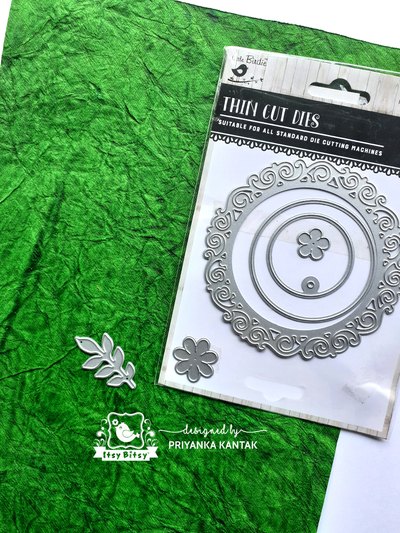
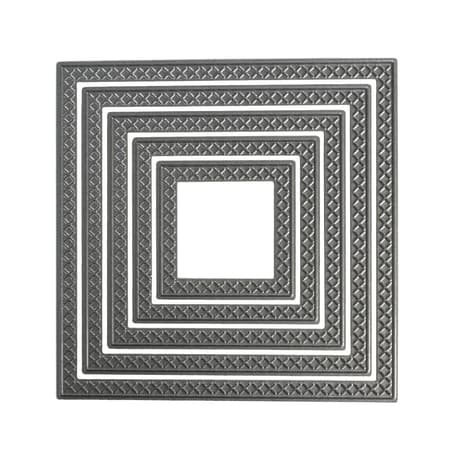
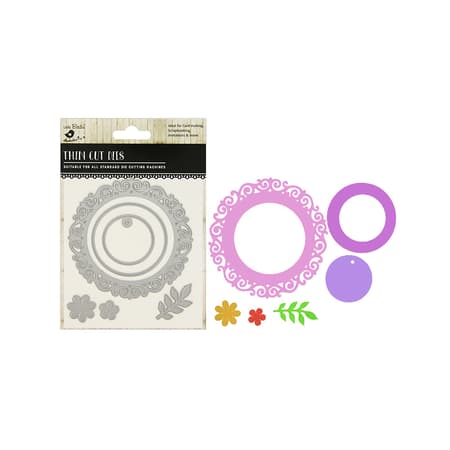
I also diecut leaves from the Ornate frame die-set with green cardstock.
Step 4:
The next step is to add thin strips of green cardstock (of different lengths) to each of the flowers and some of the leaves.
Step 5:
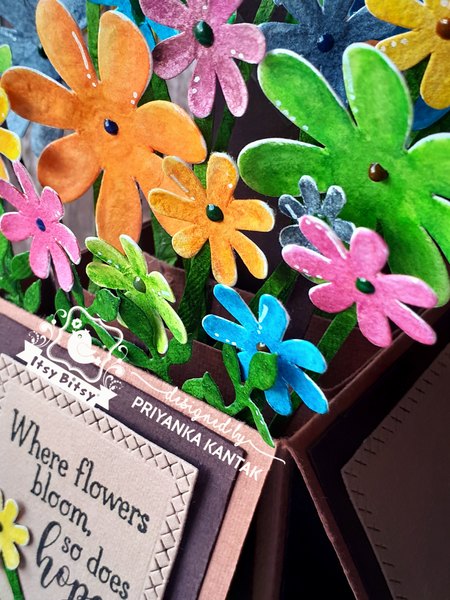
I stamped a sentiment onto this from my stash.
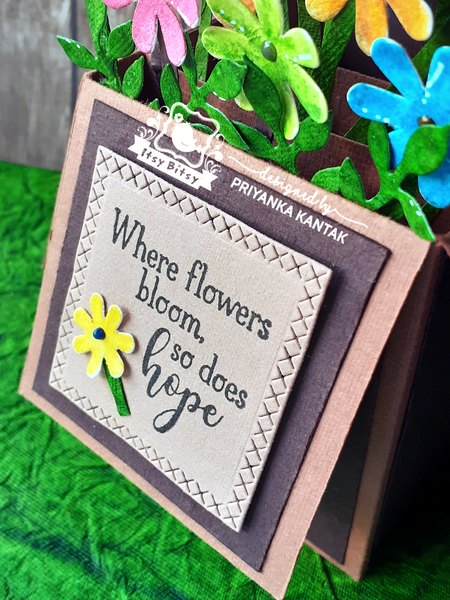
The last step is to attach the flowers & leaves with glue onto the box as per your choice.
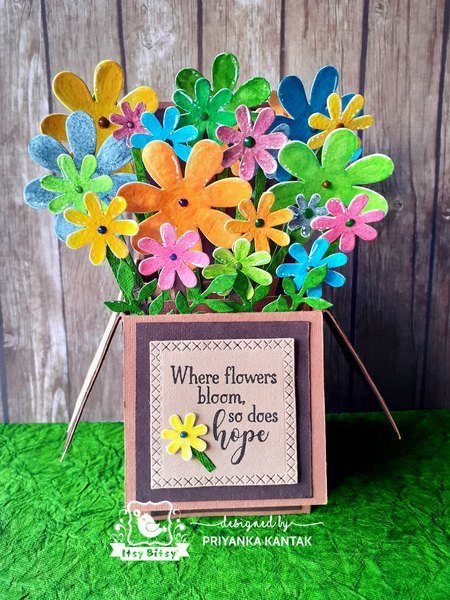
Hope you liked my flower bouquet card. If you do make this card, I would love to see your creations.
Do tag me in the Itsy Bitsy Crafters Cafe FB group when you share the pics.
Do let me know your thoughts in the comments.
Have a great day ahead!
Priyanka Kantak

List of supplies used


It’s a beauty Priyanka! 🙂