
Hello everyone Pooja here!
Today I am here to share my review, some salient features and a project I created with Little Birdie’s Embossing Texture Paste. This product is truly versatile and awesome for giving texture and dimension to projects.
Let’s first talk a little about the product.
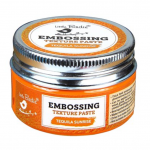
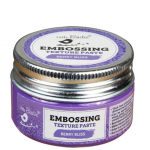
What is Embossing Texture Paste?
Embossing Texture Paste is a heat embossing paste, this needs a heat gun or tool to emboss the pattern or design you have created with this paste.
Little Birdie launched 12 beautiful shades of this Embossing Texture Paste
How to use Embossing Texture Paste
Embossing Texture Paste is thick . This heat embossing paste can be applied with a free hand or you can use a stencil. Apply with a palette knife or brush and simply use your heat tool over it. You will see the pop up embossed effect when you use the heat tool over the paint!
Where can you use Embossing Texture Paste?
This paste can we applied to various surfaces like paper, metal,wood, glass, ceramic, fabric and more.
Some points to keep in mind while using this product
As I have already told you, we need a heat gun or tool to get embossed texture using this product. So we need to carefully handle this on flammable surfaces like some delicate fabric or plastic etc.
Can we use colors or spray over this embossed texture or is it washable?
The answer is yes! After it dries we can add acrylic colors and use water based colors and sprays too. But it is not washable, so if you are using it on fabric you can’t wash it.
Now it’s time to share my experiments, tips, technique and creations with you.
Before start, I would like to tell you about my project when I first tried Embossing Texture Paste on paper, I loved the bubbly pop up texture and the matte finish. I found the texture perfect to create an underwater look!!
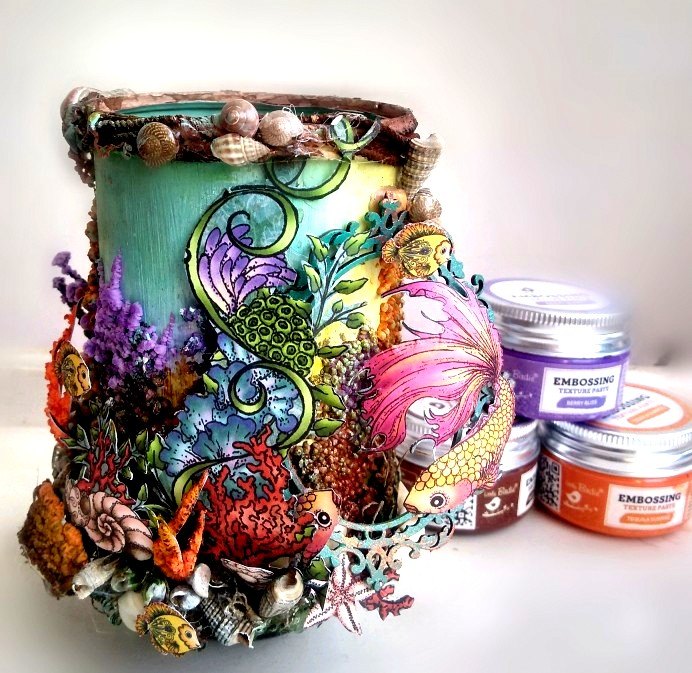
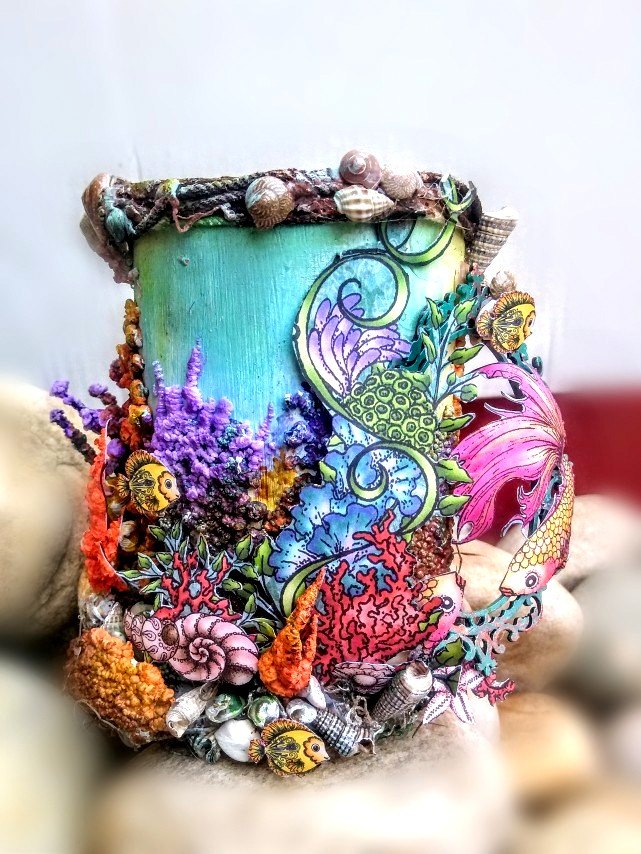
I decided to create a unique realistic, aquarium pen stand which is also a fun idea for kids to try during the summer vacation.
How to make…
First of all I used a waste tin can and simply covered it with white gesso.
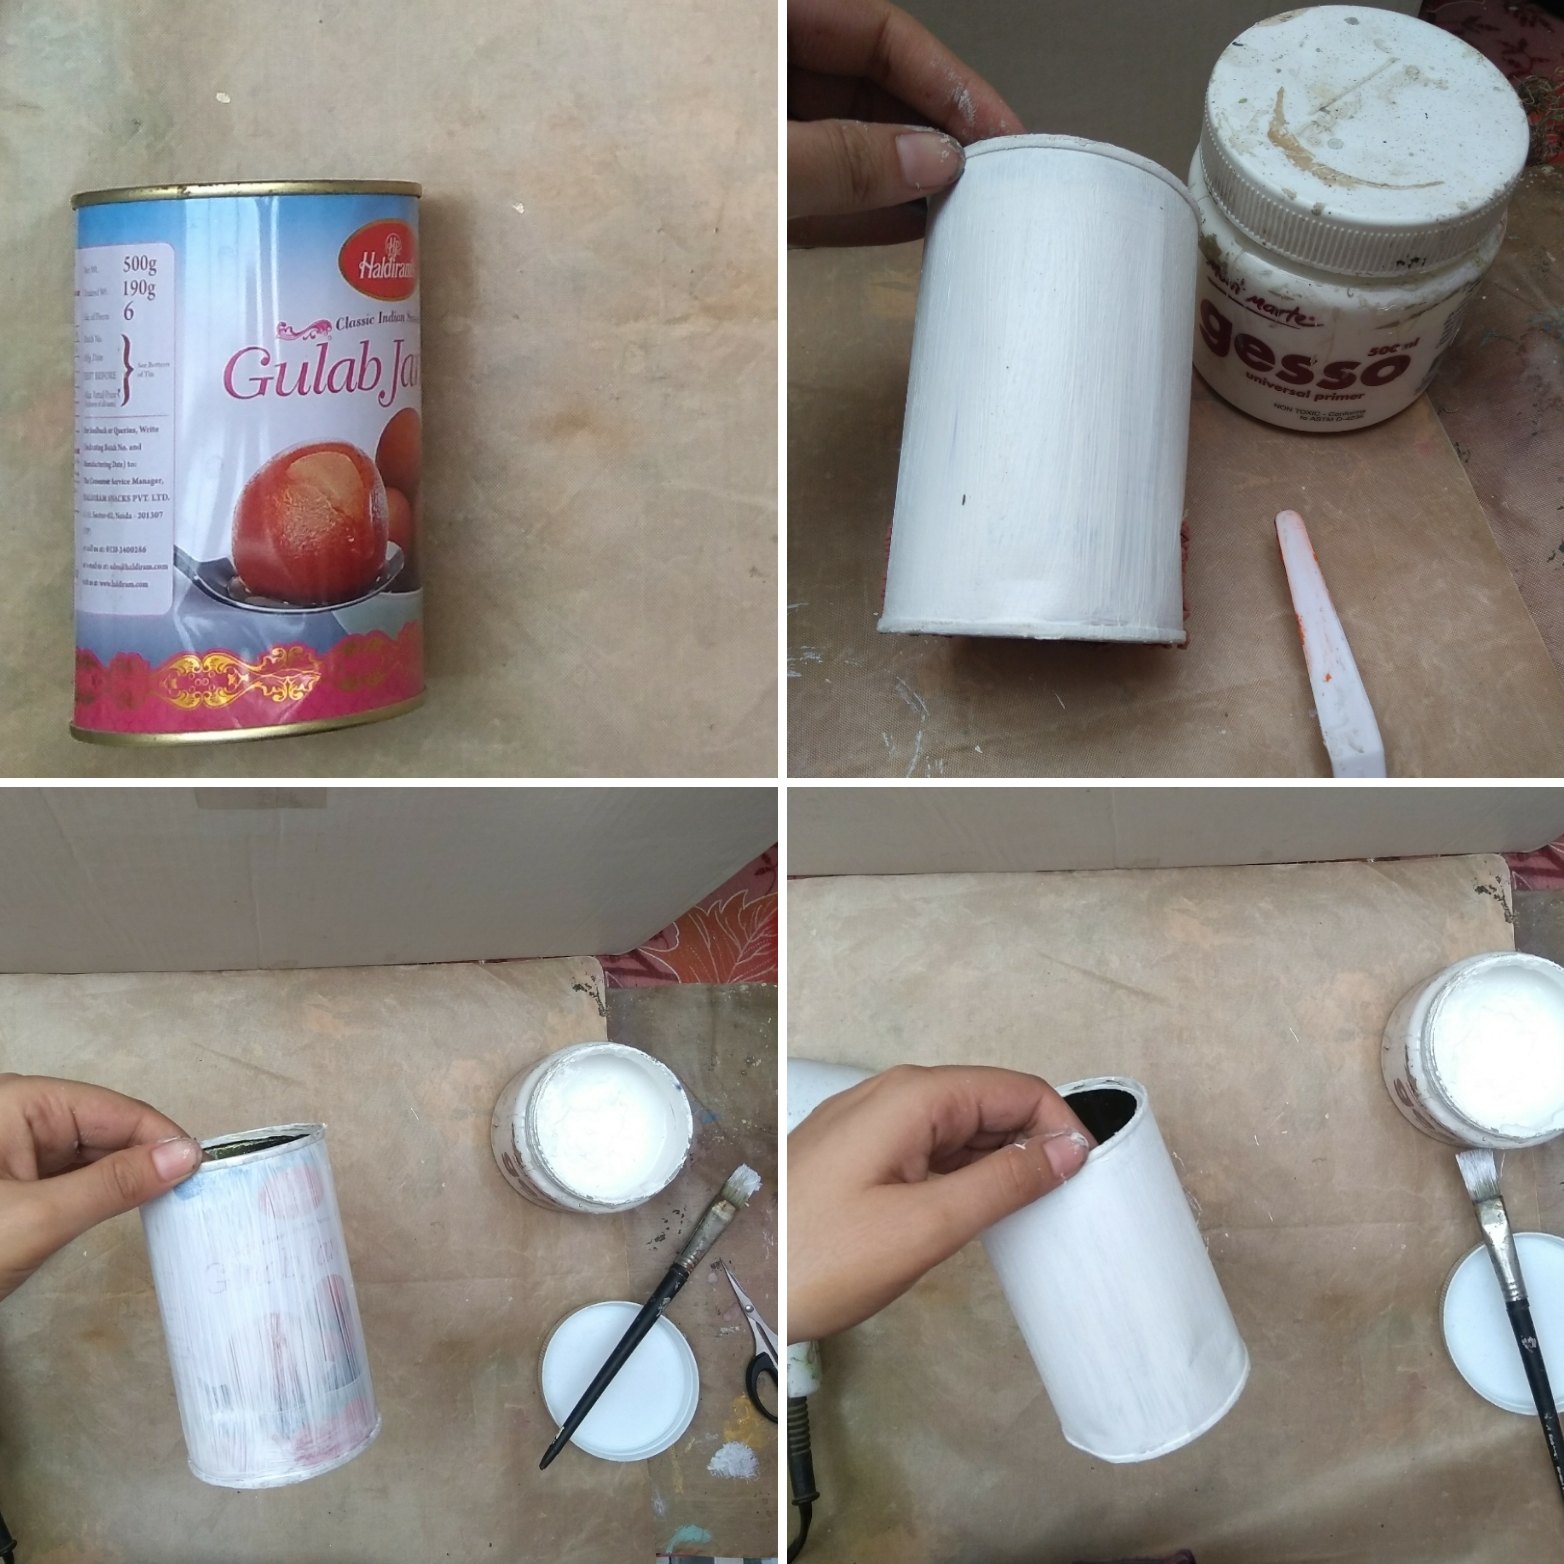
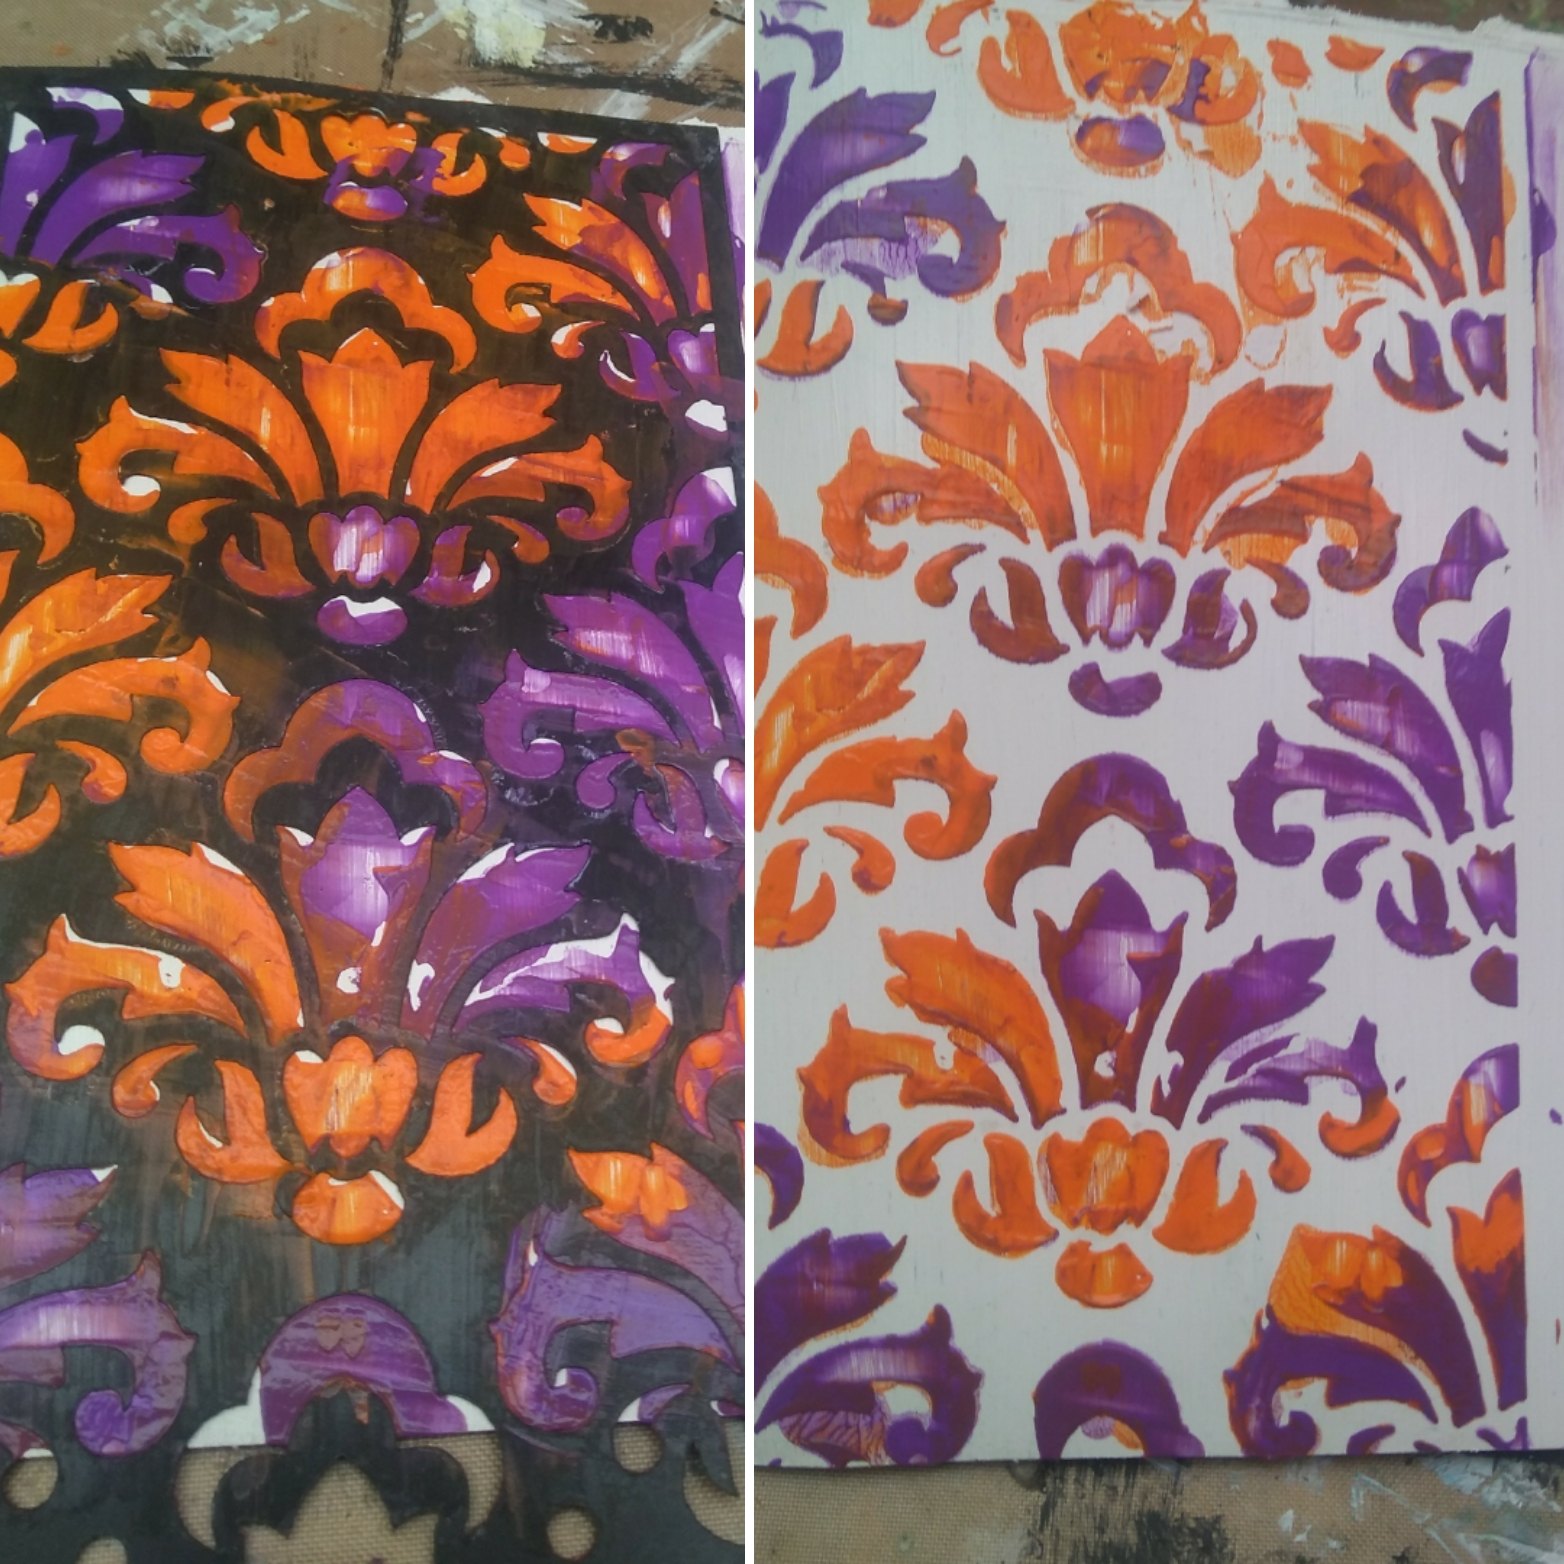
After it dried, I applied Embossing Texture Paste with a palette knife through a stencil.
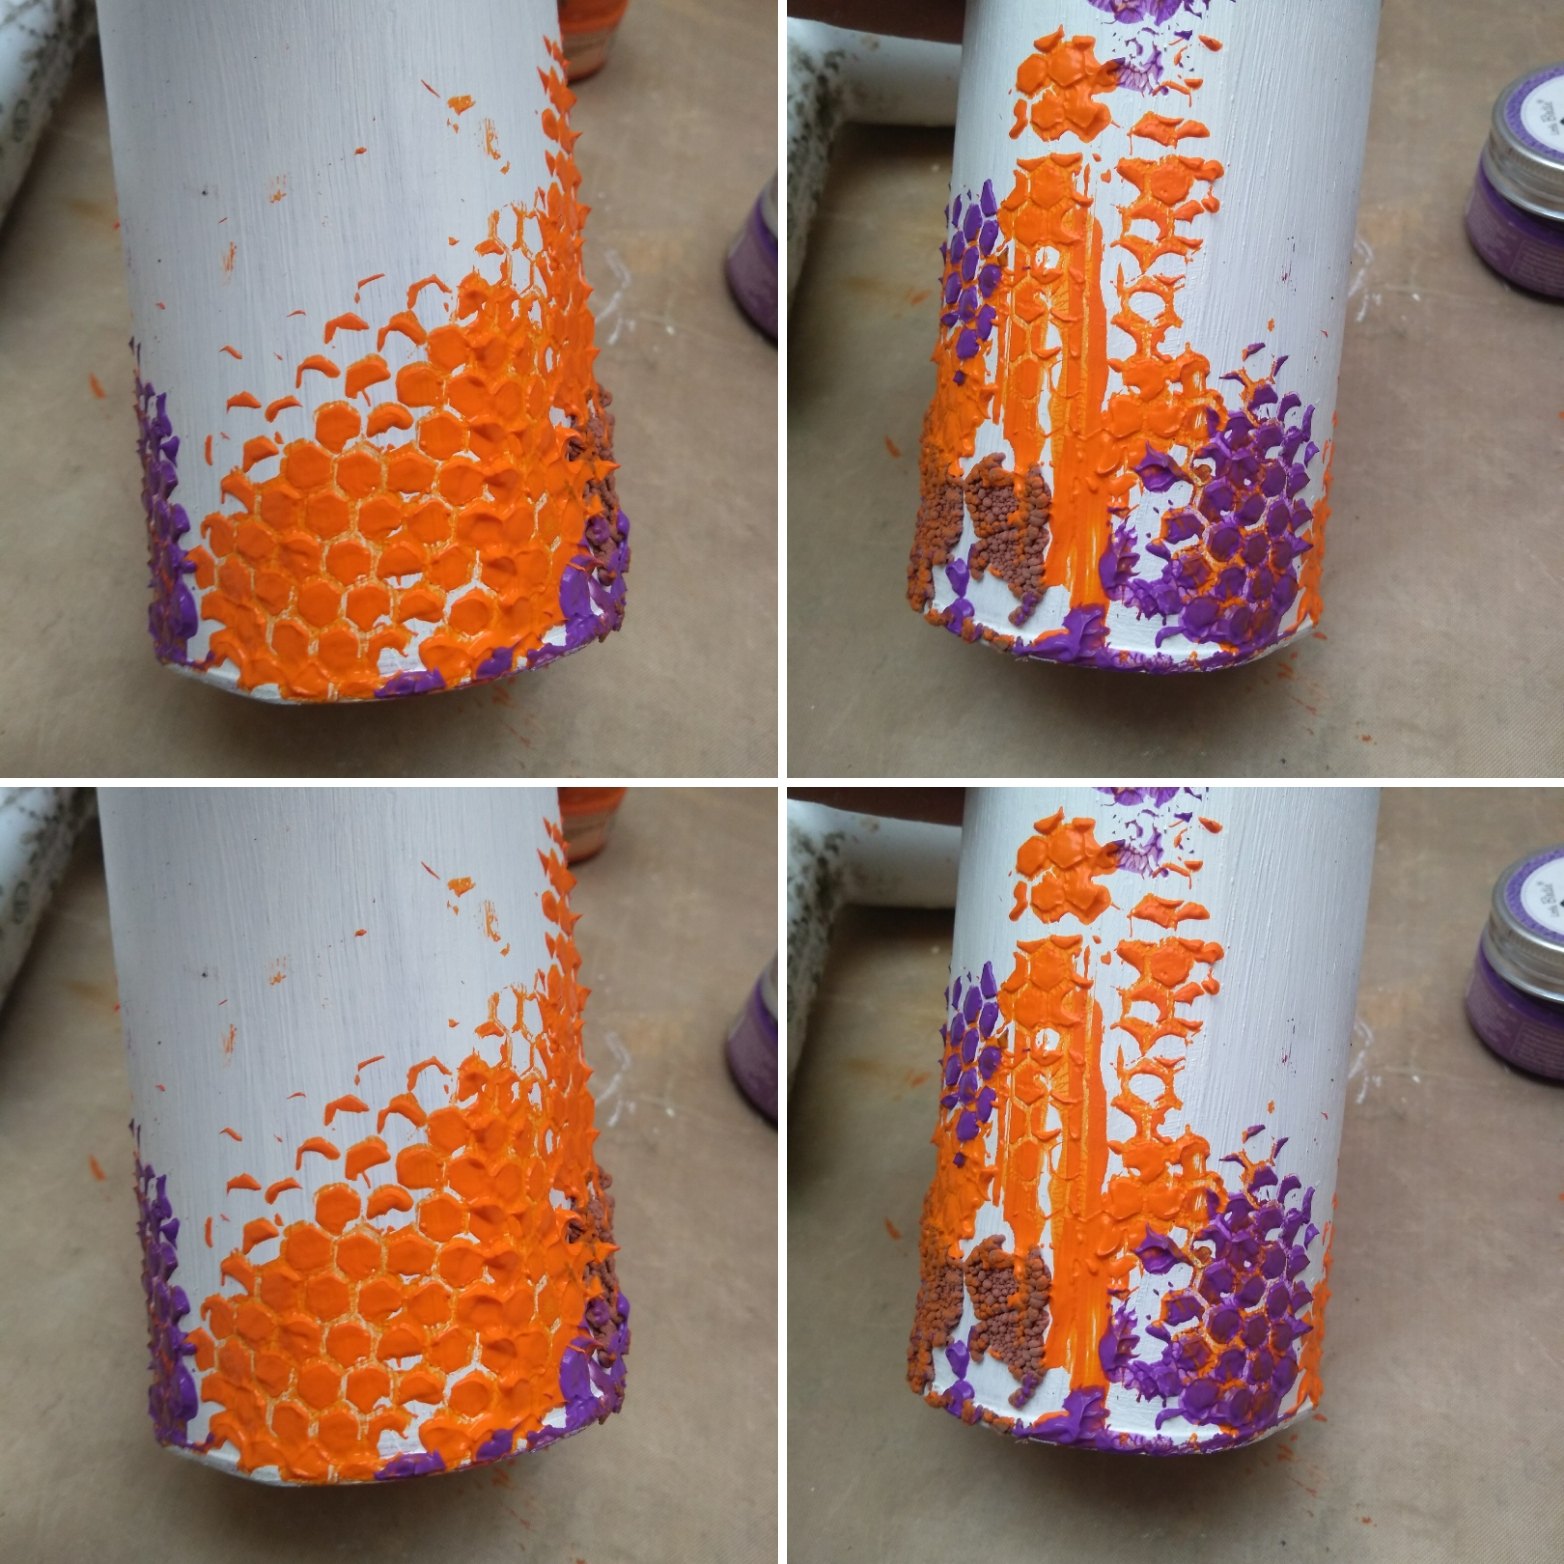
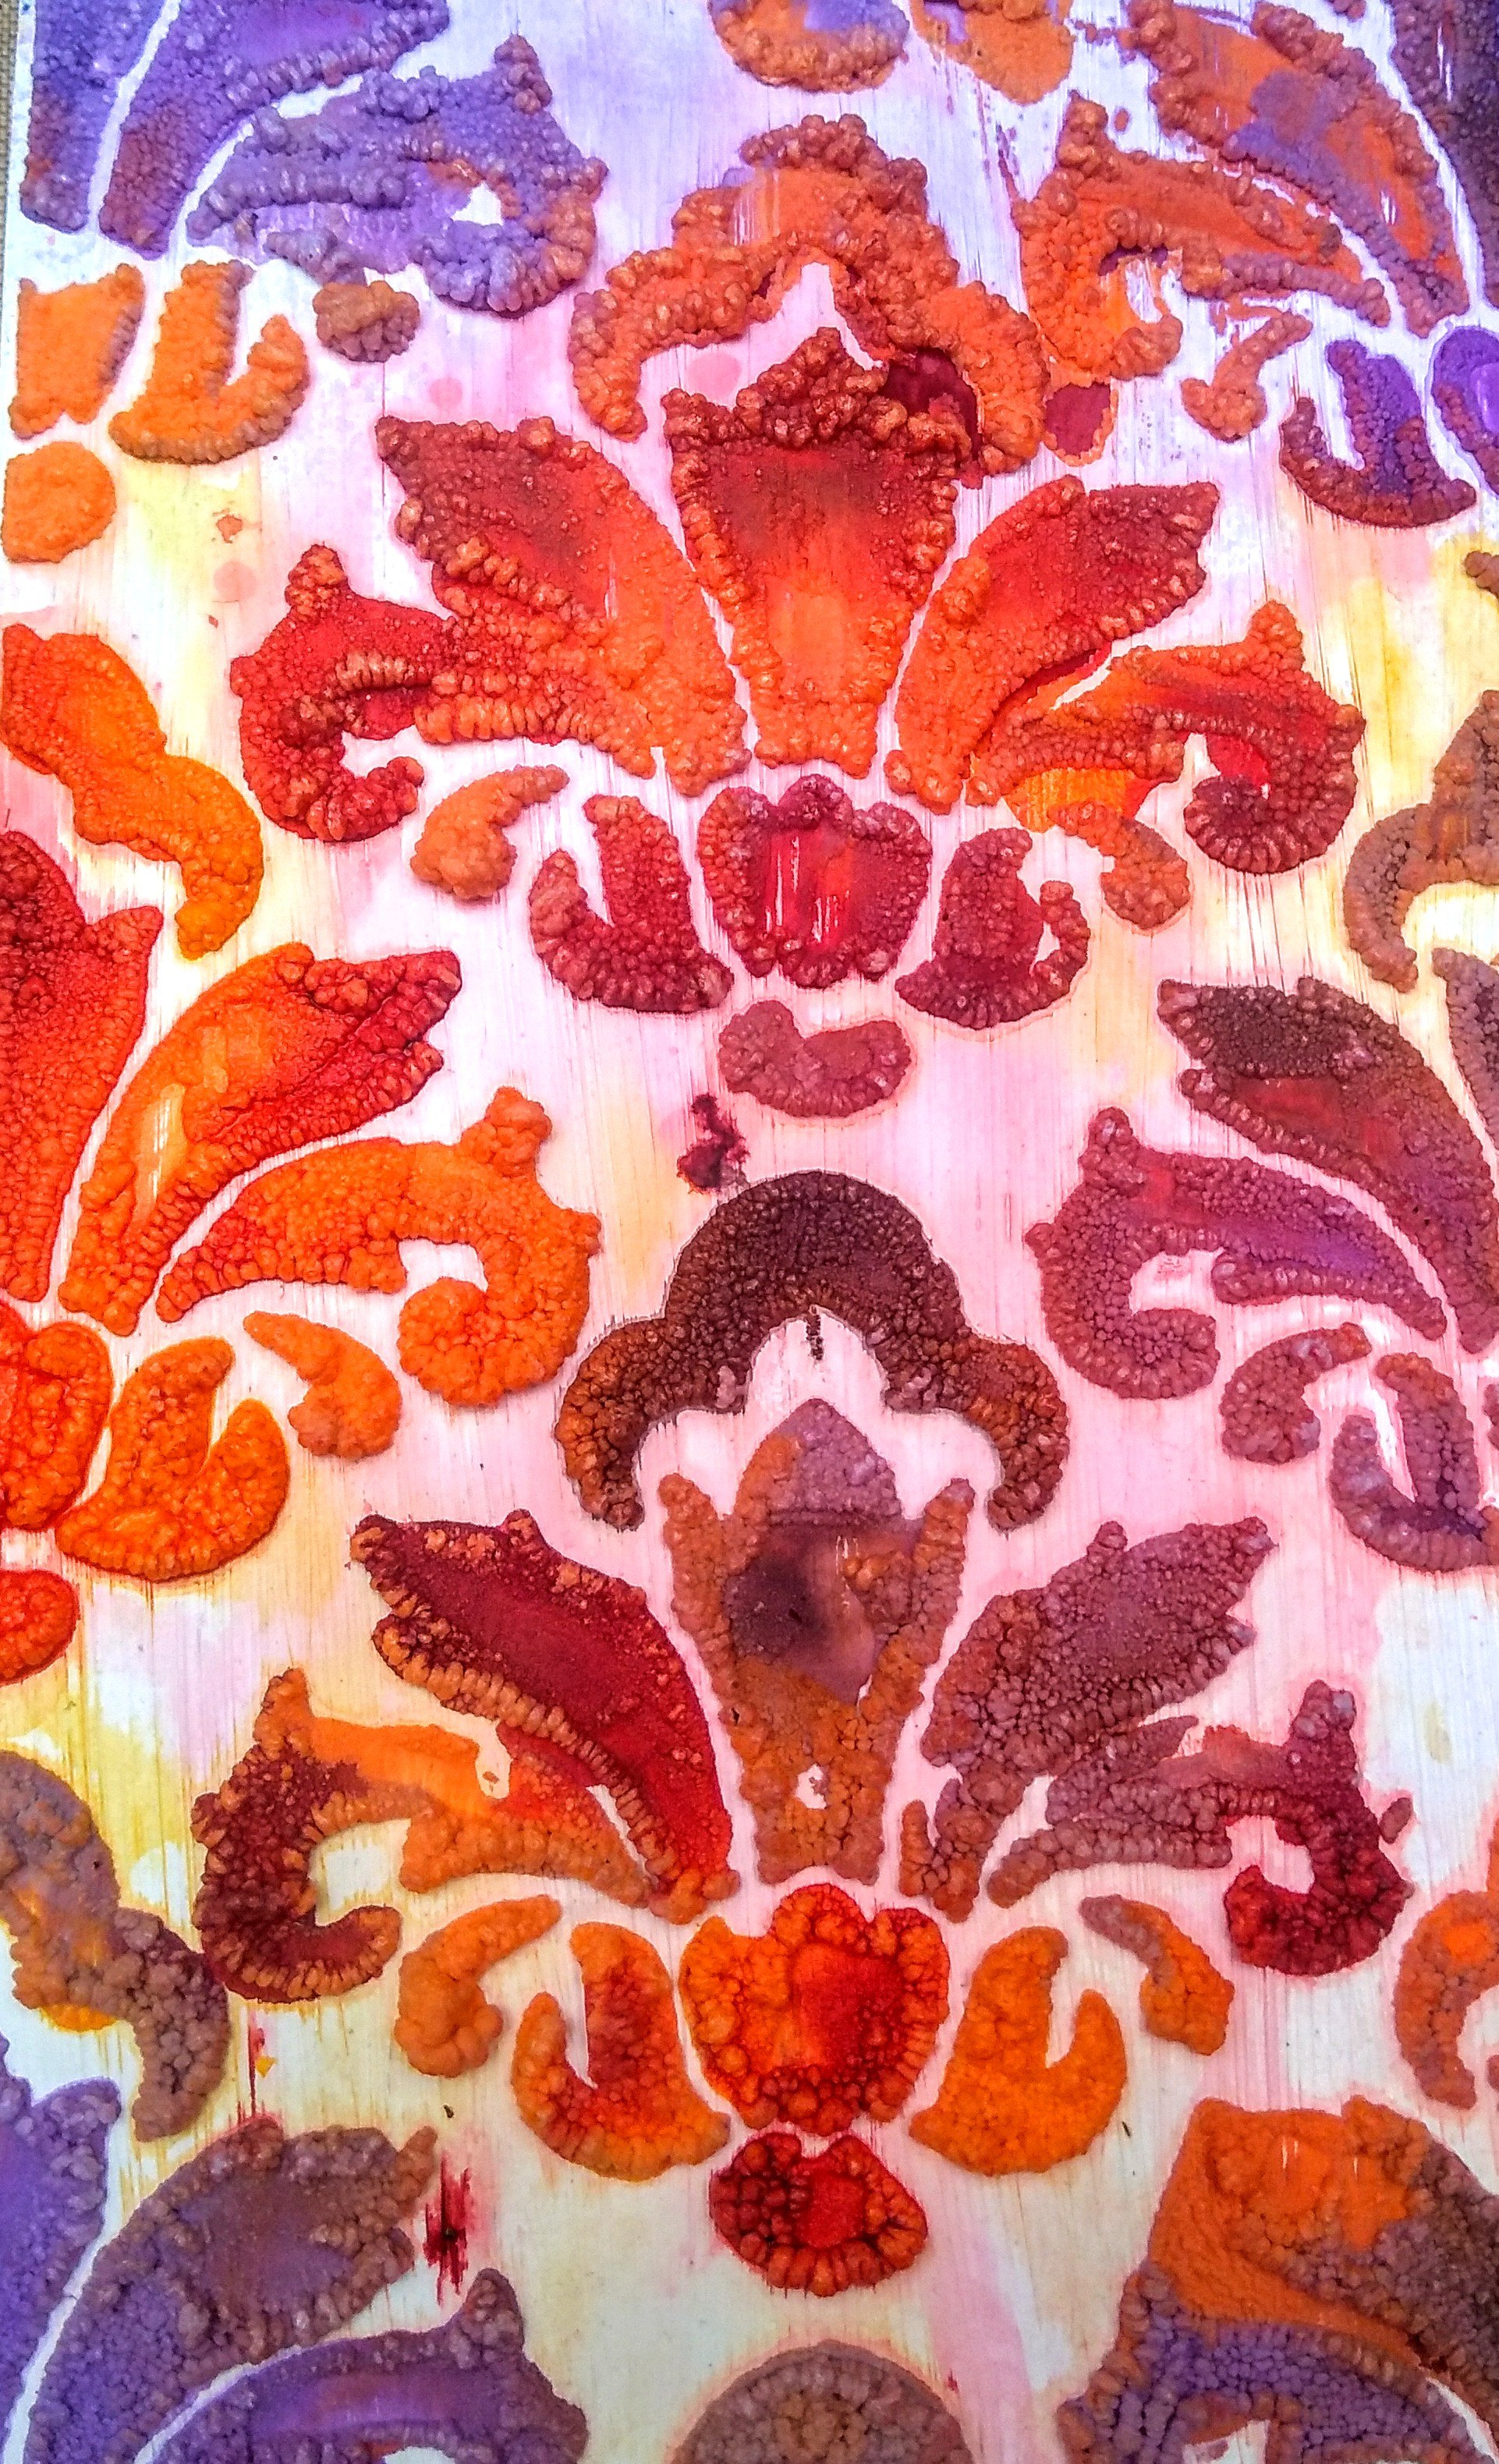
After the stencil work, I heat embossed it with my heat gun. You can see the difference between the shades and the texture before and after heat embossing…It turned matte and raised!!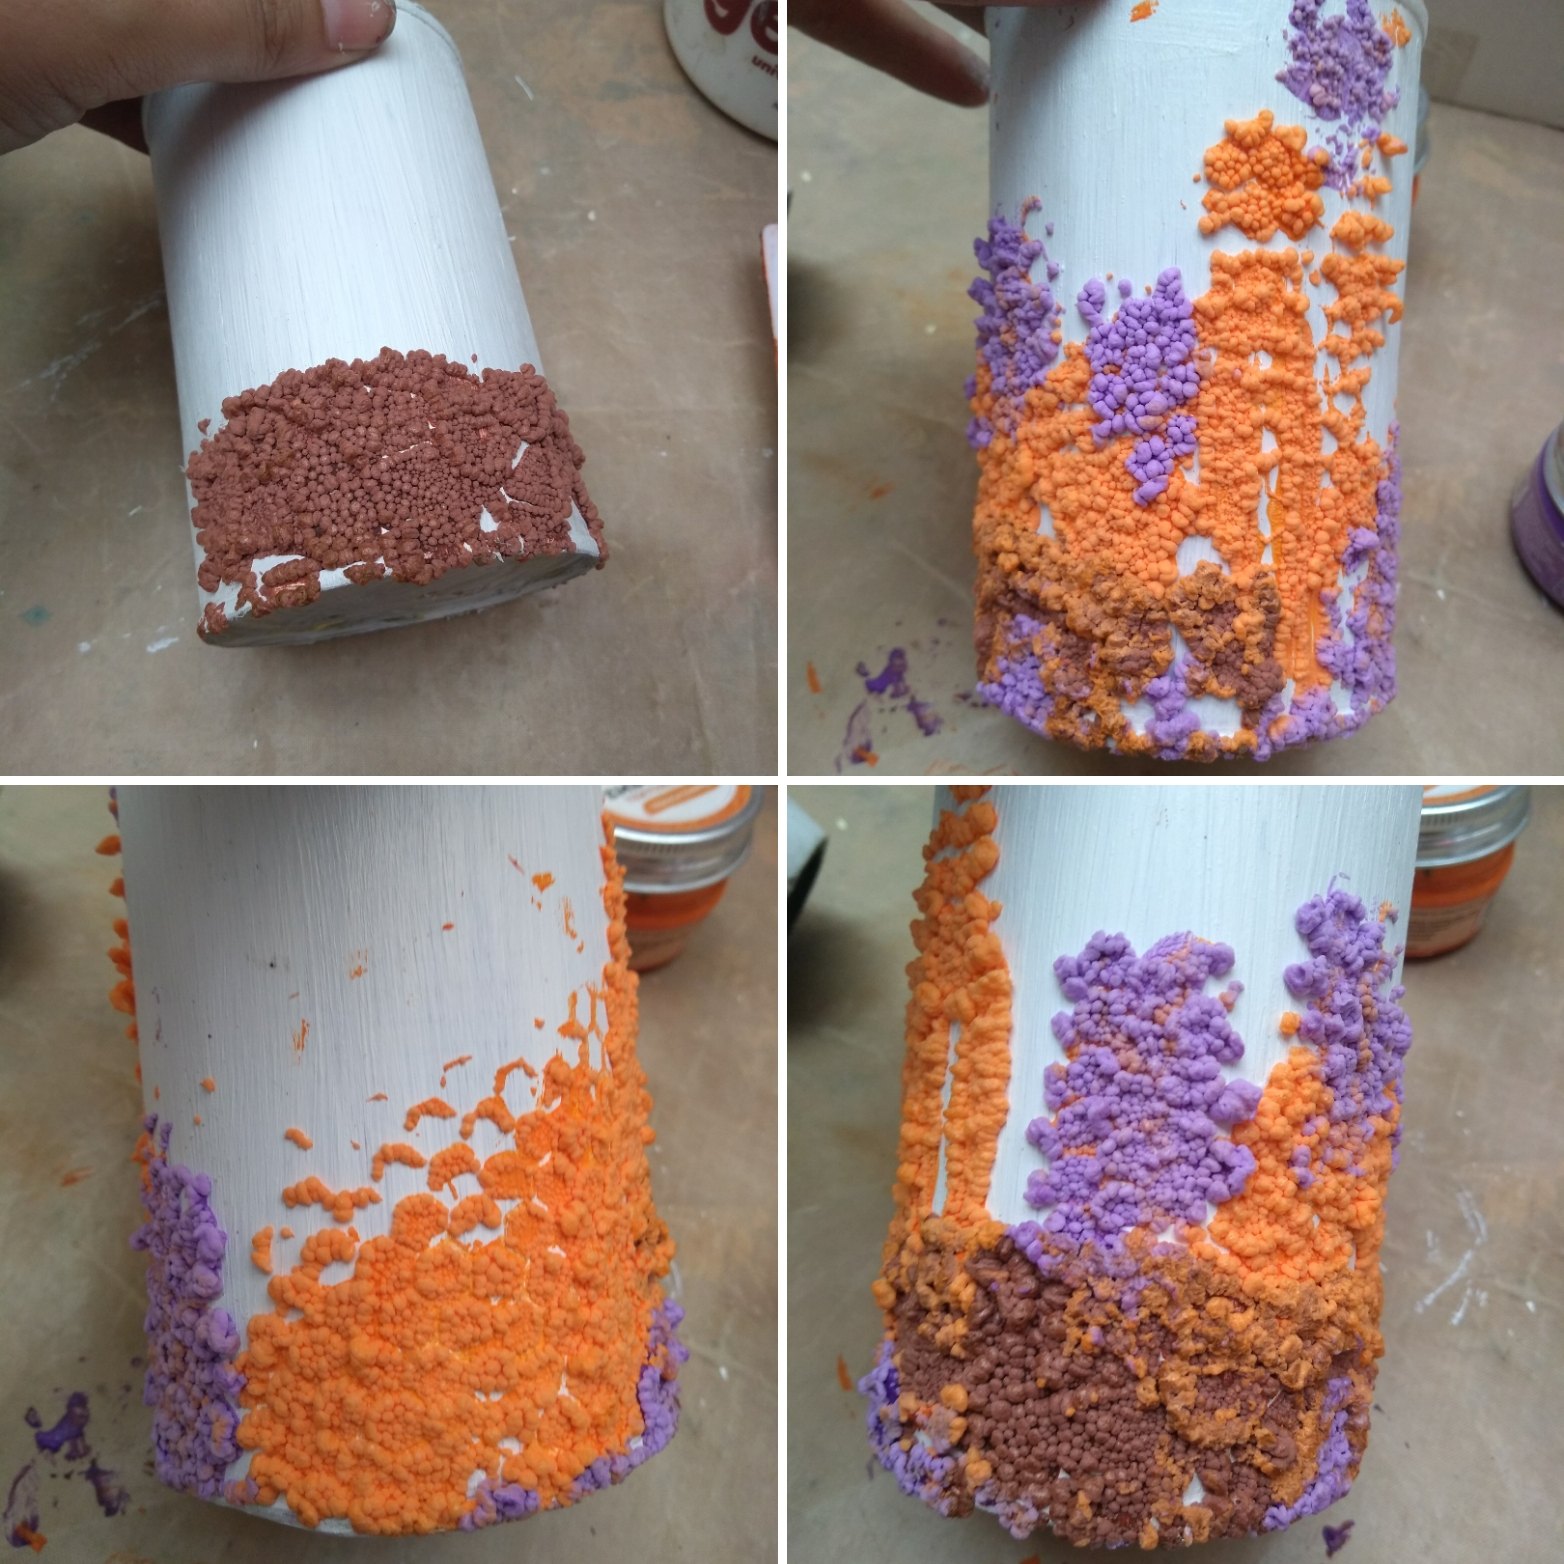
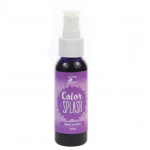
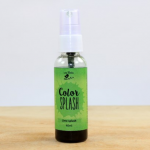
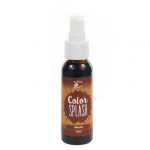
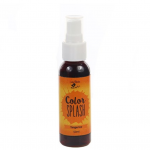
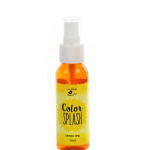
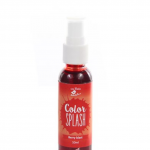
Now it’s time to show you the result after I used Little Birdie color splash on top of the embossed part.
It looked beautiful! Now, I started adding embellishments and decorative materials which coordinated with my aquatic theme. I used dry moss and sea shells.
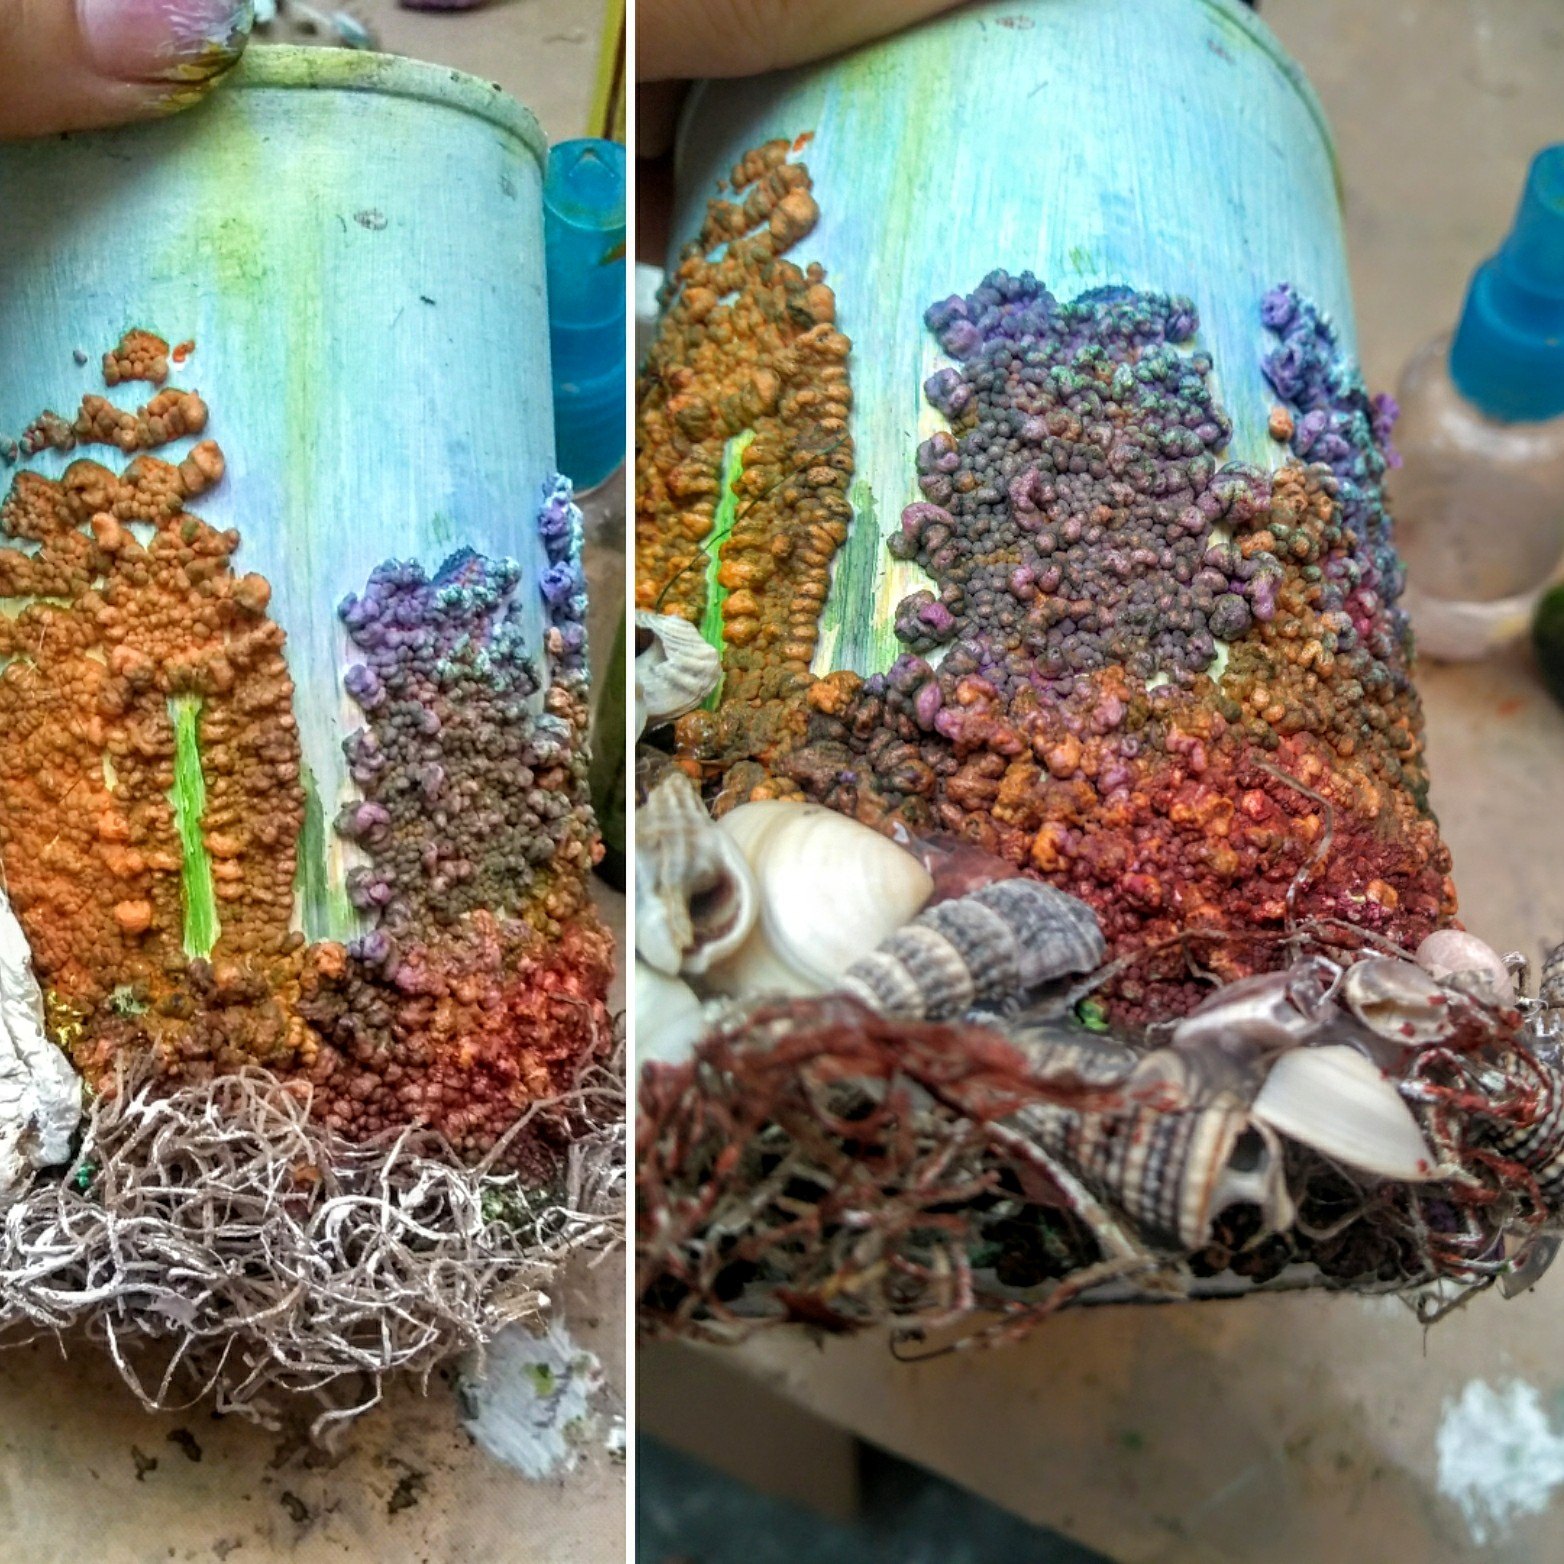
Now comes the fun part. I used two different techniques to create sea plants. For the first, I used some wire and covered them this Embossing Texture Paste and heat embossed them.
Take a look to understand better….
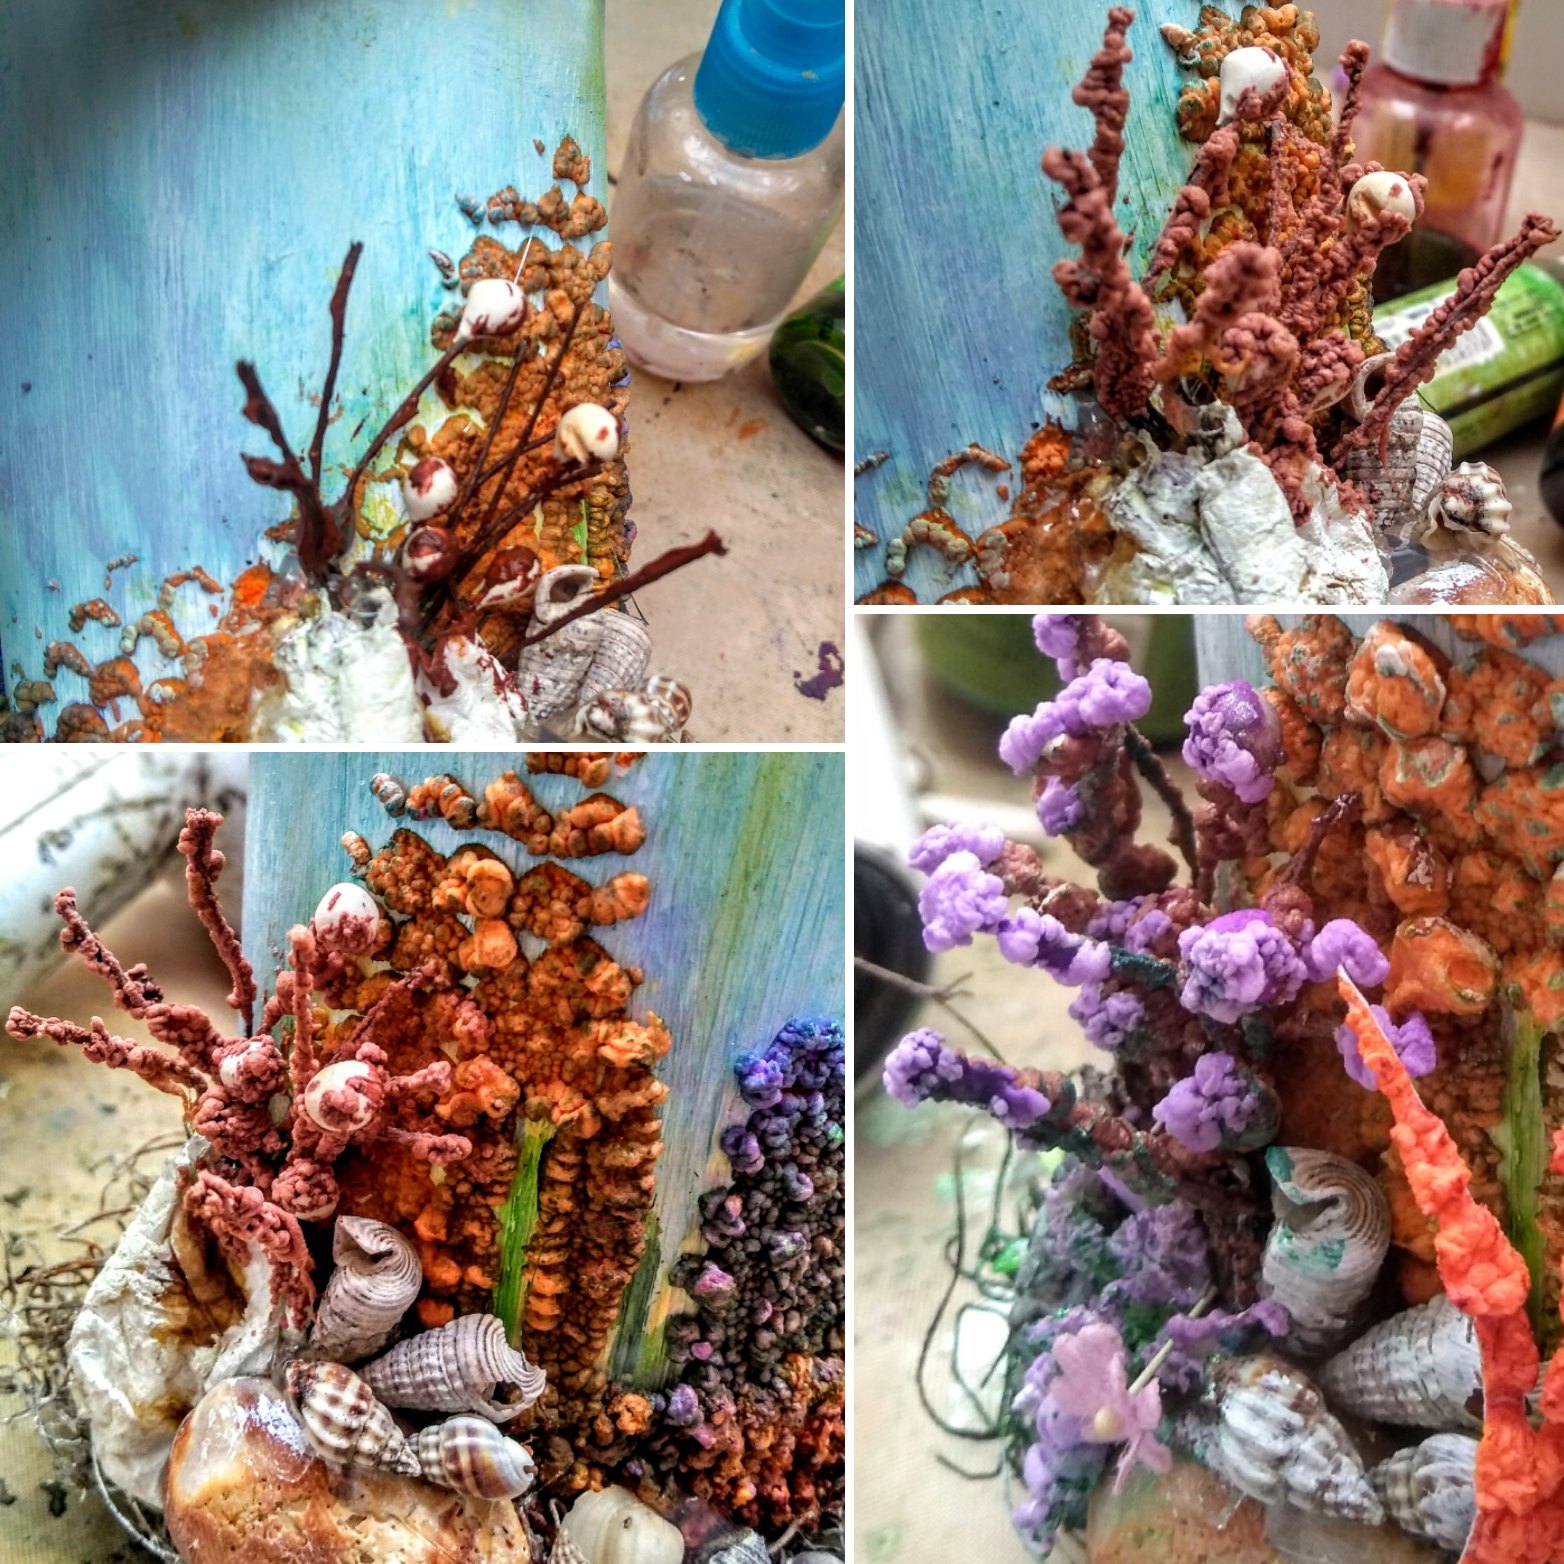
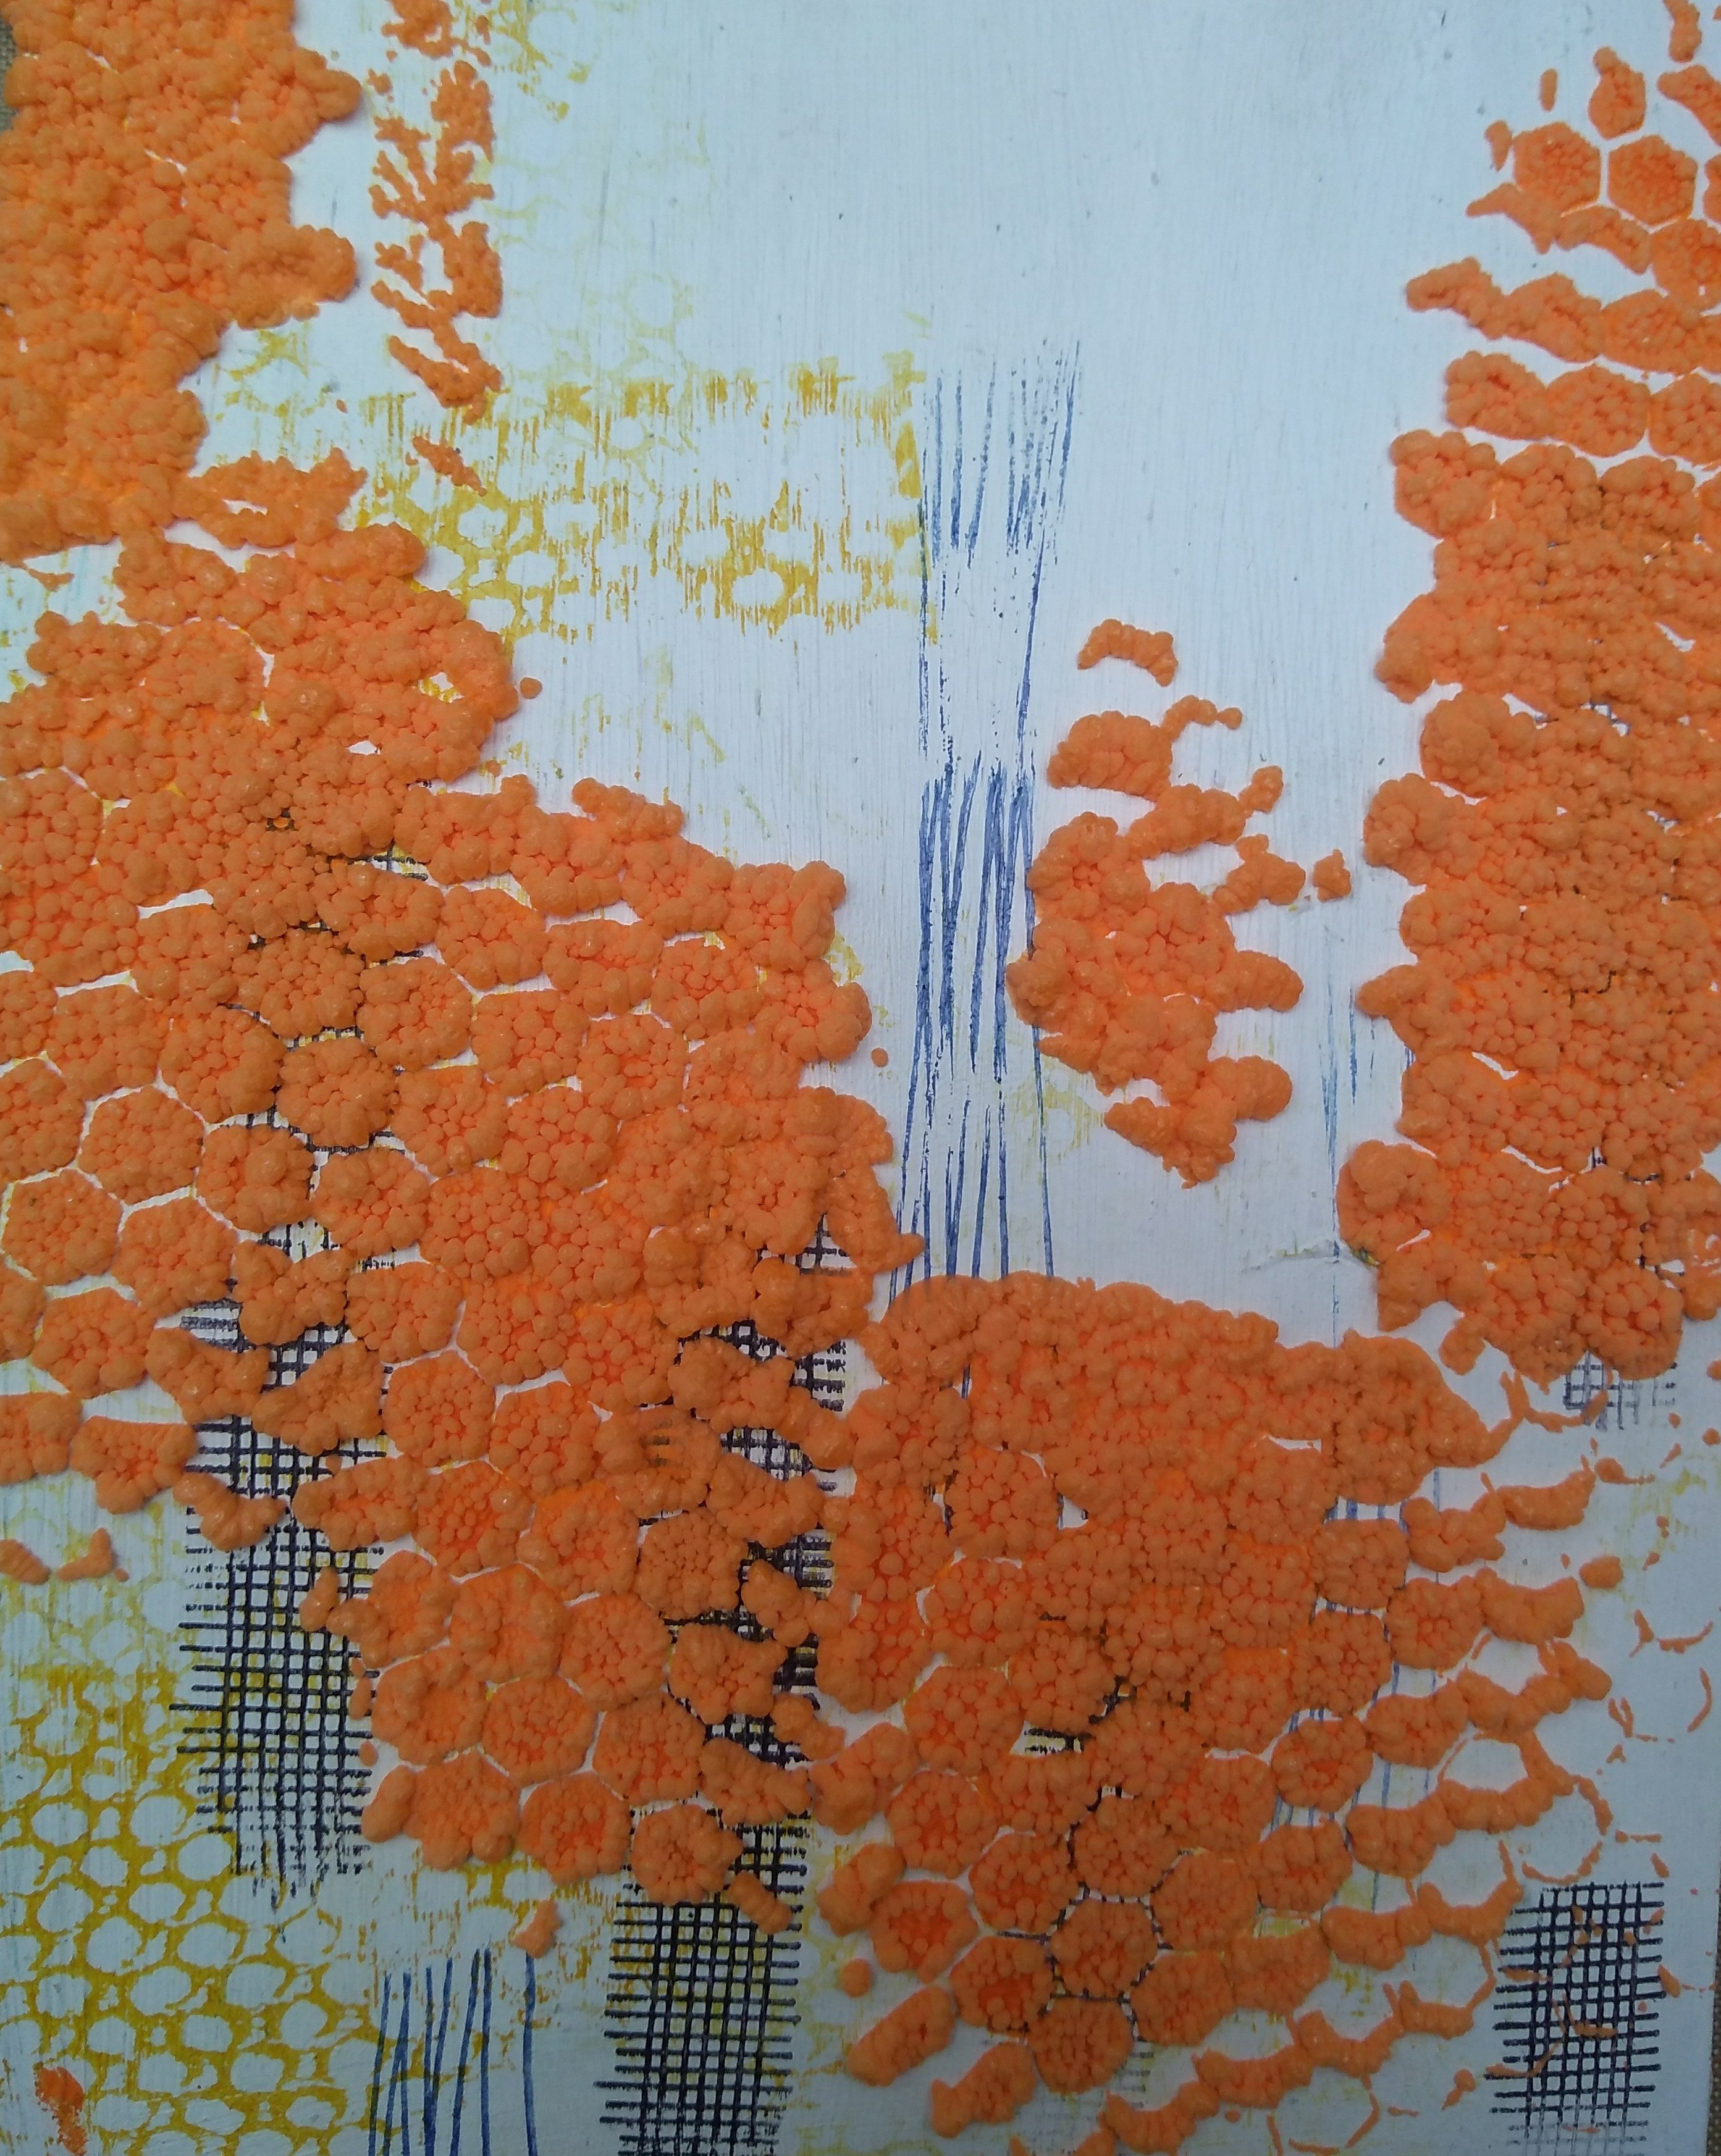
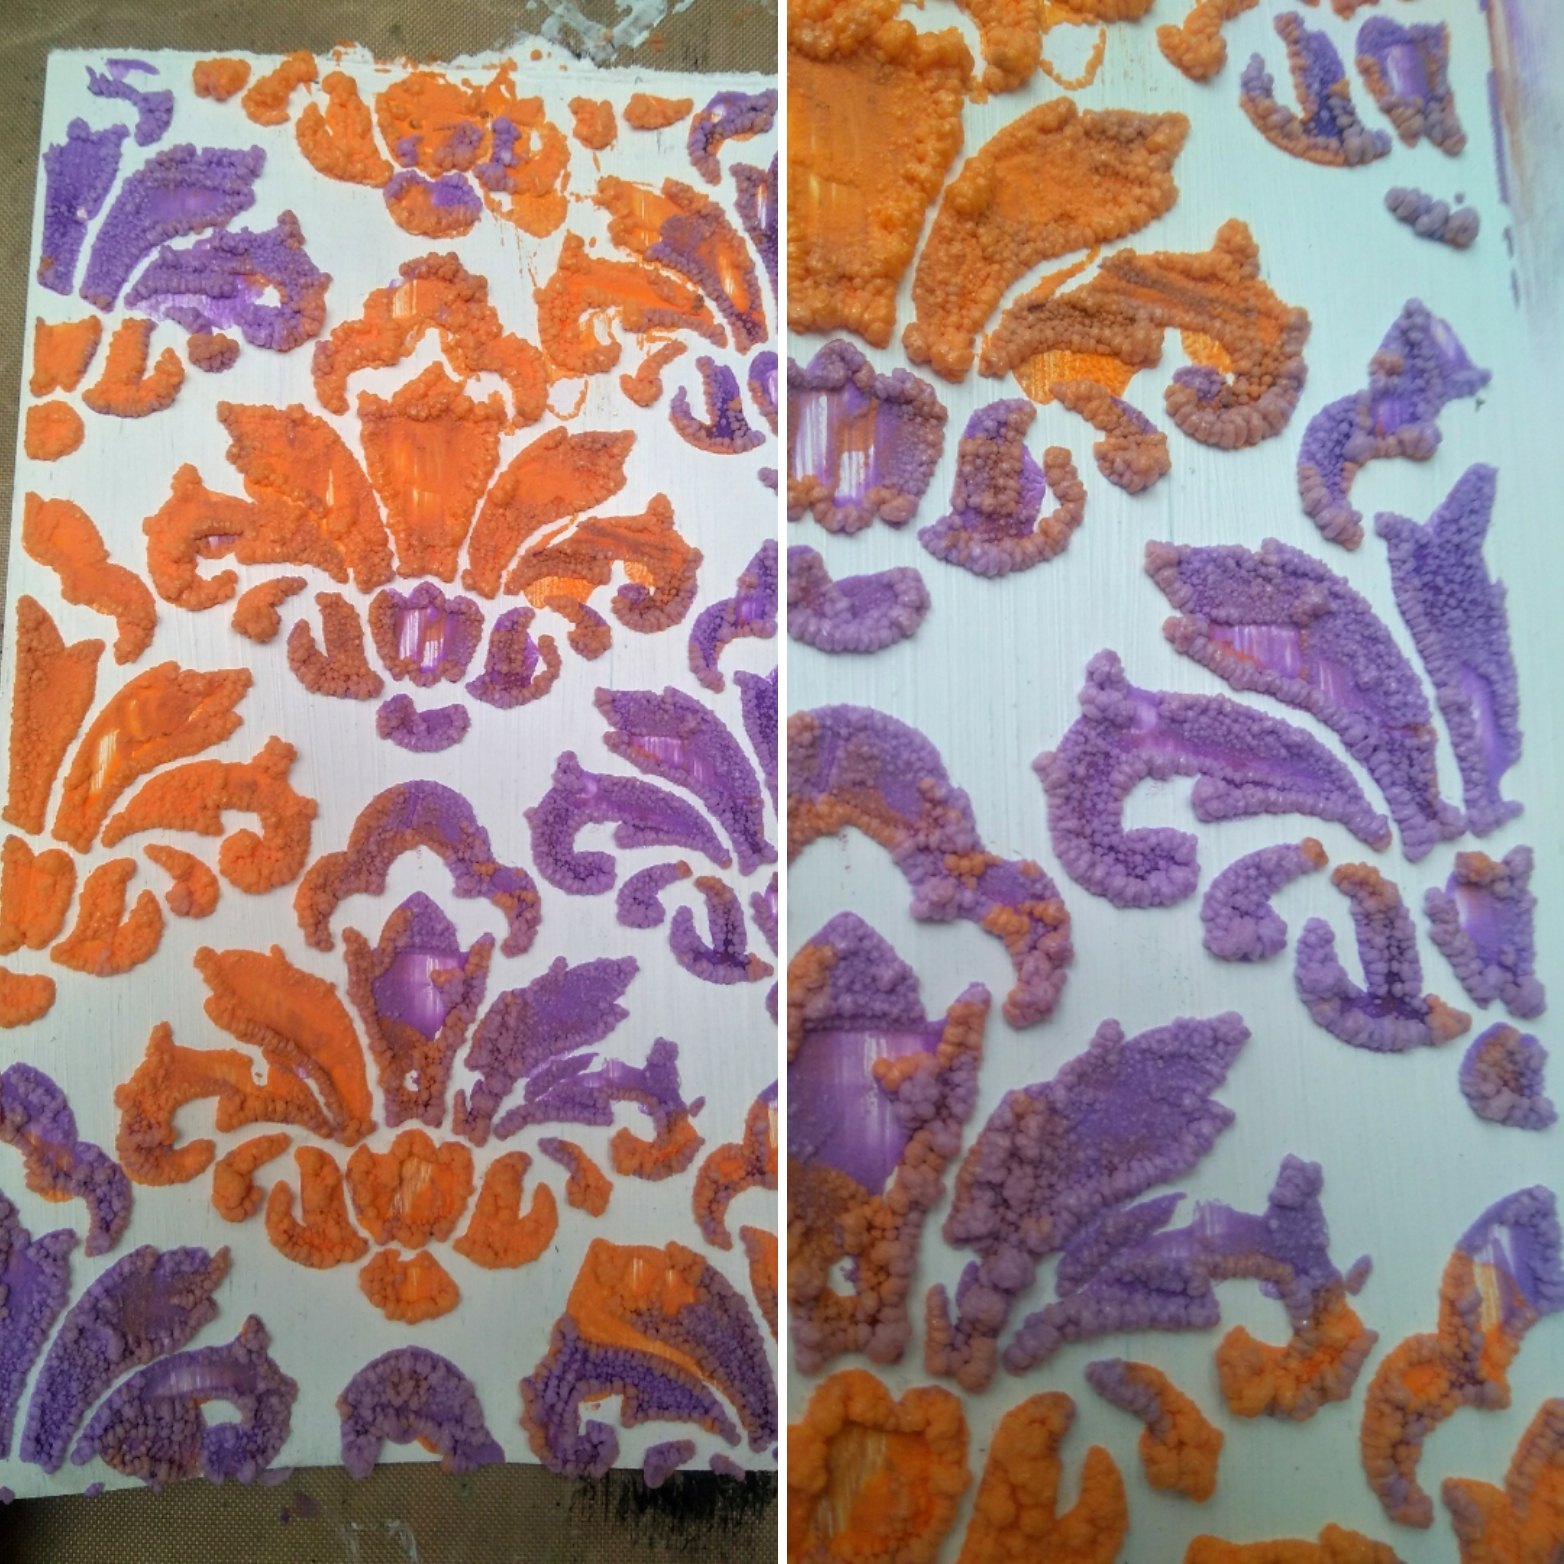
For creating the second, I took a paper on which I tried the Texture Paste first!
Have a look at the paper where I initially tried out the paste.
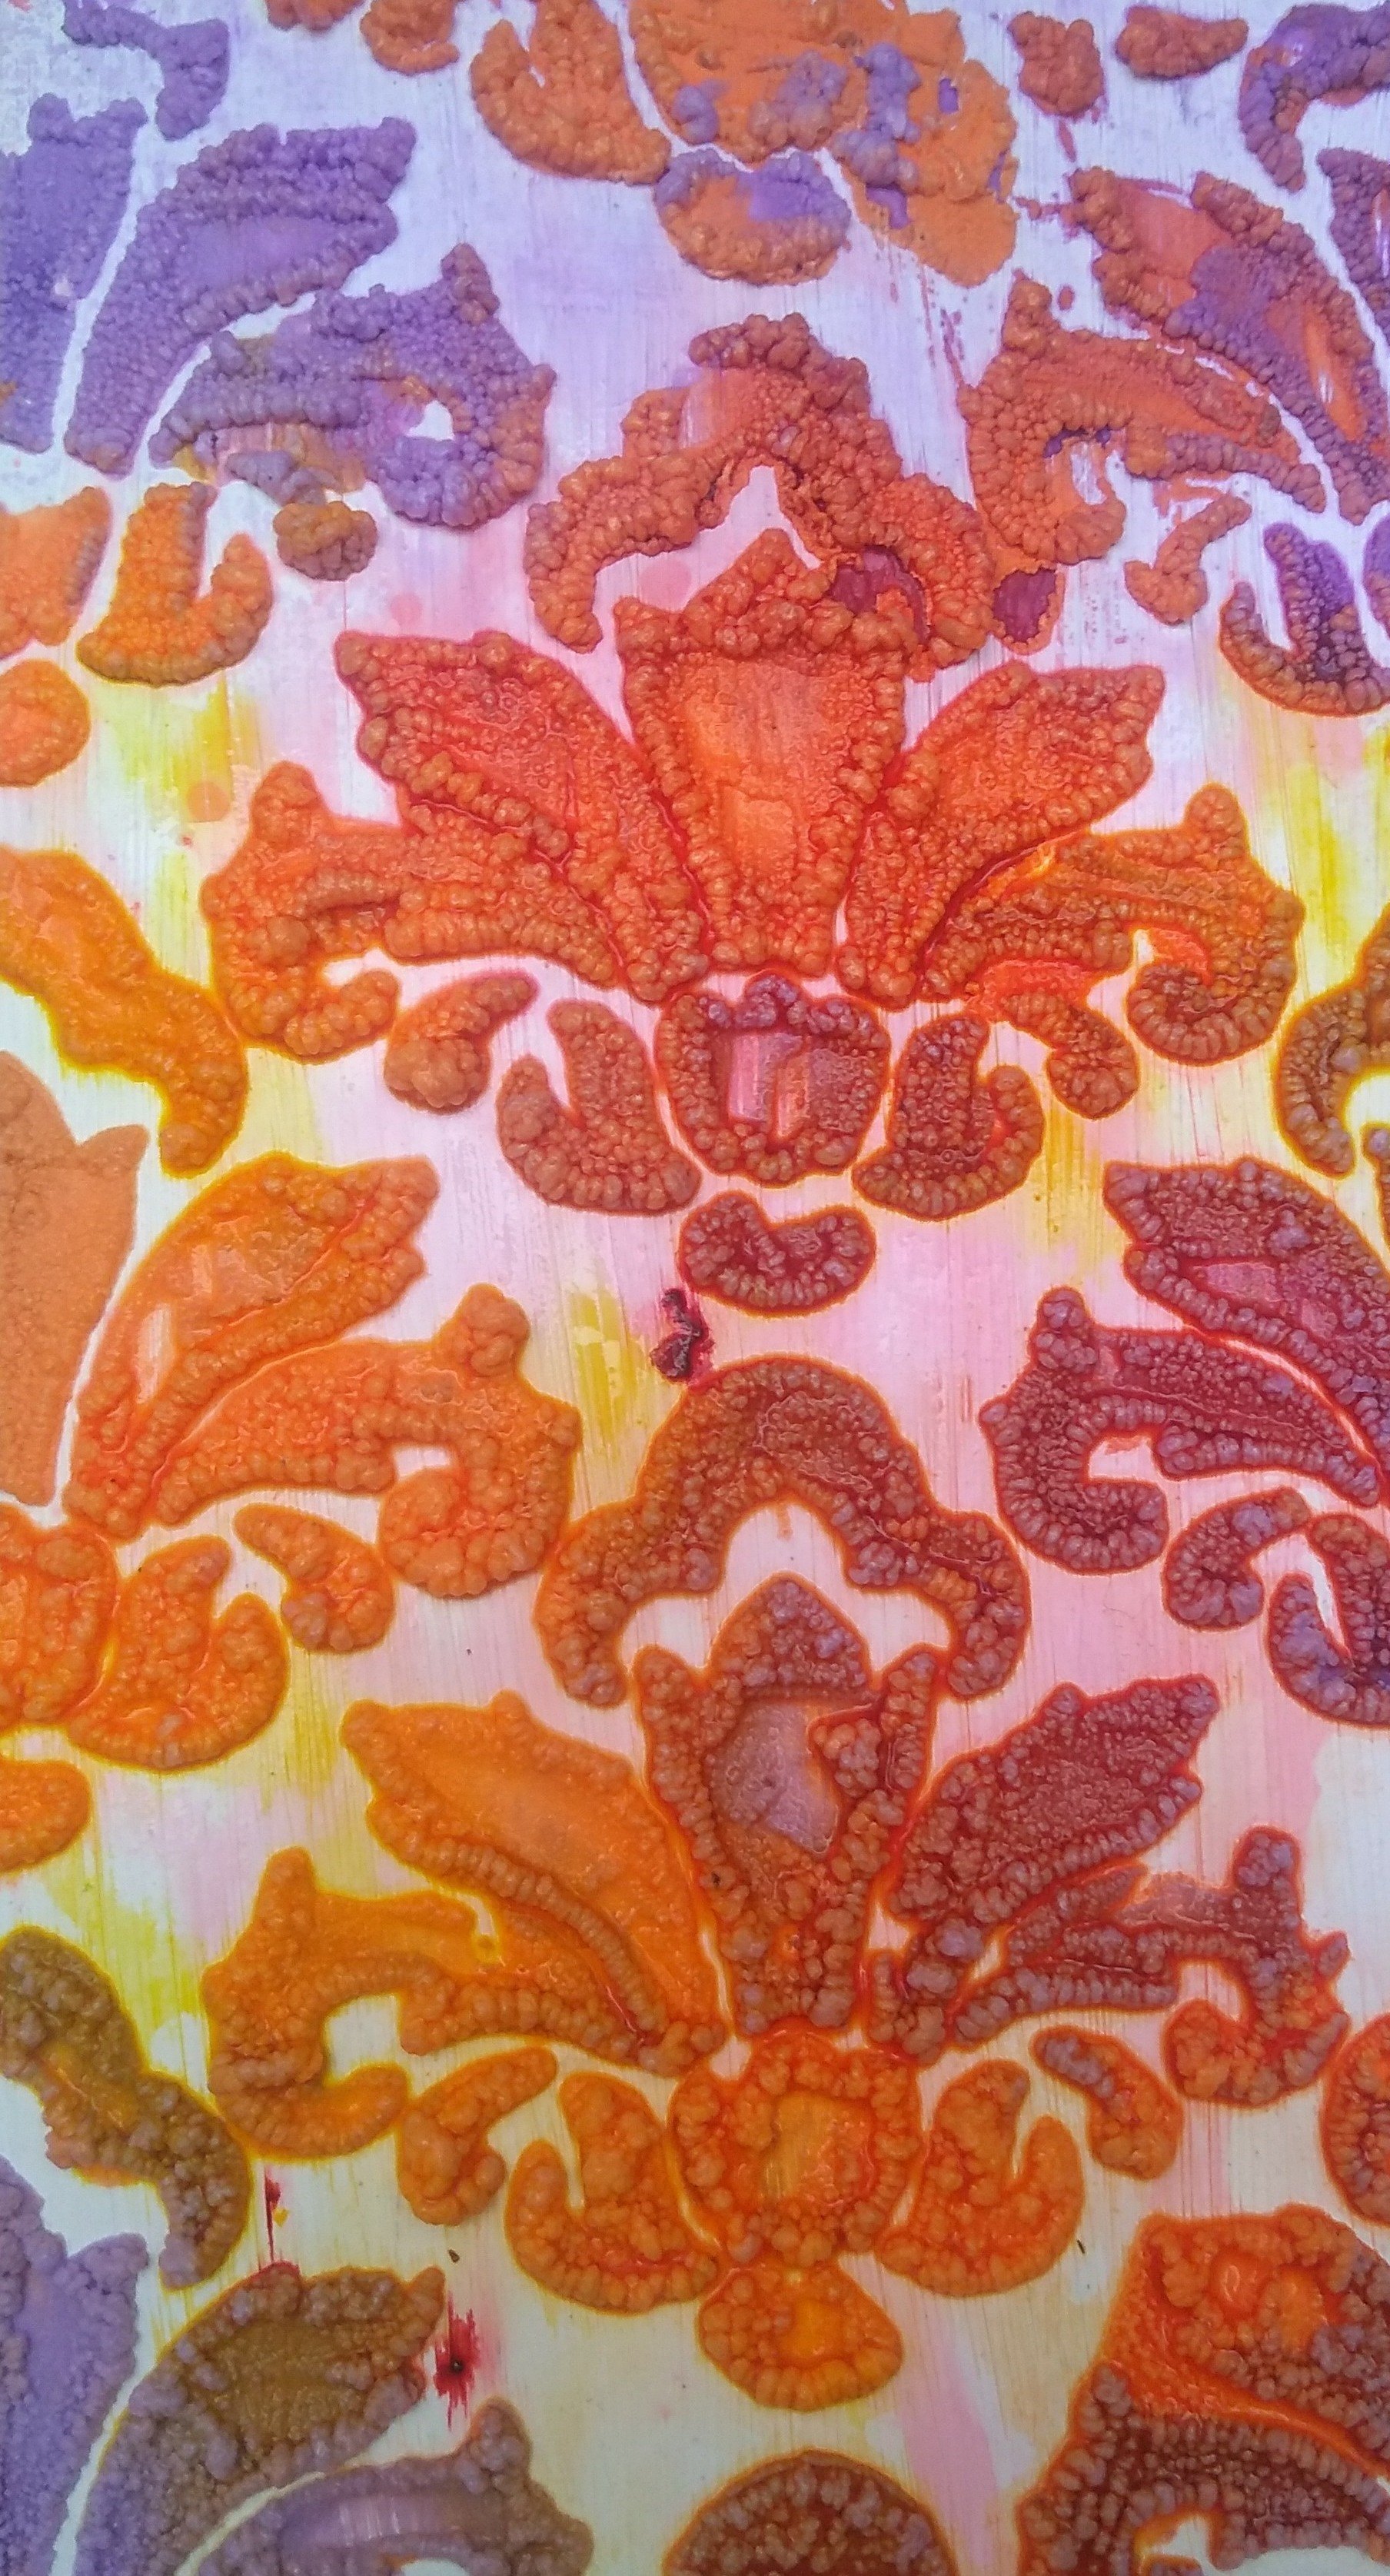
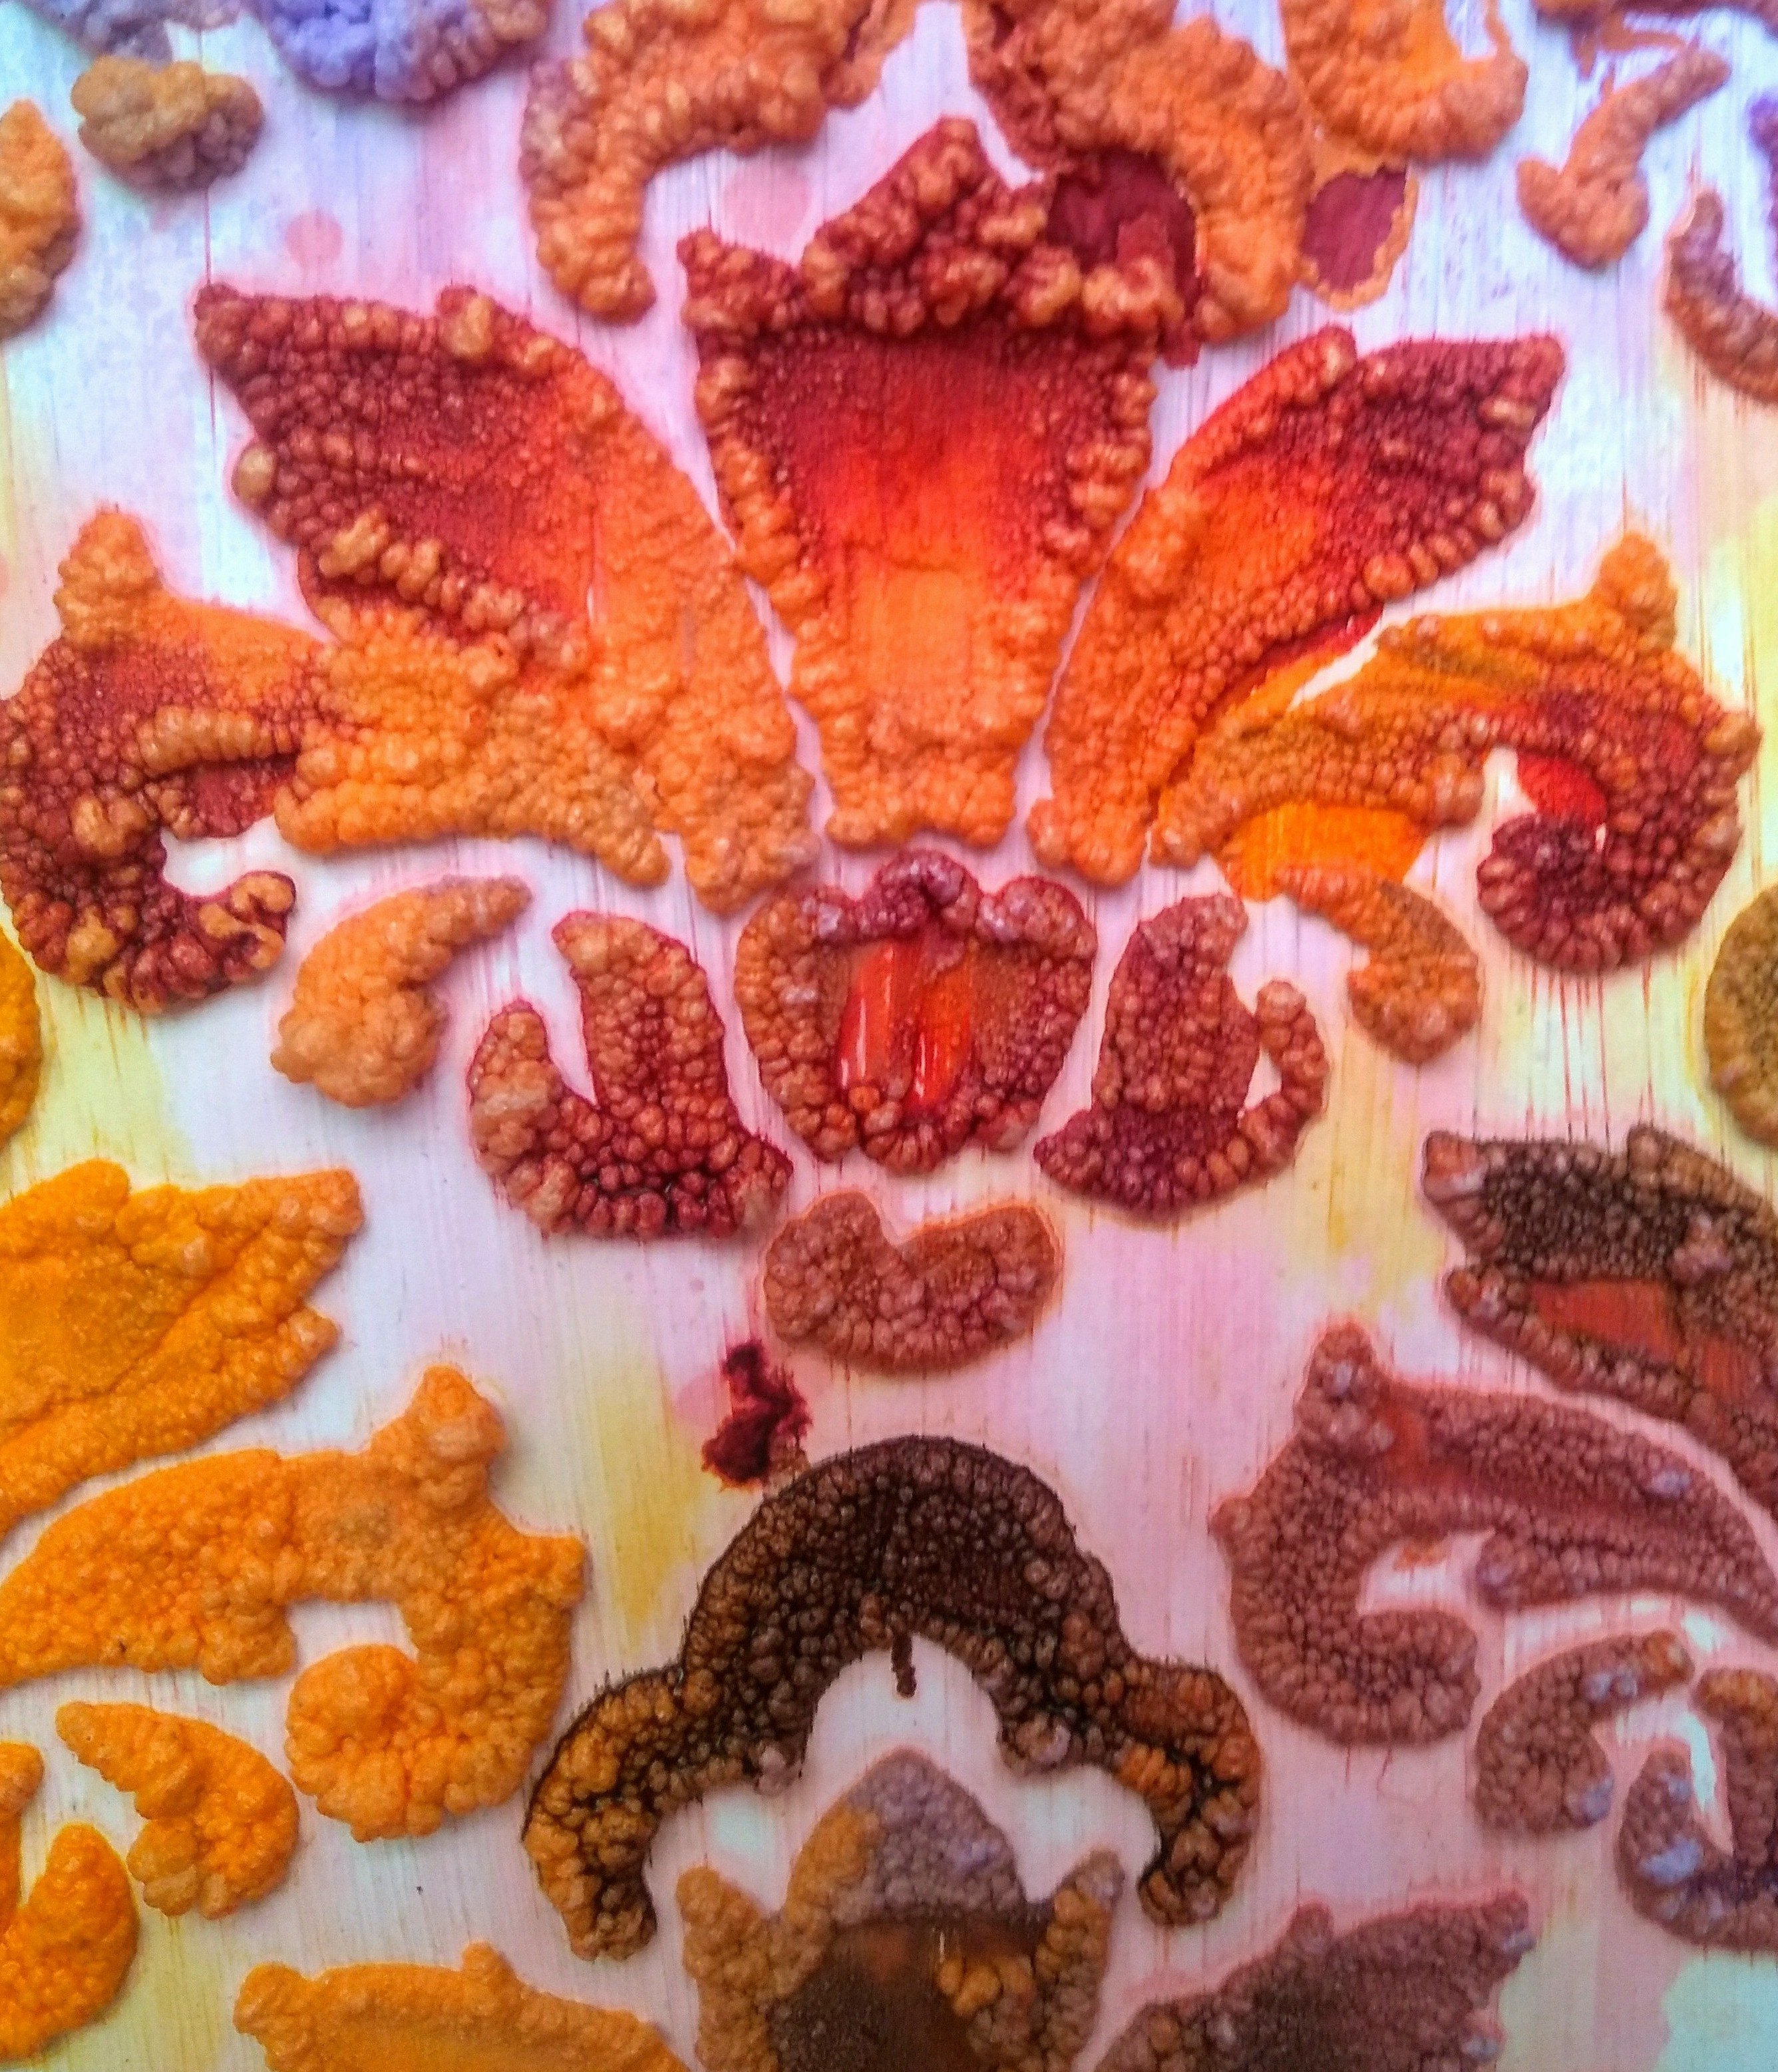
I simply drew shapes of plants and cut them. I also cut out some shapes resembling rocks. I also drew some plants directly with a brush using Embossing Texture Paste to fill the gaps.
Take a closer look to see what I explained!!
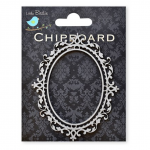
 In the end, I added some fussy cut sea print papers and Little Birdie chipboards to go with my theme.
Have a look at the completed pen stand!
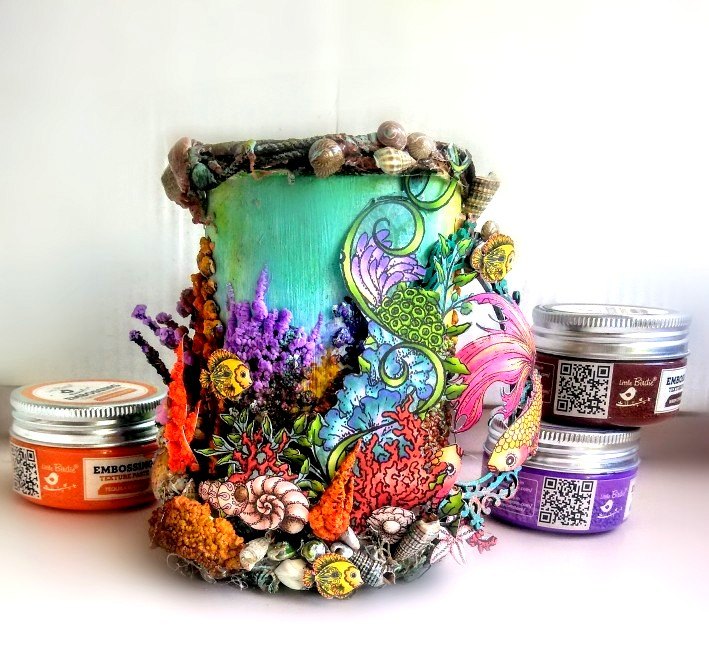
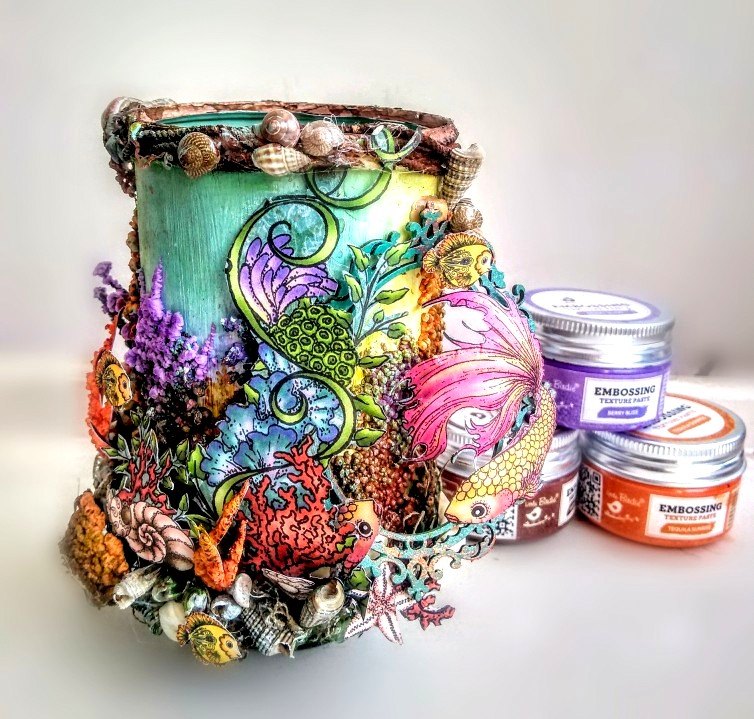
I hope you find it interesting and will try something similar.
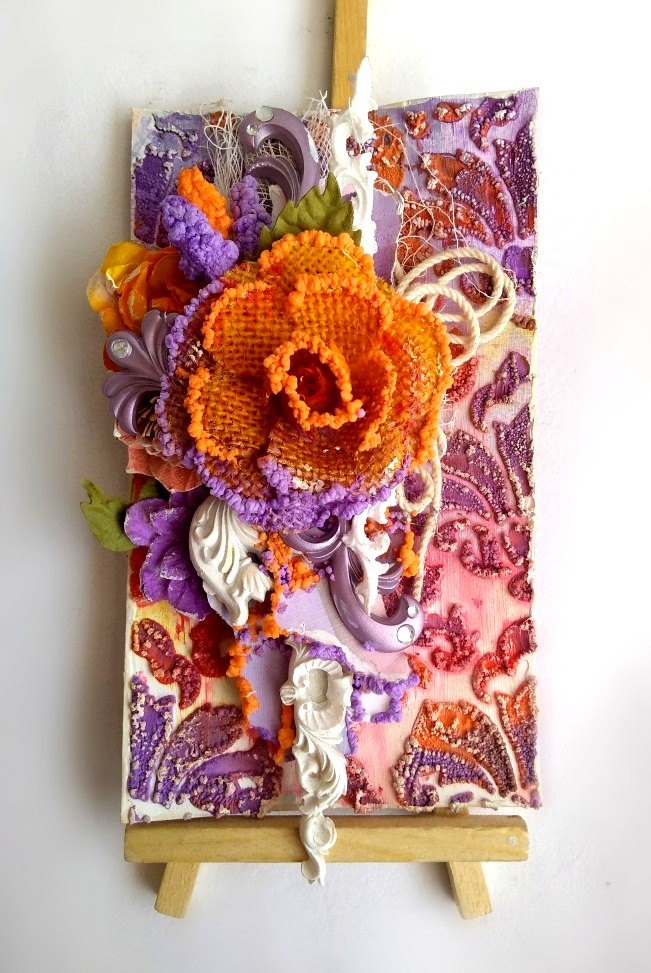
Now here is another project I wanted to share with you. I tried a card with Embossing Texture Paste. In this you can see different uses of the paste. I didn’t use many supplies for this it’s totally based on this paste.
Have a look
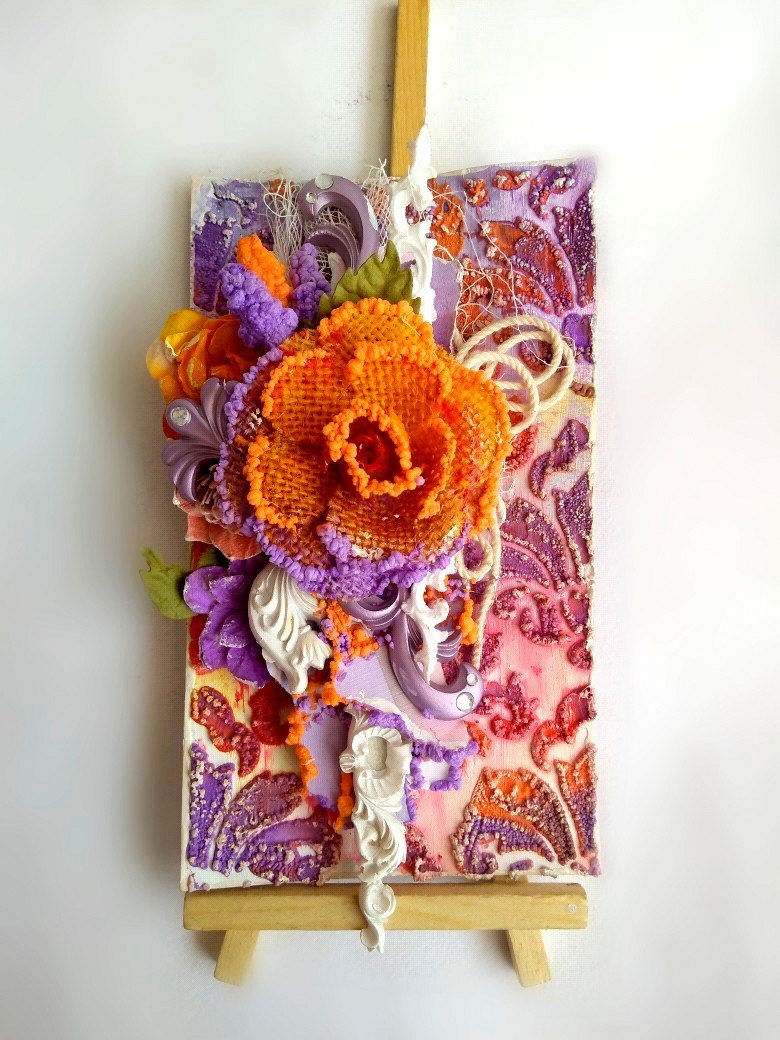

How to create background with Embossing Texture Paste….
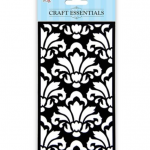
I used Embossing Texture Paste with Little Birdie stencil first.
Used heat tool to get embossed texture.
Now the fun part….I sprayed some colors over the embossed pattern. The shaded effect looks nice!
First stage of colors
Second stage of adding colors with brush over the embossed image
Close up image…
This way you can also create your own fillers for your flowers only with simple tissue paper as I created here…
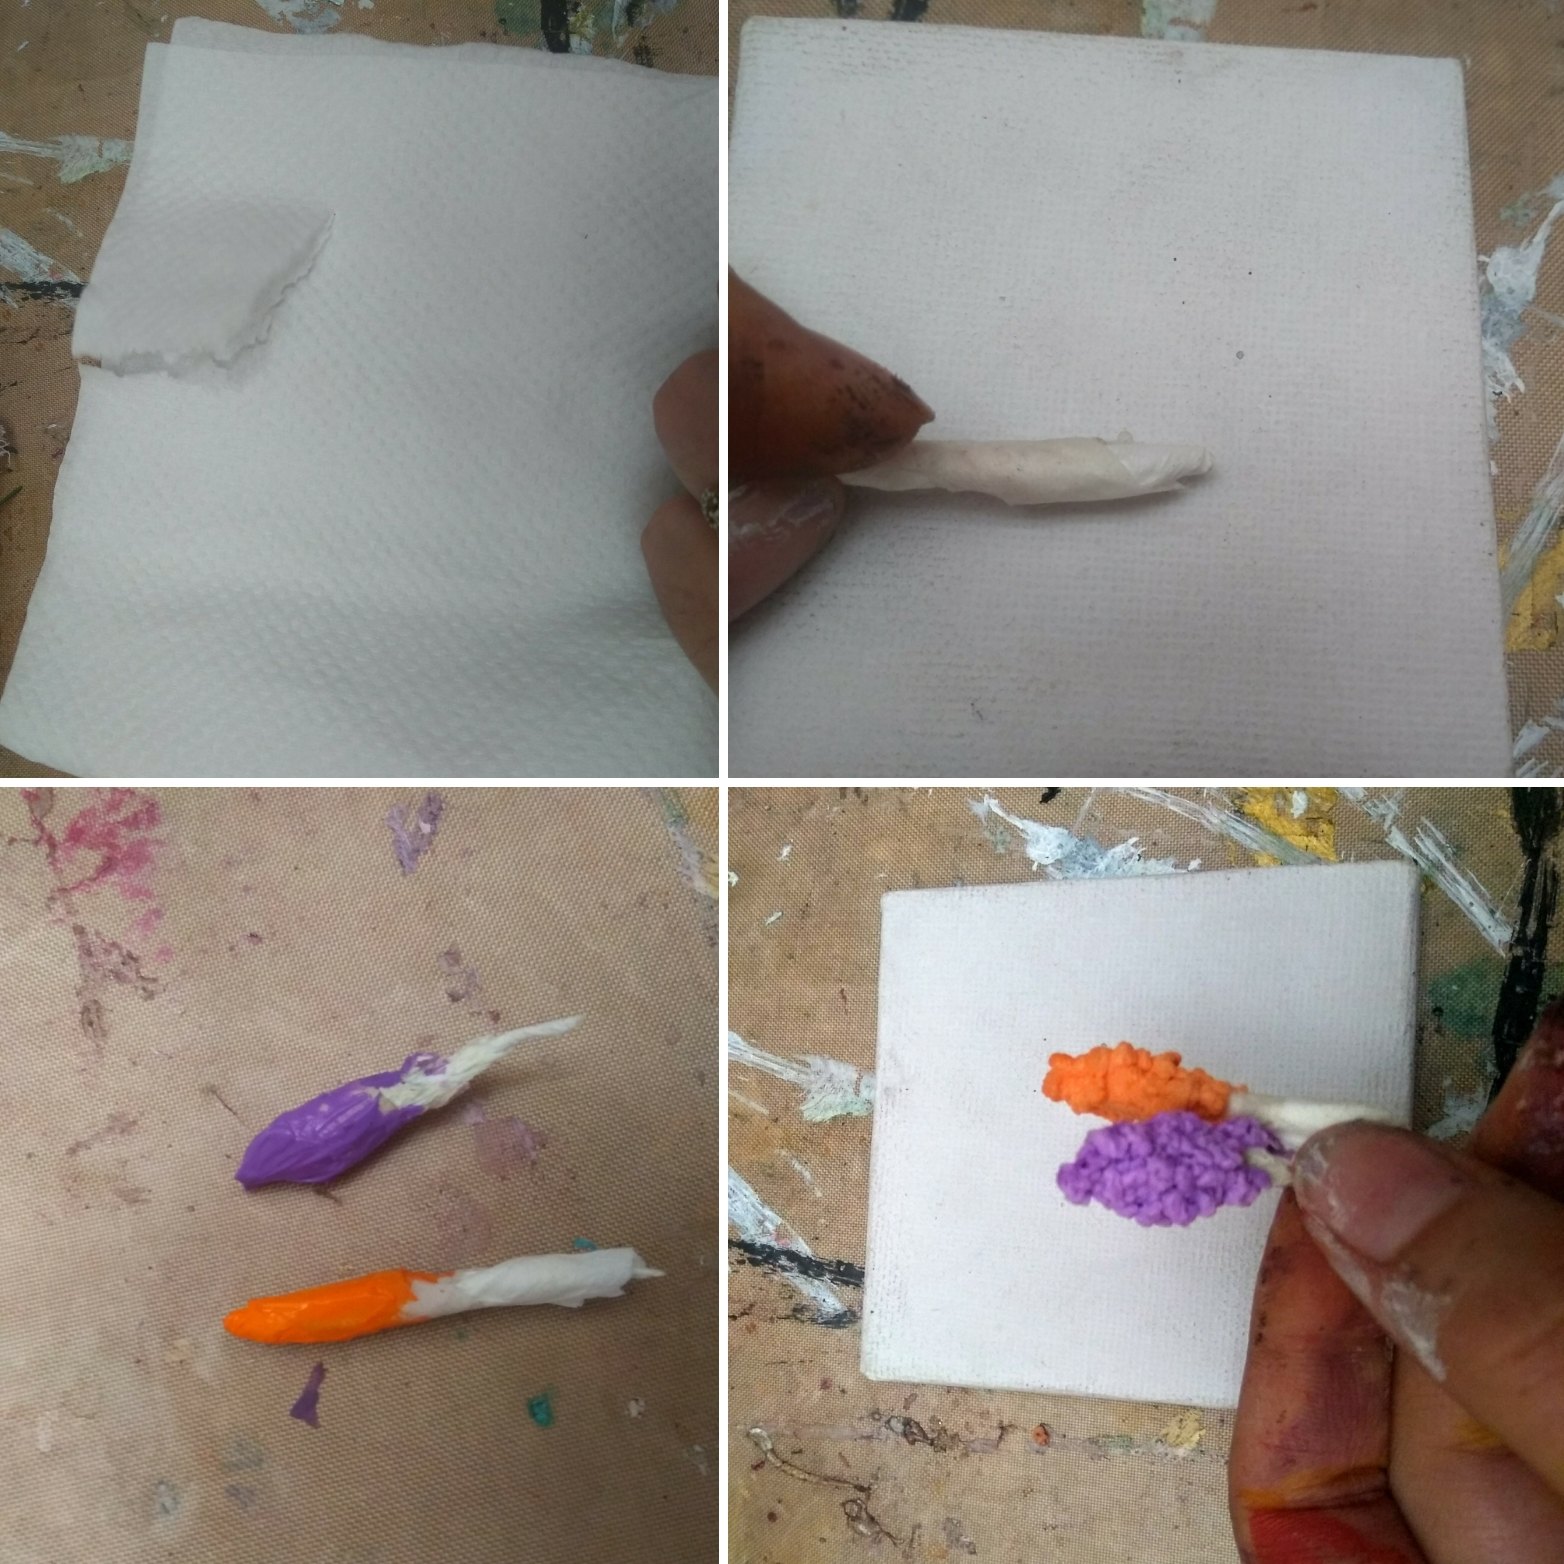
Isn’t that amazing? It’s so much fun to play around with this paste!
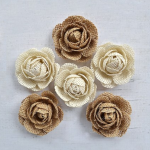
You can give a new look by adding texture to your flowers too as I did with the center flower of my card. I simply applied this paste with a brush on the edges of my burlap flower and then just heat embossed it.

I arranged my flowers on the base of card and dry brushed with gesso.
The Embossing Texture Paste is great for creating different type of texture on cards, mixed media layouts and other projects. The product comes with a QR code. Just scan it and watch the video of how to use this product.
Here I am sharing the pic of the bar code for your reference.
In my next post you will find some more interesting uses of this product. Till then stay tuned and share what you have created with this product
Supplies use
So gorgeous….really I love also this embossing paste???
Thank you so much dear
Beautiful projects Pooja….so much information in one post. Awesome…thank you for sharing.
Hugs
Thank you so much dear
very beautiful projects. love the color combination. Very well explained tutorial
Thank you so much
Superb Pooja.. I really love ur projects very much and always wait for ur tutorials!!
Thank you so much dear
Awesome projects Pooja and well explained tutorial. Thanks for sharing the tips in such a simple way.
Thank you so much dear
Lovely work my dear…..!!!
Thank you so much dear
Lovely project dear!!!
Thank you so much
Beautiful project
Wow!!!! Both creations are just incredible.. Love your work so much my sweet friend… I recently got some colors of embossing paste, can’t wait to use them in my projects. Thanks for sharing such an informative post?
Hugs
Thank you so much dear
beautiful projects..and very inspiring post.. thank you for sharing
Thank you so much dear
Stunning creations and unique ideas… loved your tutorial
Thank you so much dear
Love the way u explain in such great depths Pooja…thank u for the awesome details…the outcomes are lovely !
Thank you so much
Awesome
Thank you so much
Ohh this post is oozing with textures !! Loved the idea of creating fillers and you acquatic pen stand is outstanding!
Thank you so much
Wow Pooja, thank you for explaining this product really well! Really nice to see you use it in so many ways! Loved how you created various effects on flower, sea weed, rocks & floral decorations!
Thank you so much Rashmi it’s always a pleasure to receive such lovely comment from you
Wow!! Awesome projects Pooja! Love the effect of embossing paste & you have explained it beautifully! Thanks for sharing all the information & lovely work.
Thank you so much Priyanka
Well explained. Your usage of the paste in different forms is commendable. Very creative and inspiring.
Thank you so much Ruchi
Wowww…..amazing work…
Is it necessary to use a heat tool after putting embossing.texture paste???
Thank you so much rita yes it’s must to use heat gun