Hello Friends !
It’s Meraj here! Happy to be back with my new creation and hope I can inspire you too.
Acrylic Pouring, a beautiful art that has no creative limit. You just have to go with the flow of your ideas, pouring your heart into it.
This time, when I sat with my Pouring Paints , their beautiful colours reminded me of my childhood days, where I found the beauty of rainbows so mesmerizing, the colourful fluttering wings of butterfly made me awestruck, the beauty of colourful flowers captivated my heart and with all these I always remember my beautiful mother’s love, singing lullaby, her every gentle pat on me with the tinkling sound of her colourful bangles was like a music to my soul. To me nothing can be more beautiful and pure as a Mother’s Love. These creations of mine today are being dedicated to all the beautiful mothers for their selfless and unconditional love.
Hope you like these Greeting Cards that can be so easily made and gifted as a token of love to your loved ones.
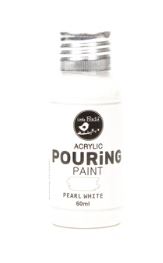
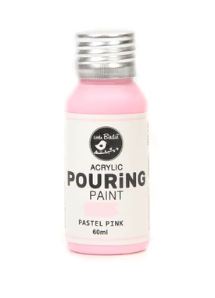
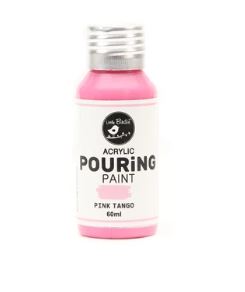
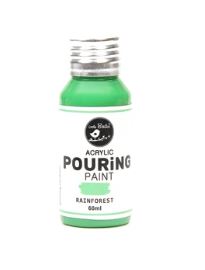
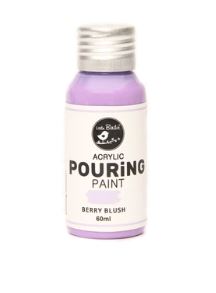
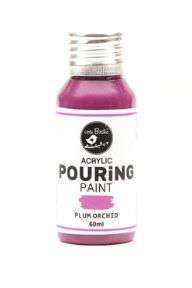
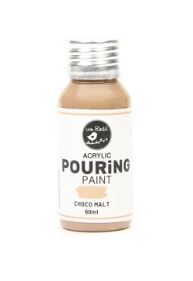
To begin with, we will first choose the colours of different Pouring Paints. I chose these mentioned below. ( Please check the material list at the end of this post. )
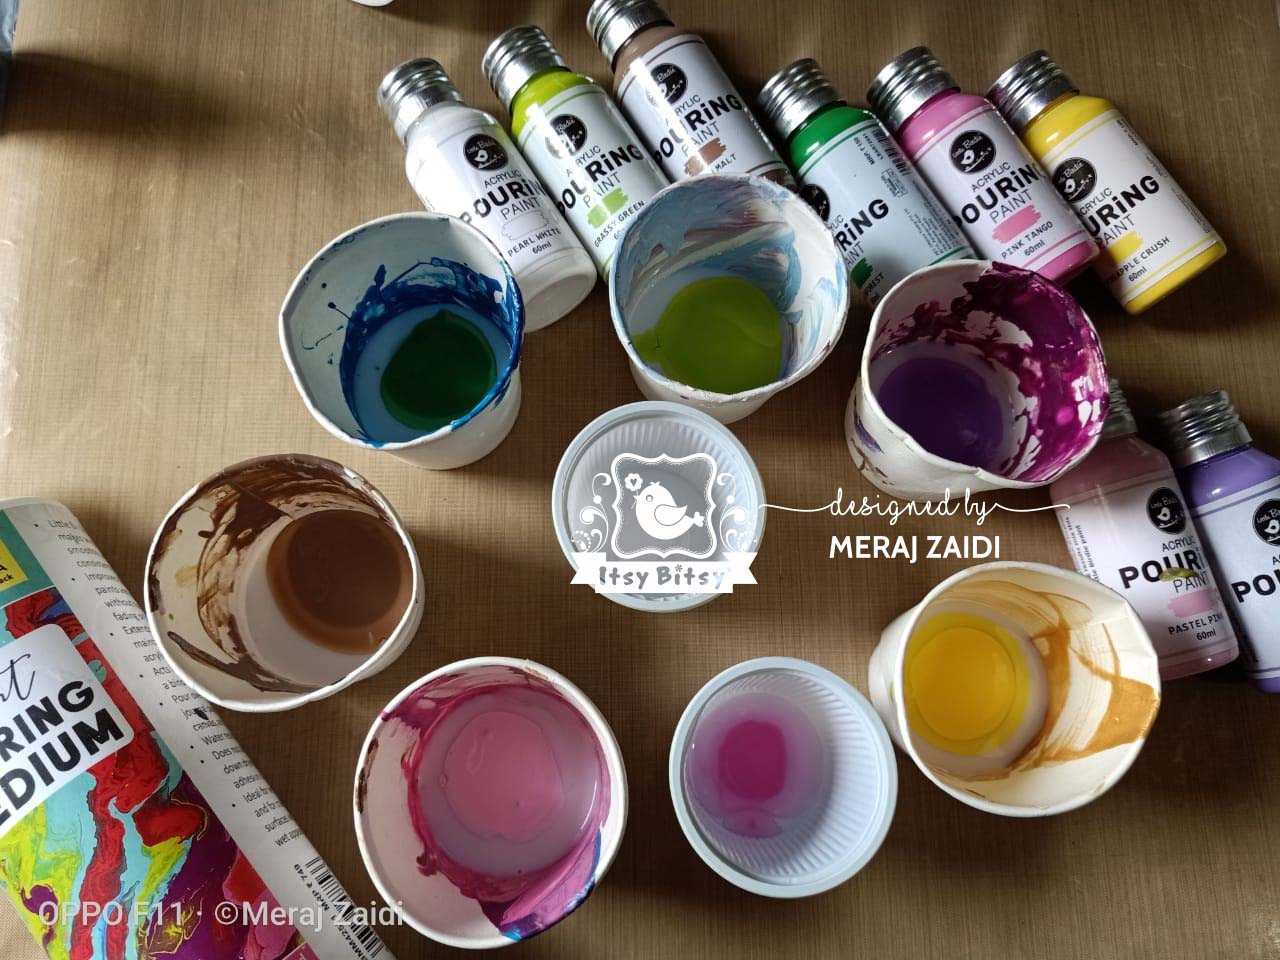
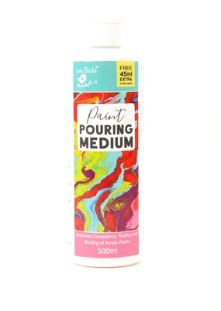
The ratio of Pouring Medium and Pouring Paint has to be equal in proportion. Pour them in disposable cups and mix well with a plastic or wooden stick.
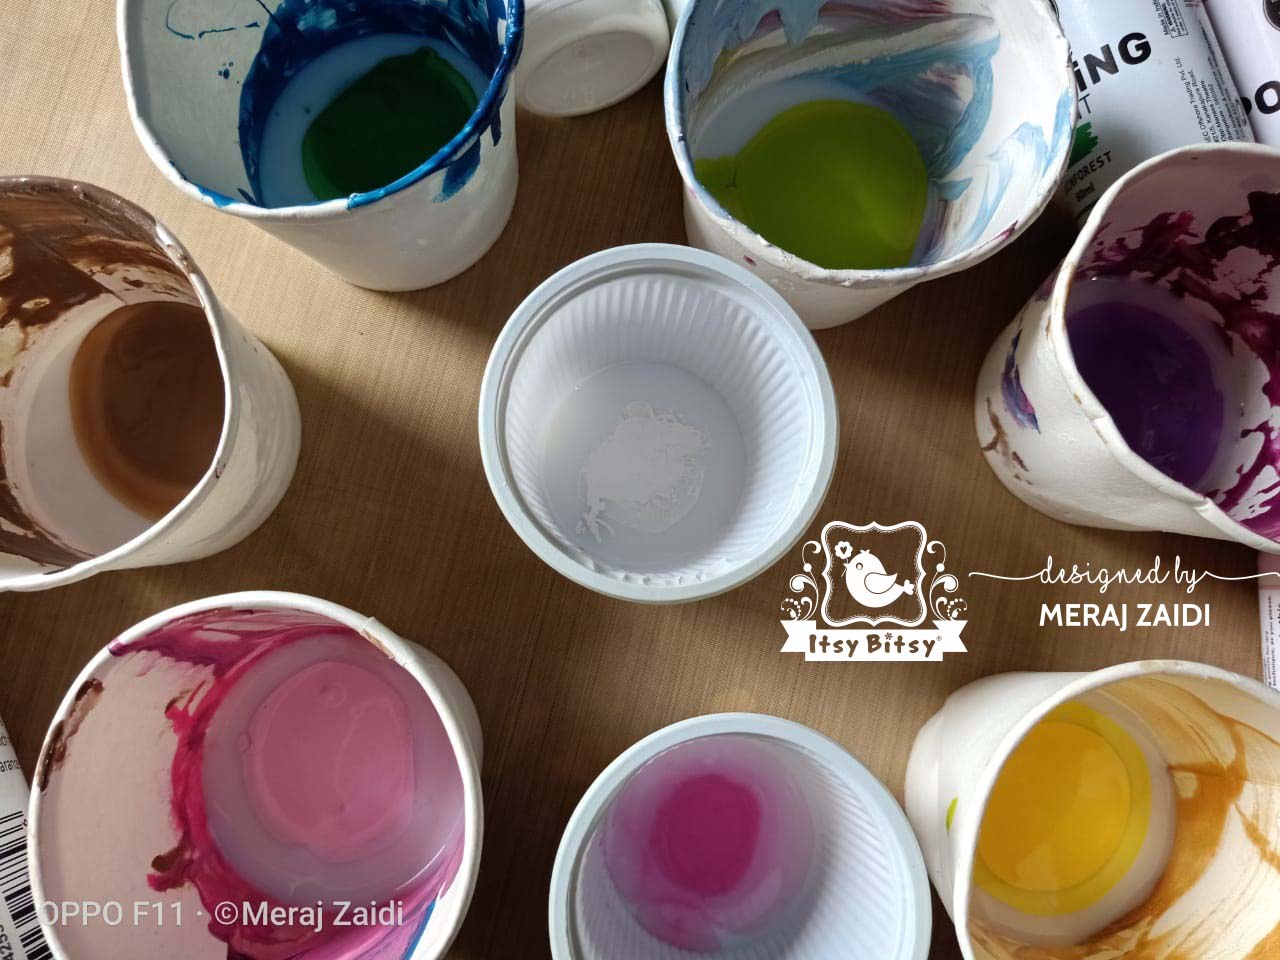

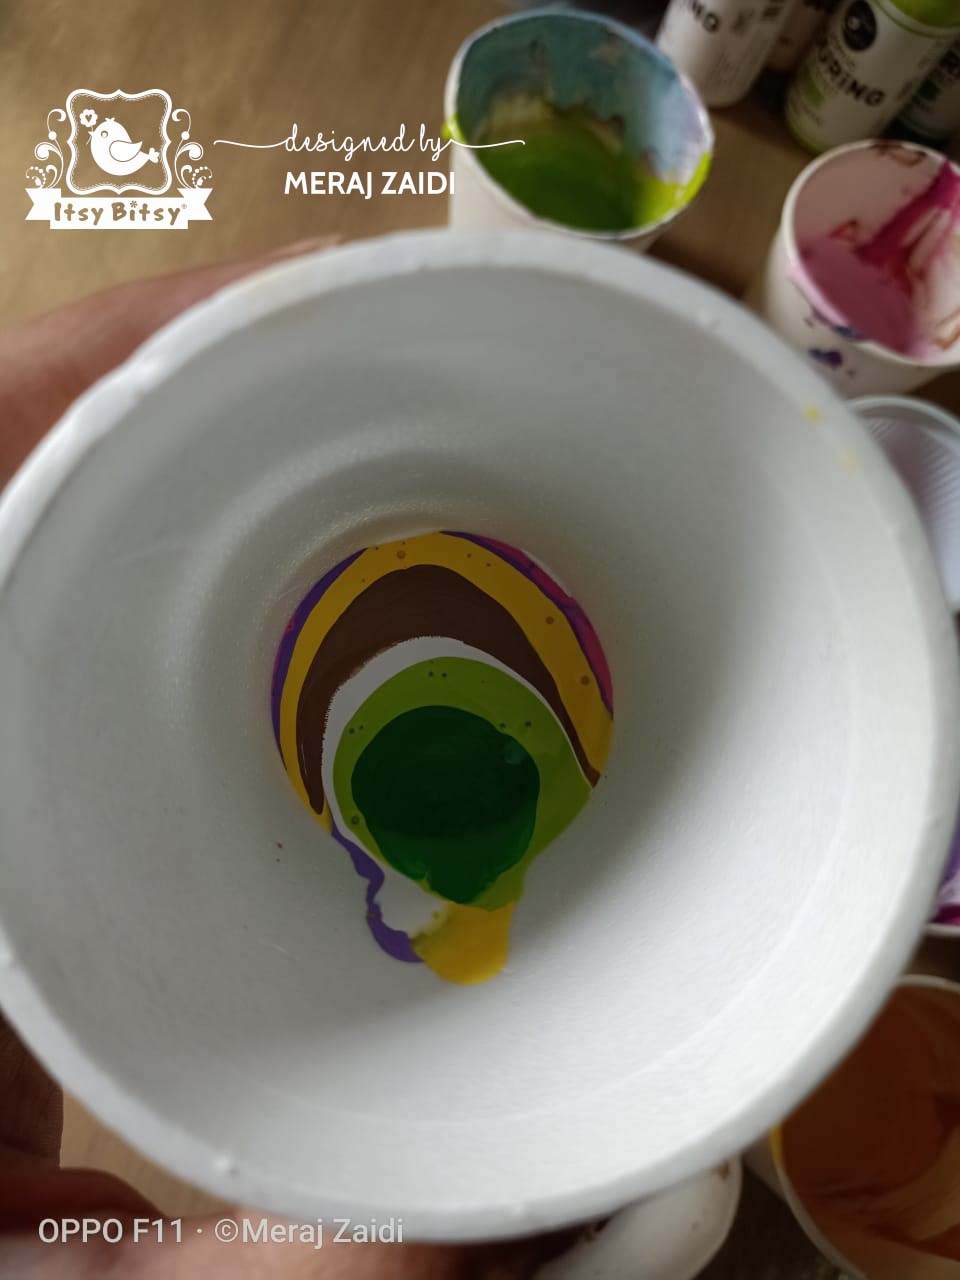
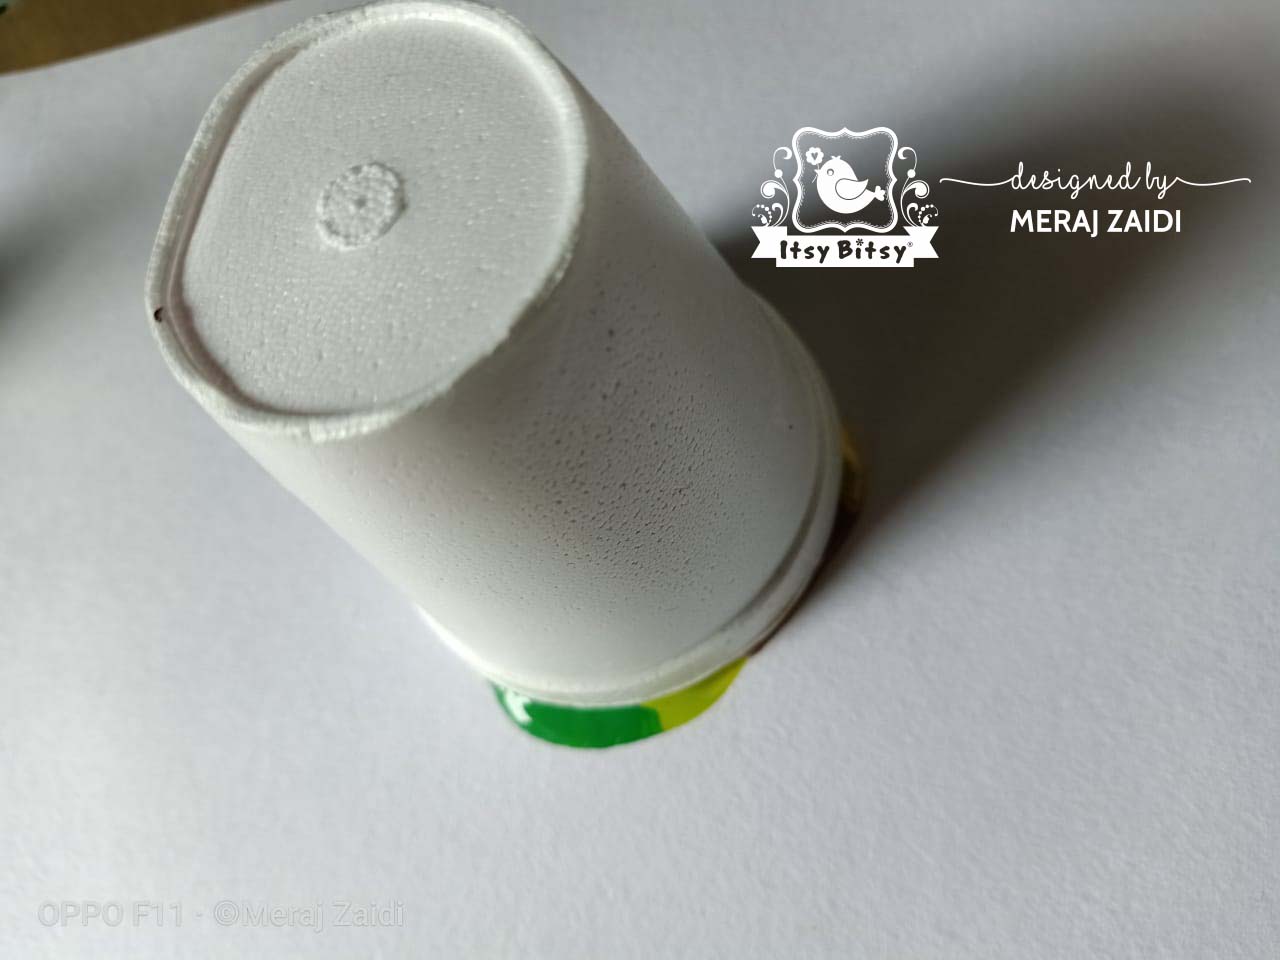
Take an empty cup and start pouring different colours of pouring paints into it, forming layers .
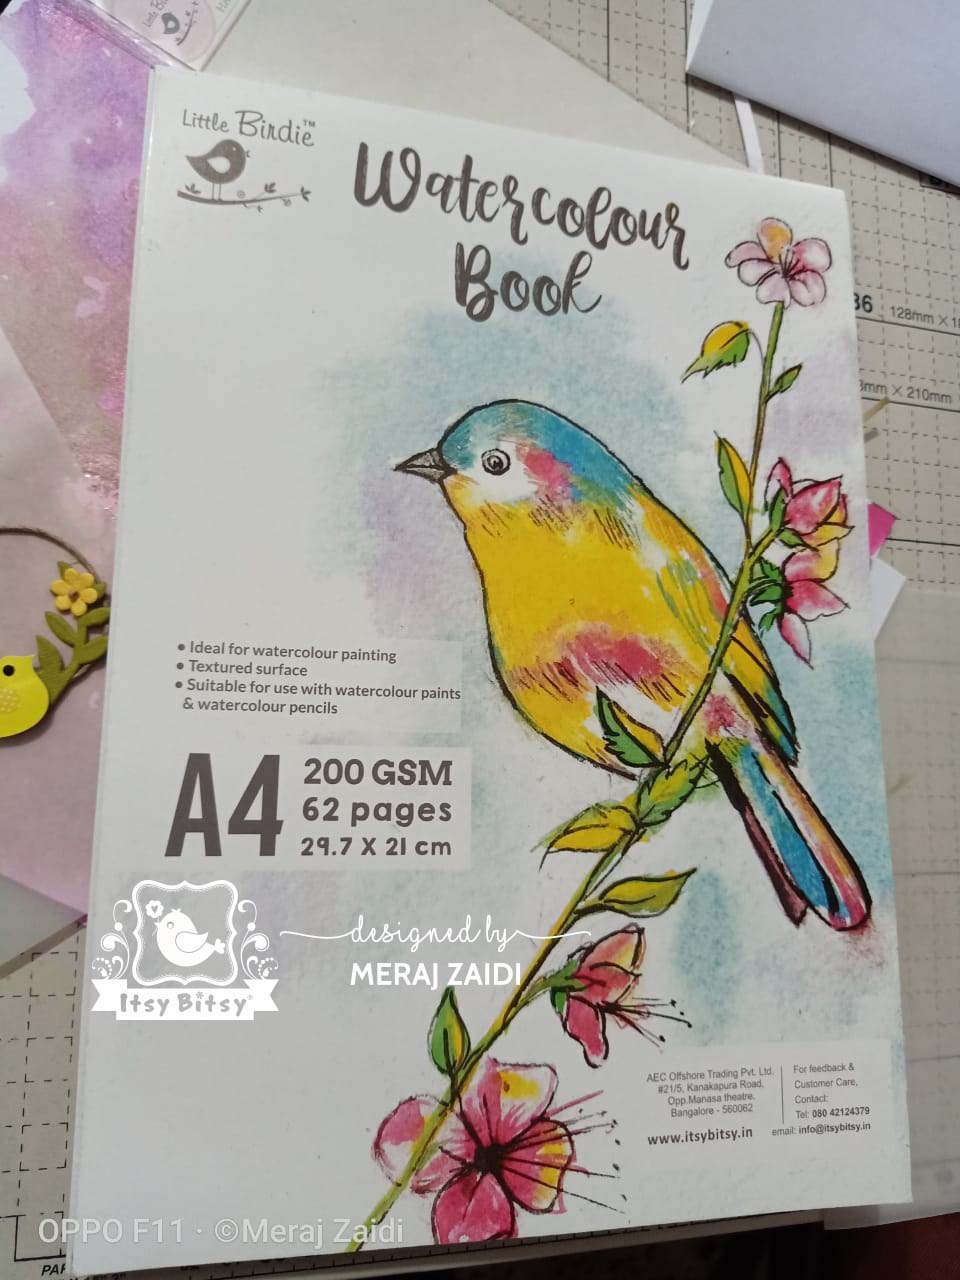
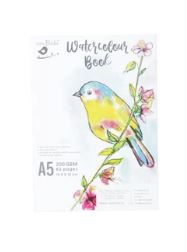
I took this watercolour paper as a base to pour the paints.
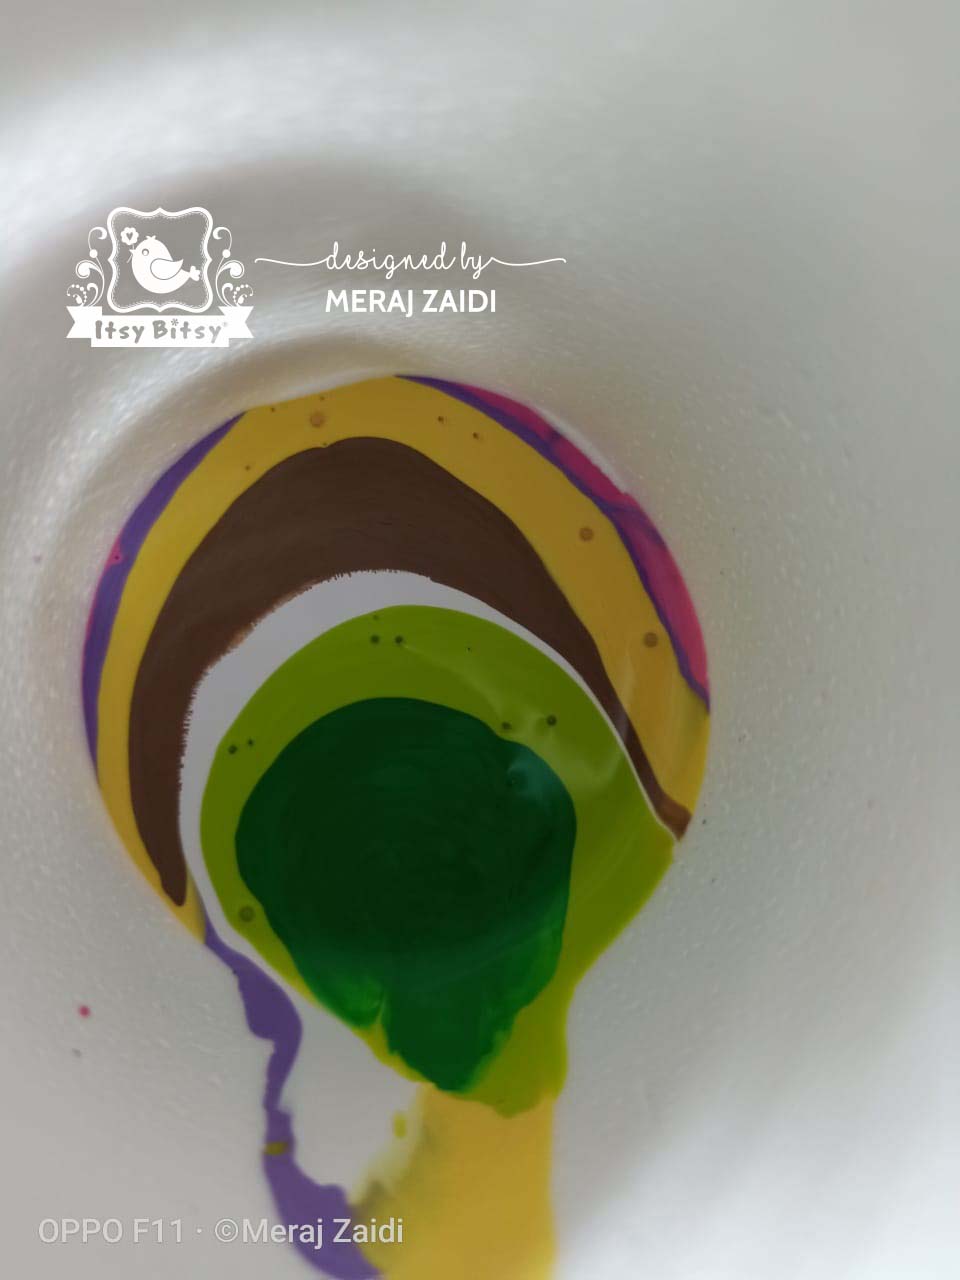
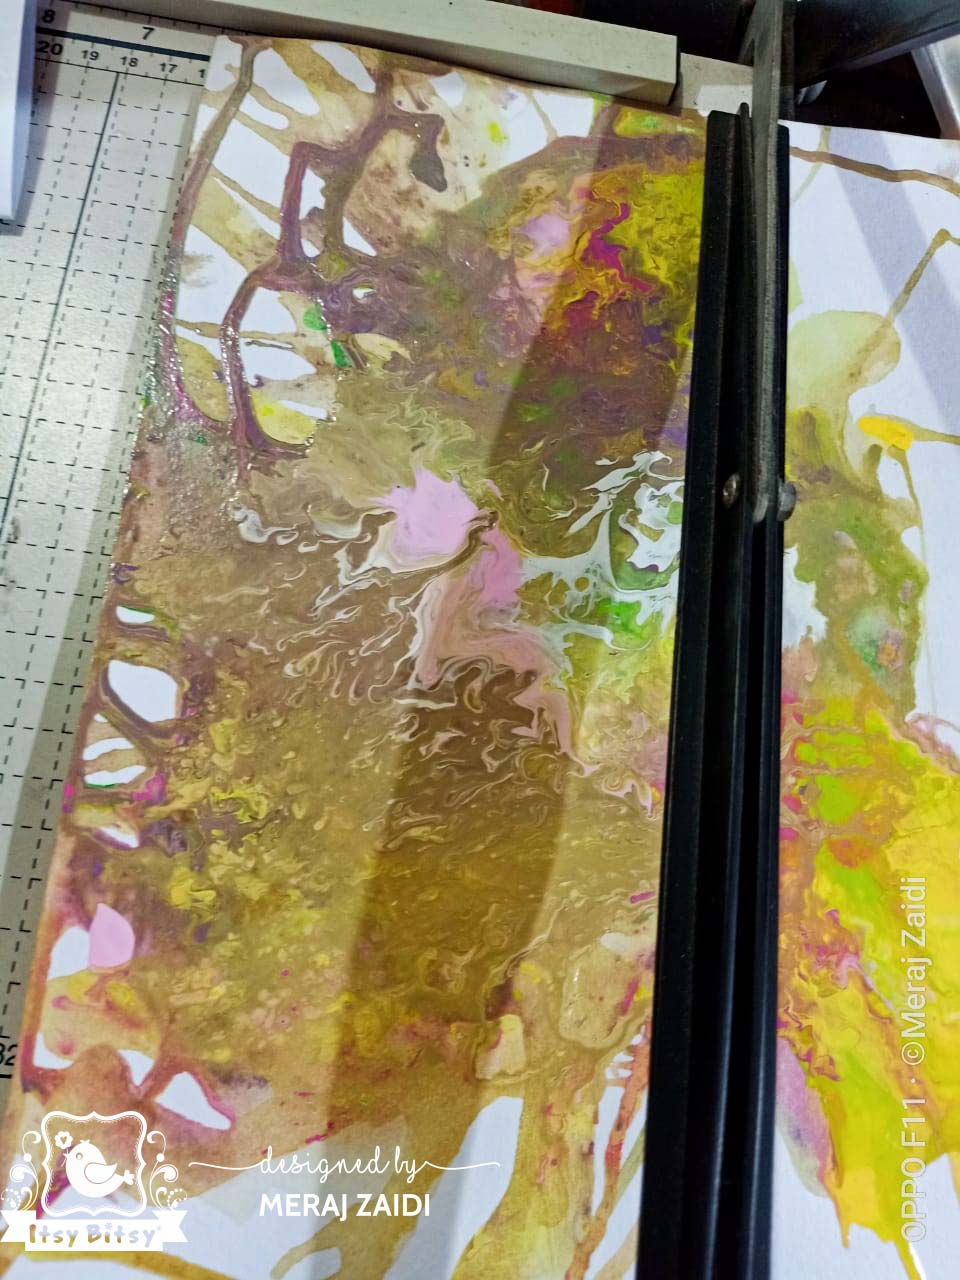
Place the watercolour paper over the cup and immediately flip it over. Let the inverted cup stay over it for sometime. The paints will start dripping down and ooze out from beneath the rim of the cup. Lift up the cup. By then you will see a beautiful colourful puddle being formed on the surface. Hold and lift up the paper carefully and start tilting it gently towards different sides to merge and form wavy effects of intermingling of colours. Let your imagination play to create the blended effect.
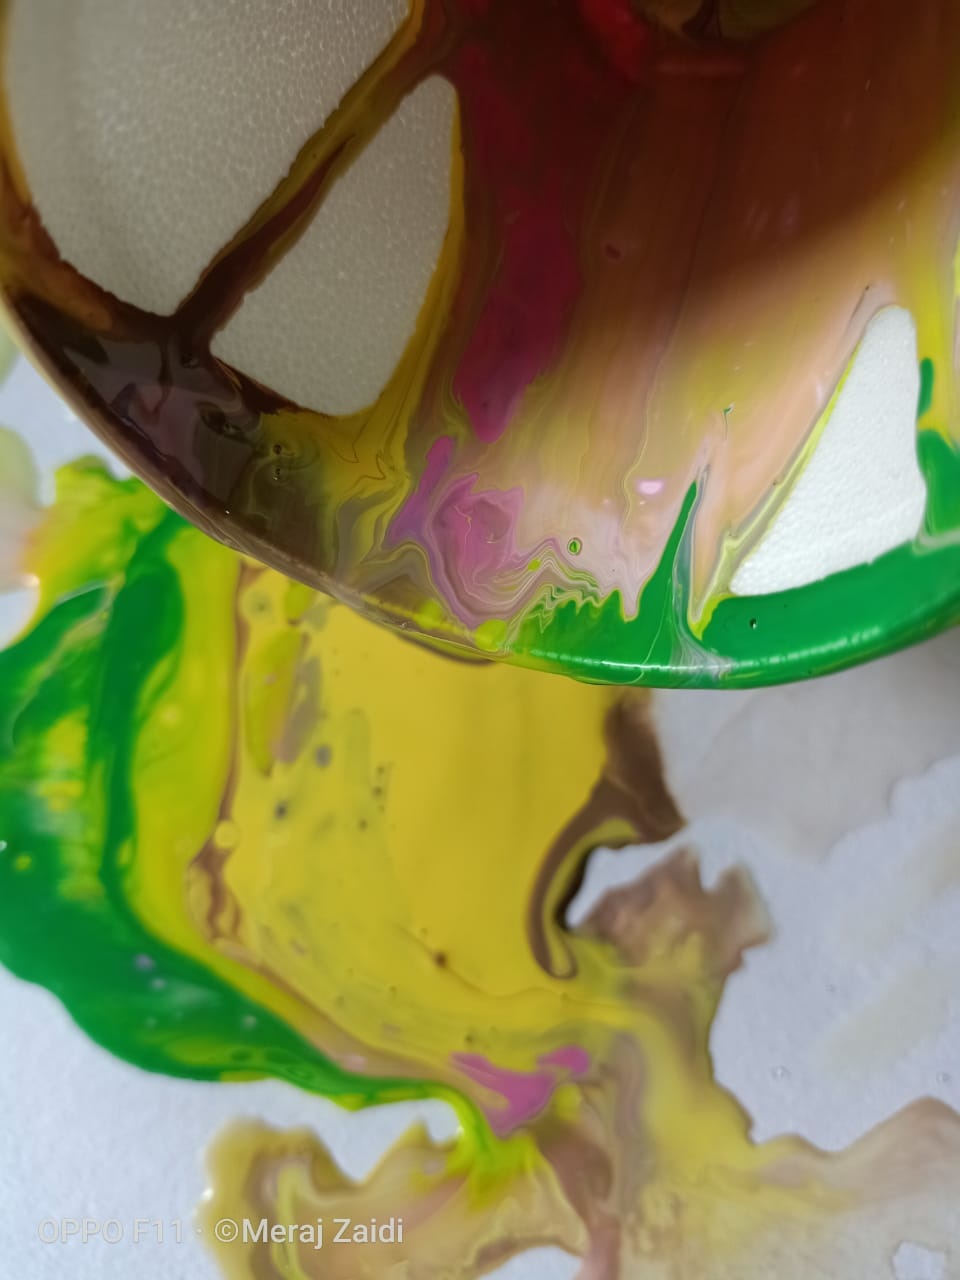
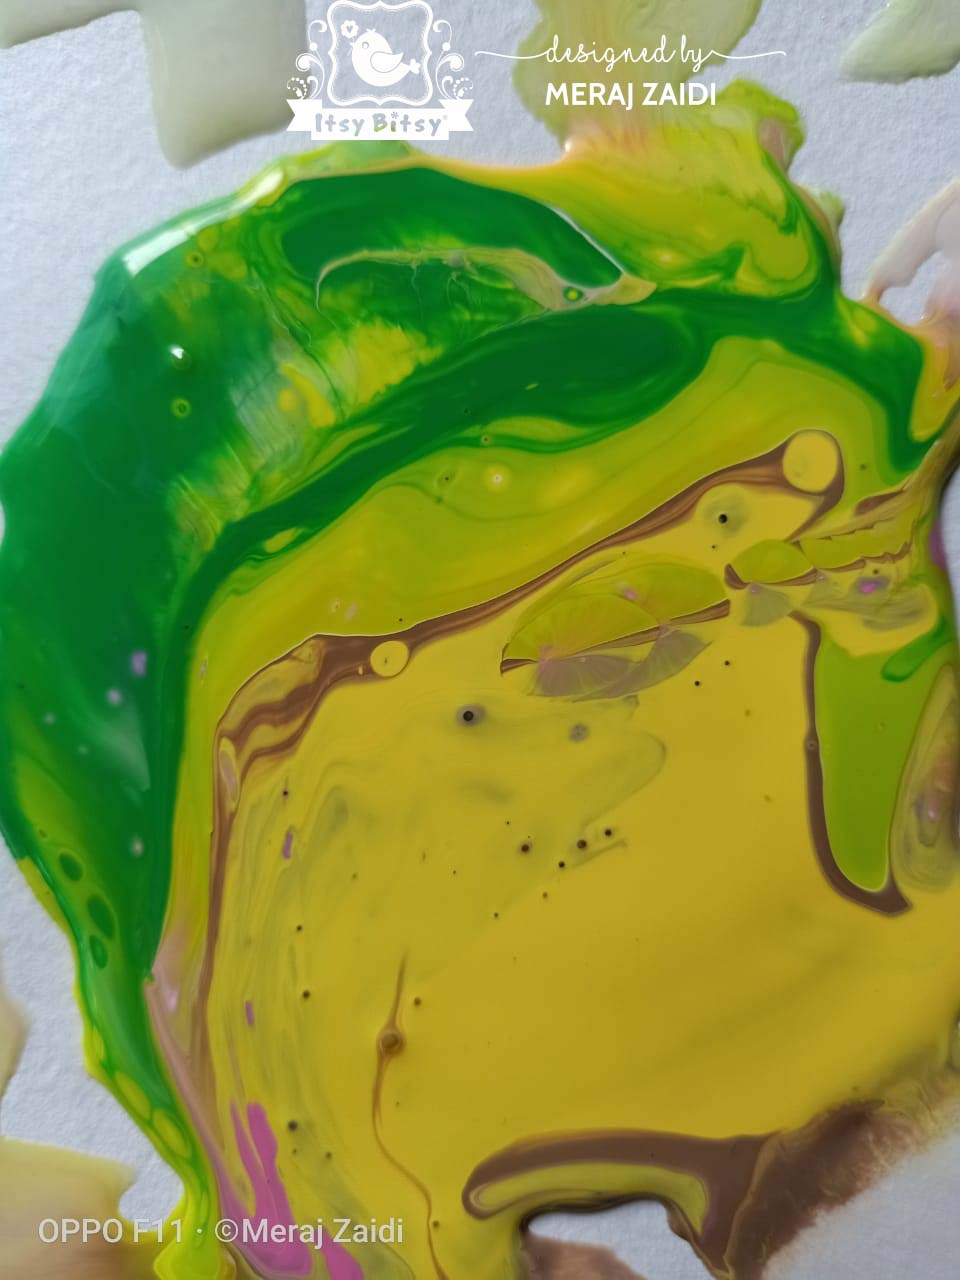
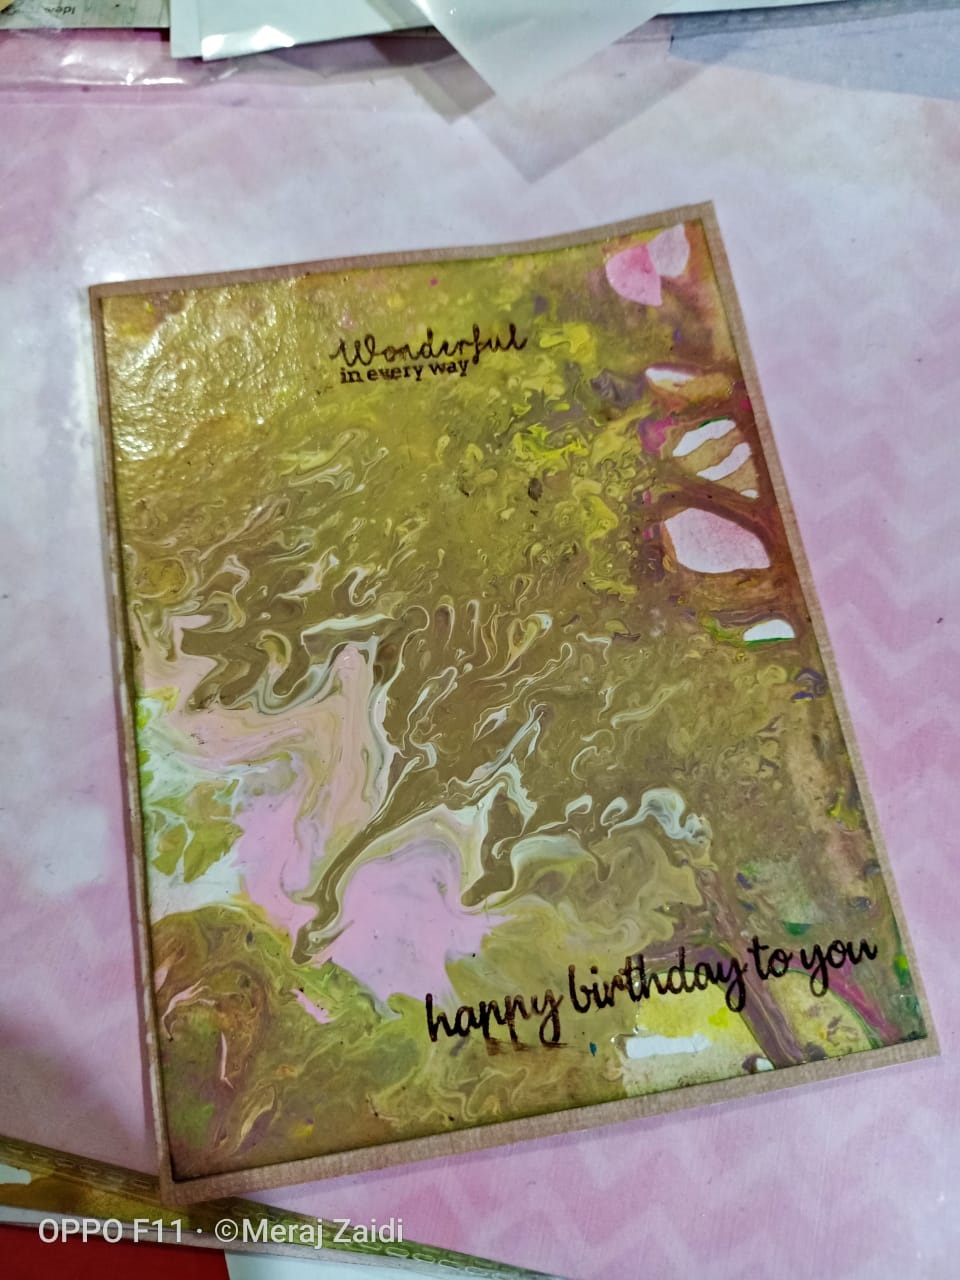
This is how your effect will look on the base of water color paper.
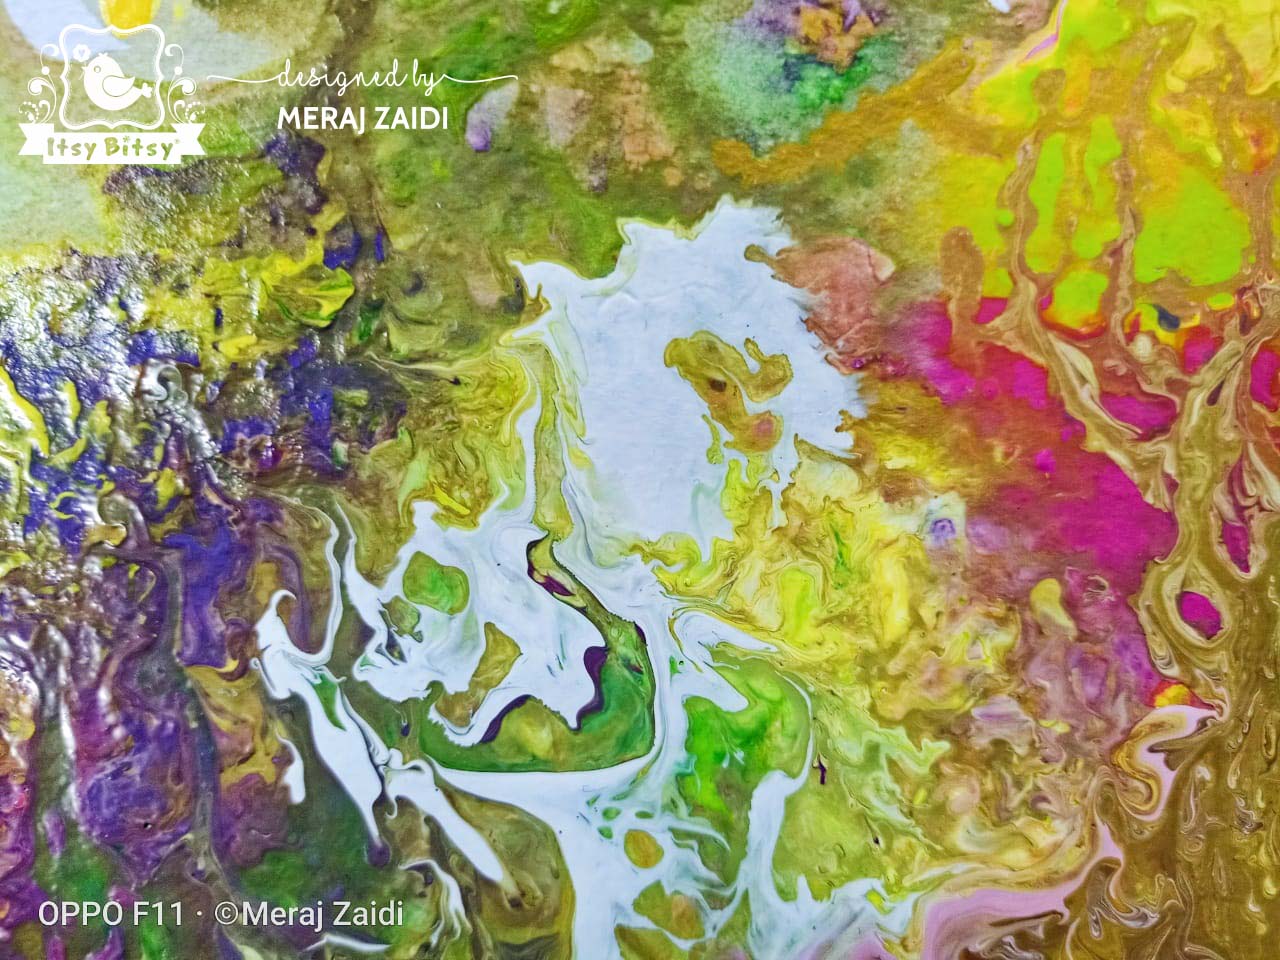

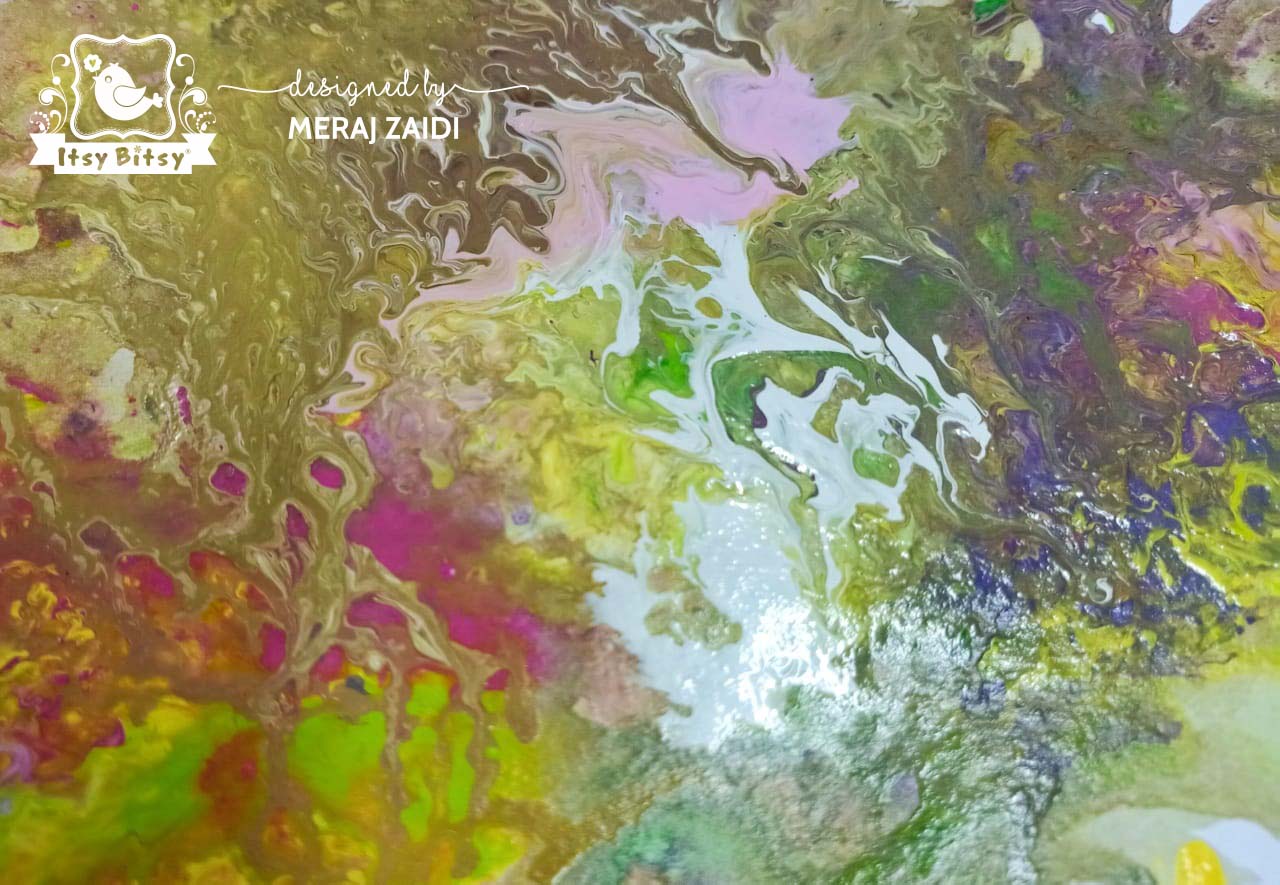
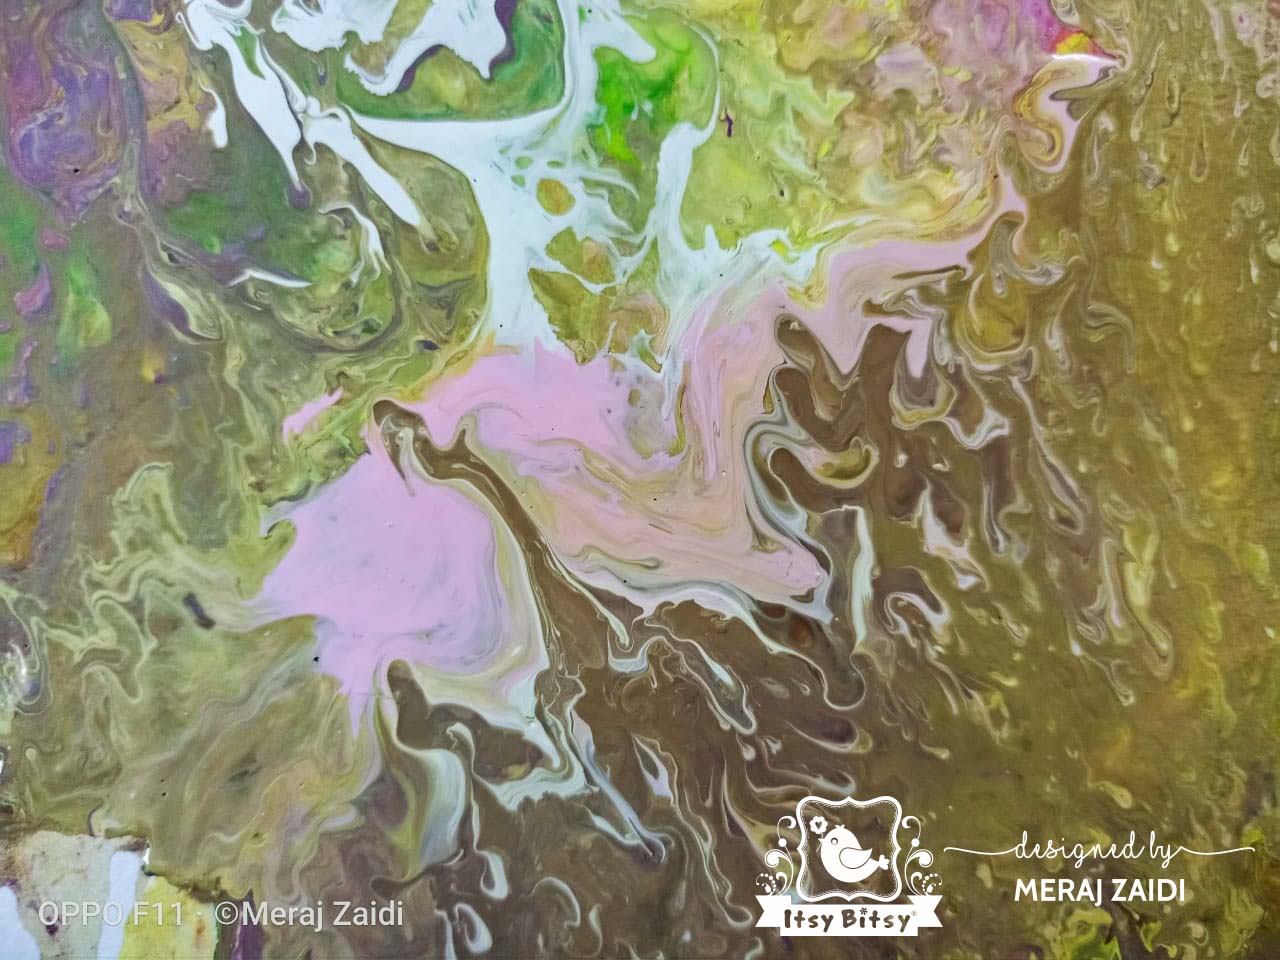
Once satisfied with the outcome of the colour spread on the surface, let it dry for few hours.
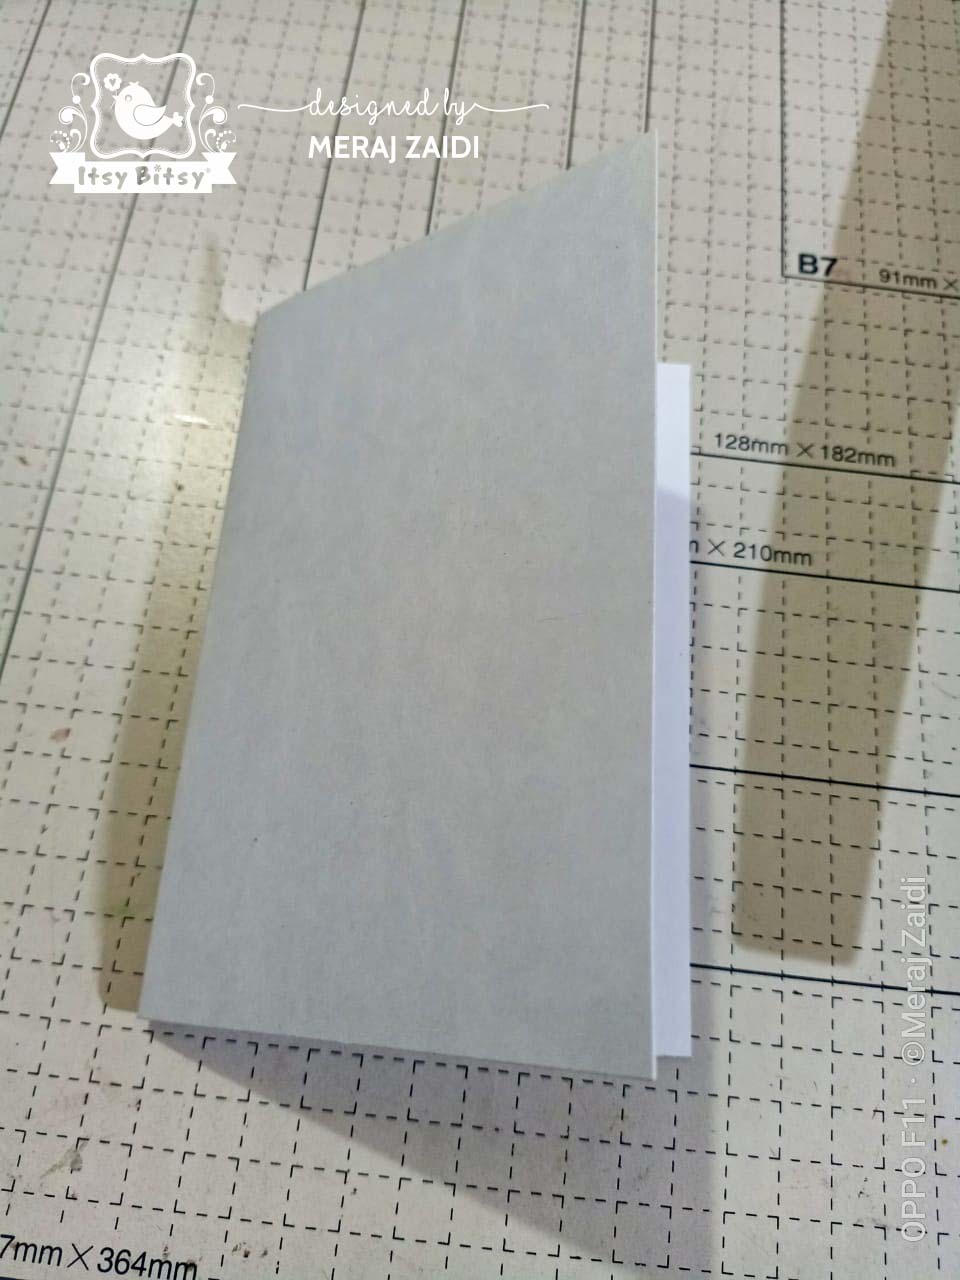
According to desired size to be matted over the white cardstock base, cut the dried up watercolour paper. I made three cards using one single A4 size watercolour paper.
Over a white cardstock base, cut the desired size of painted watercolour paper.

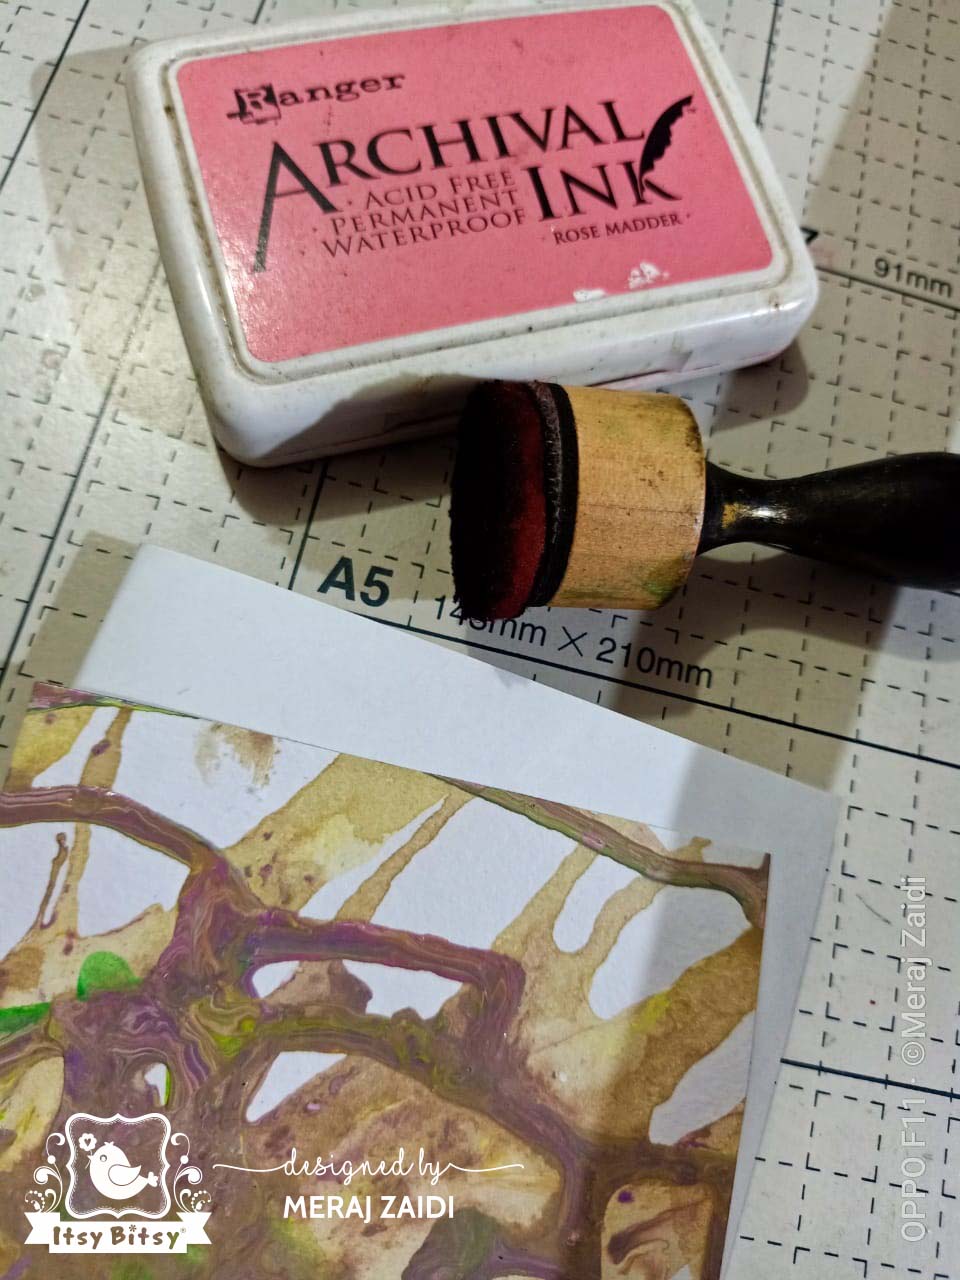
Ink up the edges with Archival Inks using a sponge dauber.
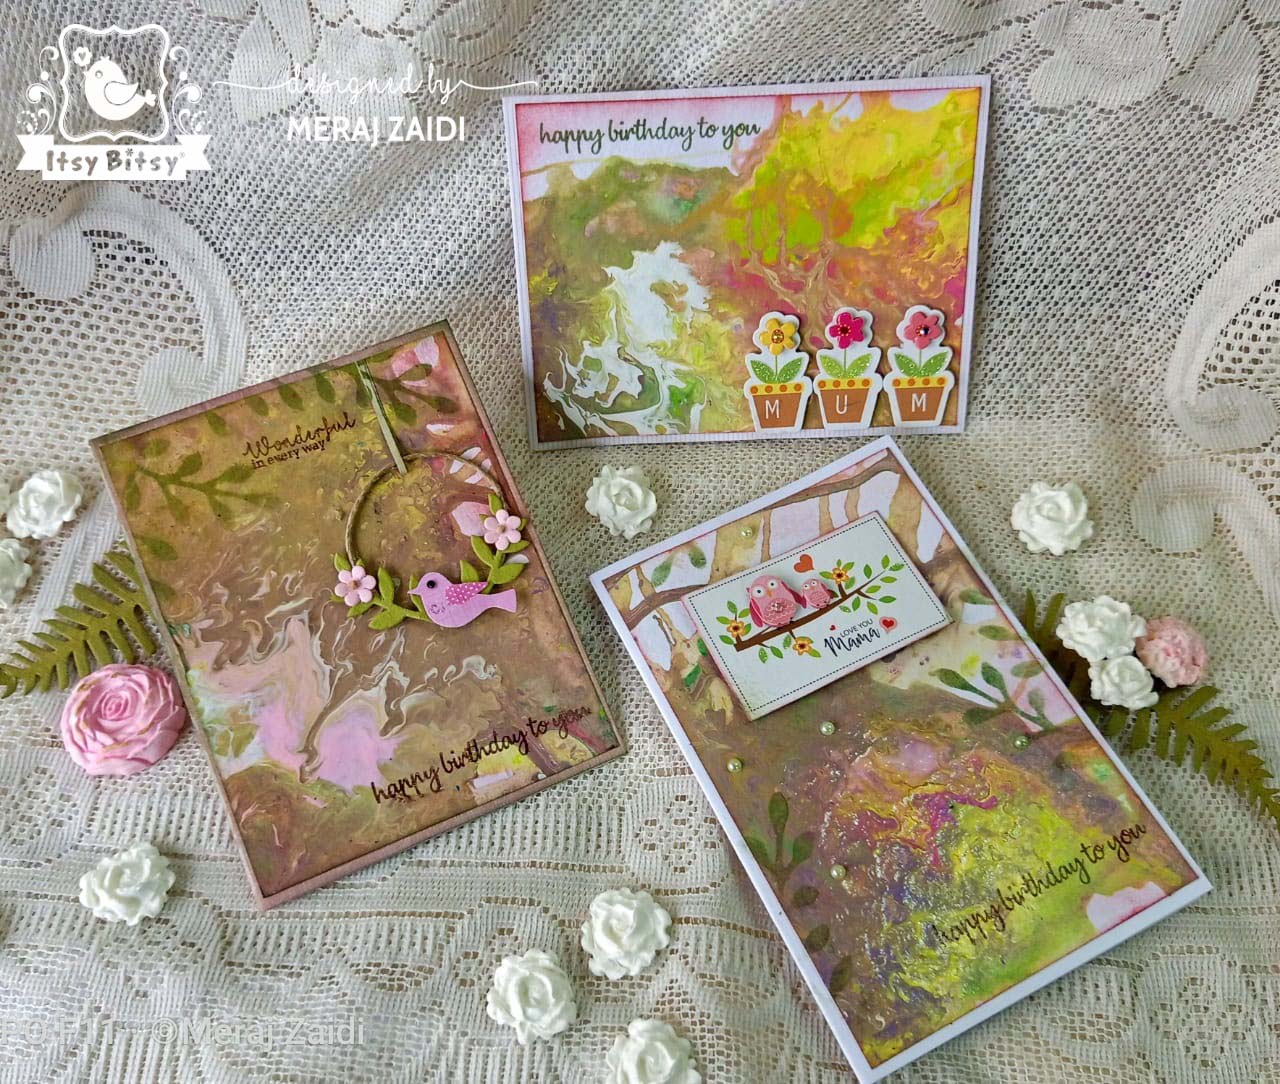
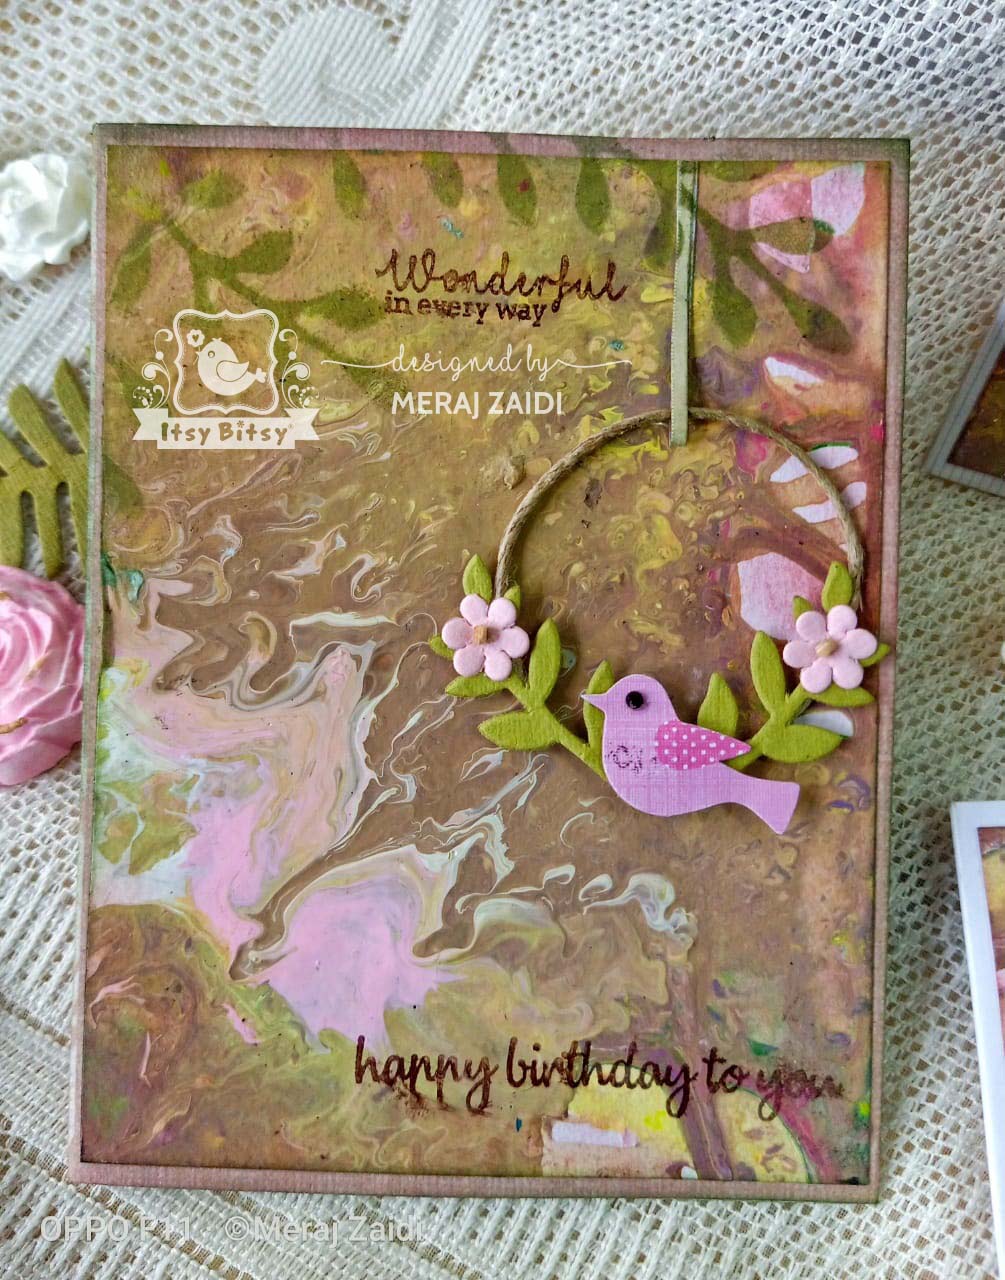
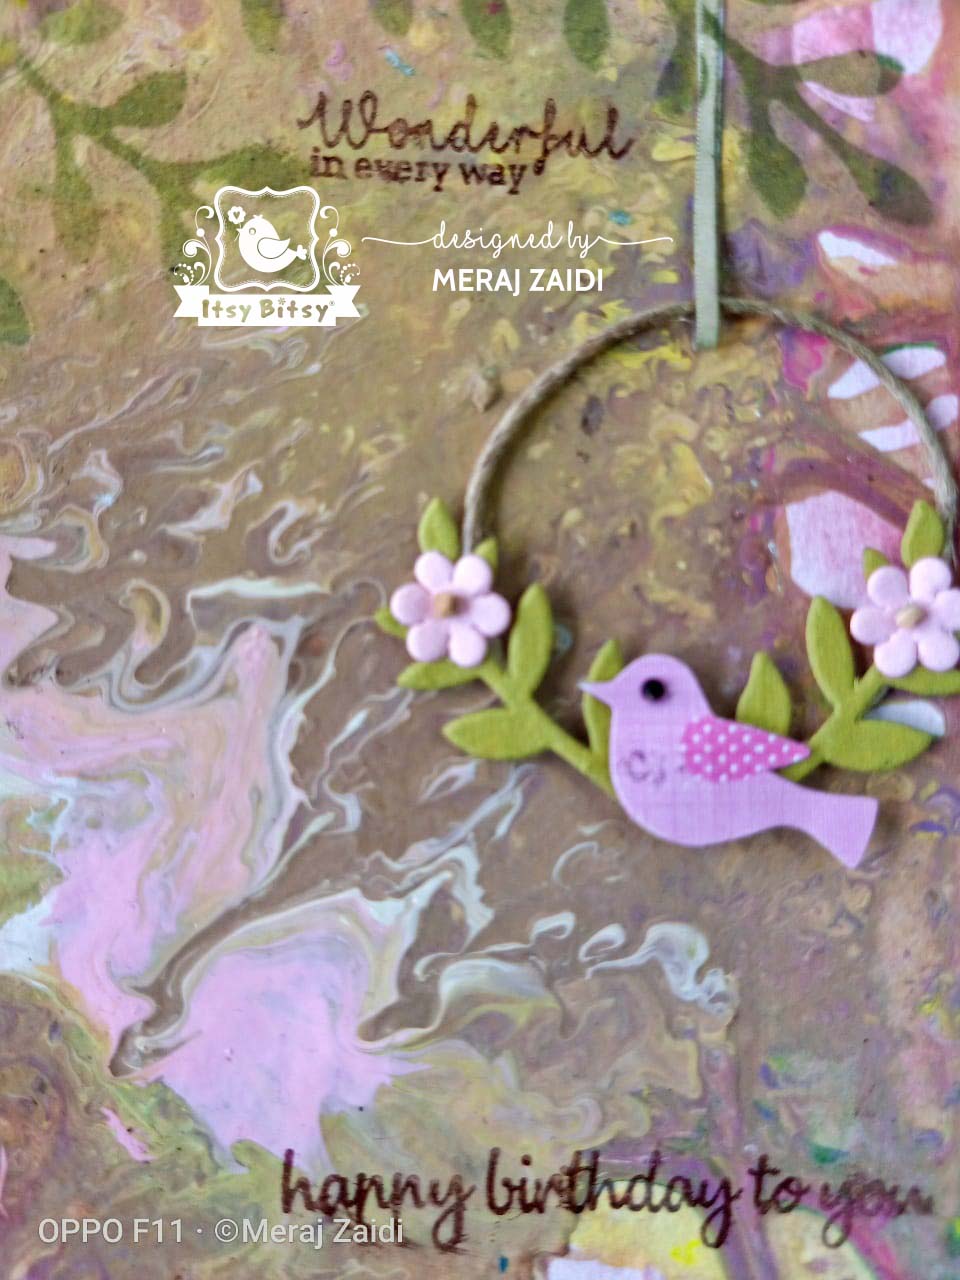
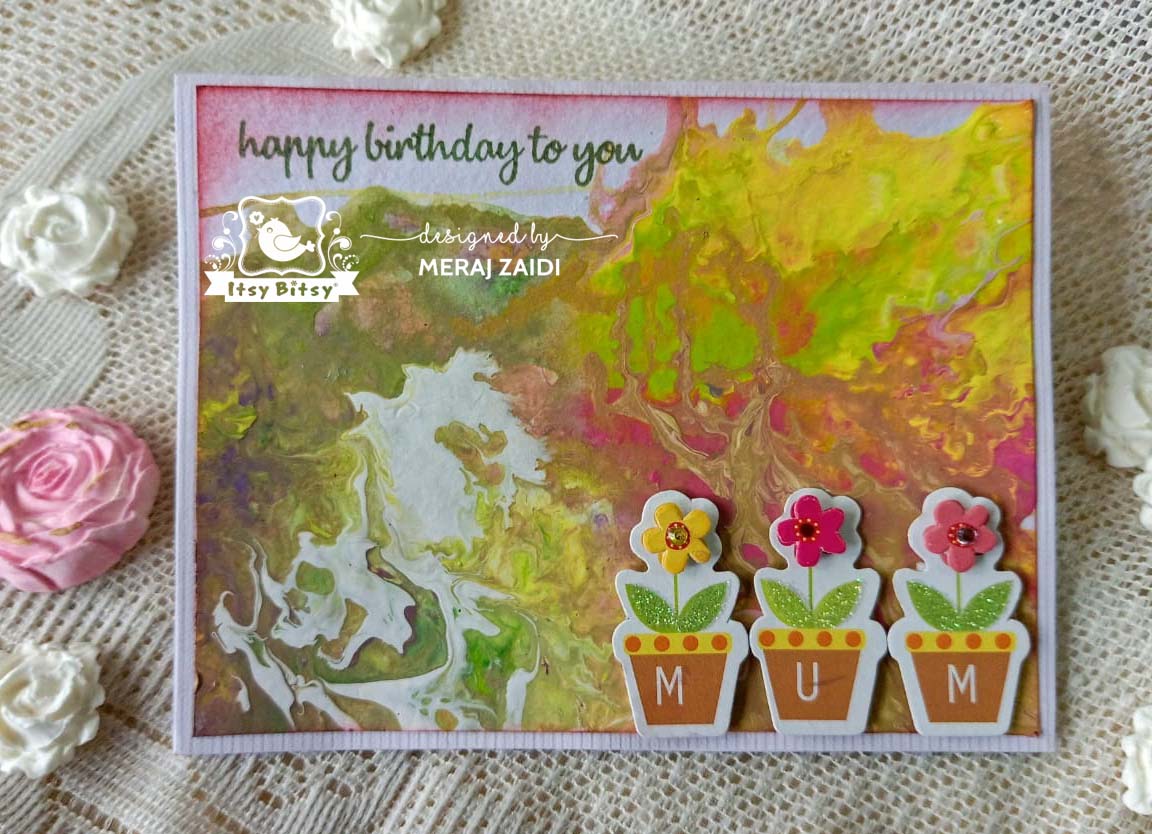
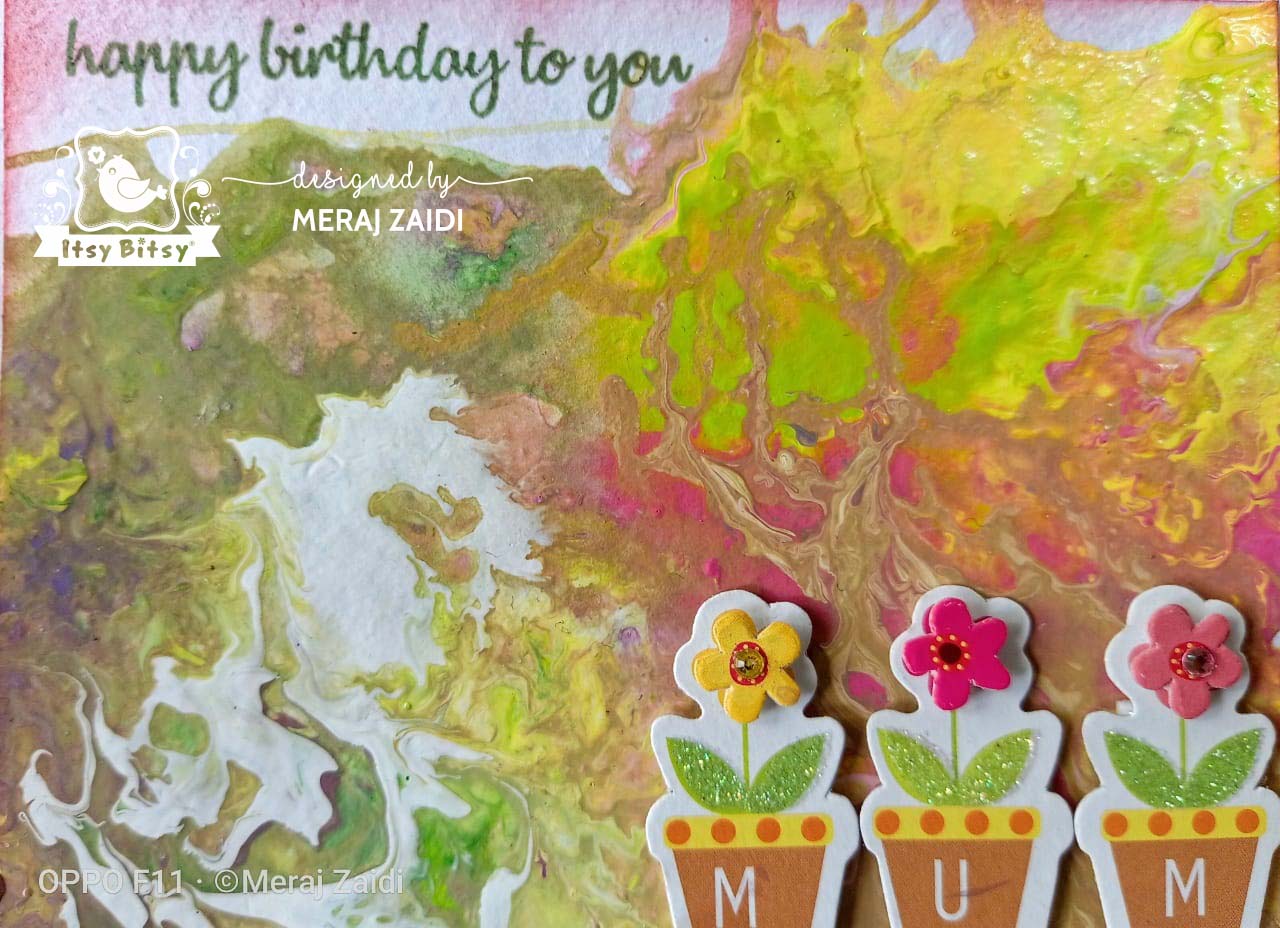
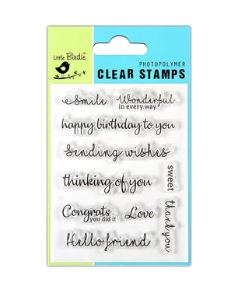
Stamp the sentiments with Archival Inks. Adhere the embellishments or any other element you wish to add on the card. Mat it over with glue on the white card base.
Stamp the sentiments on desired places.
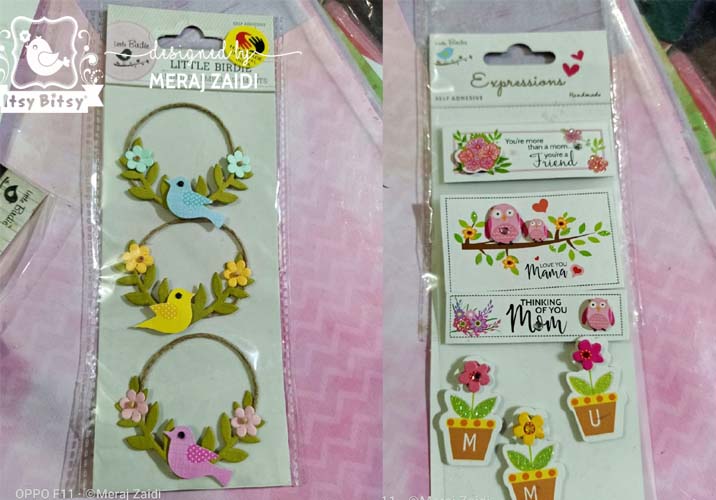
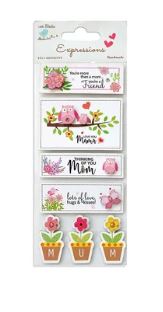
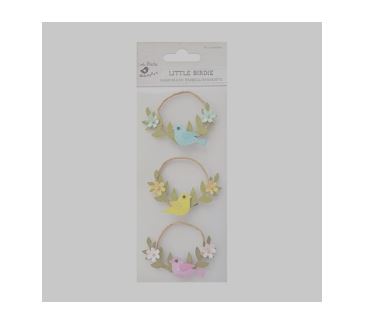
Use embellishments as per your choice, I used these.
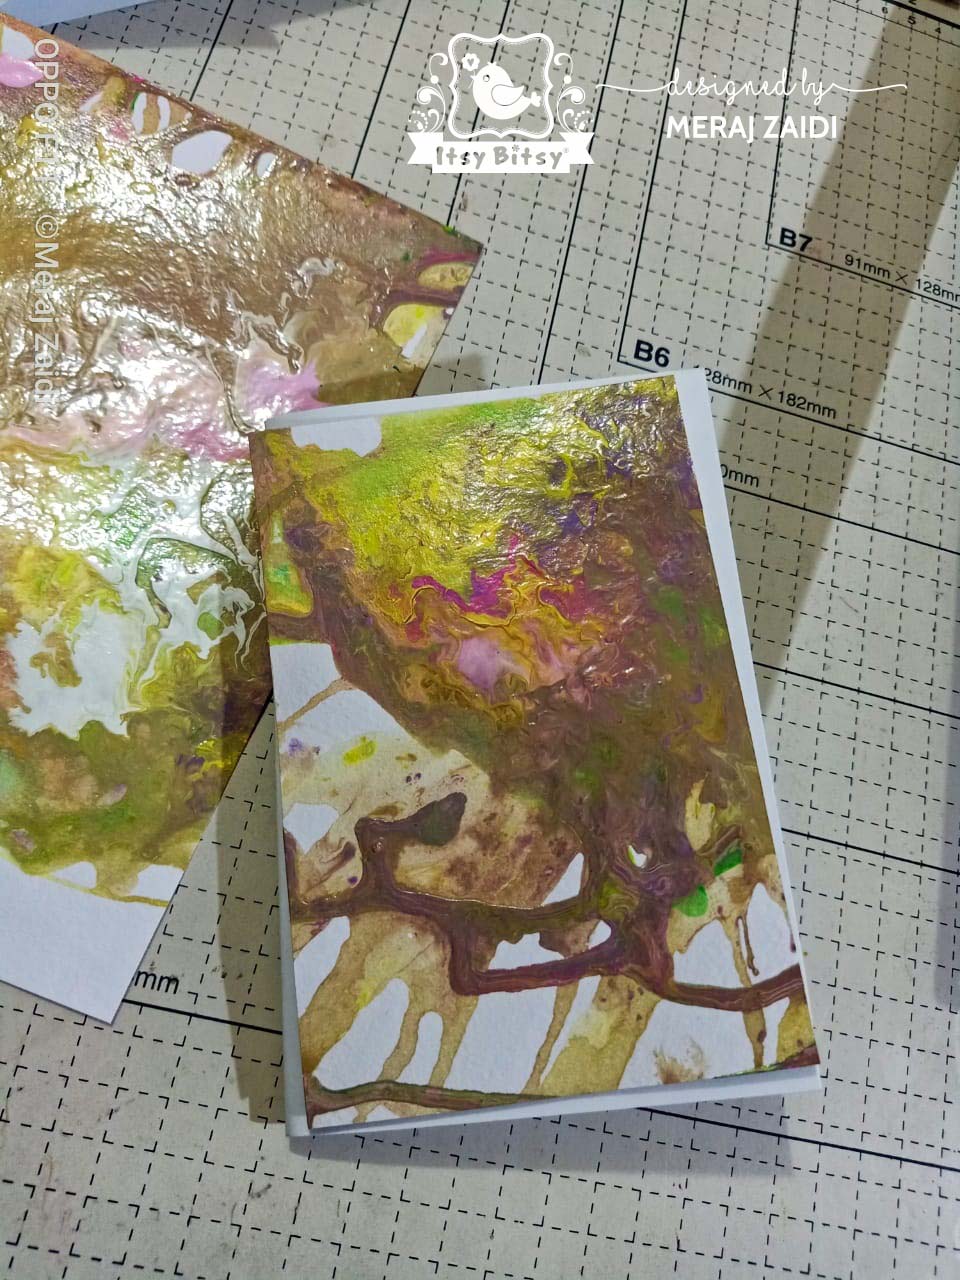
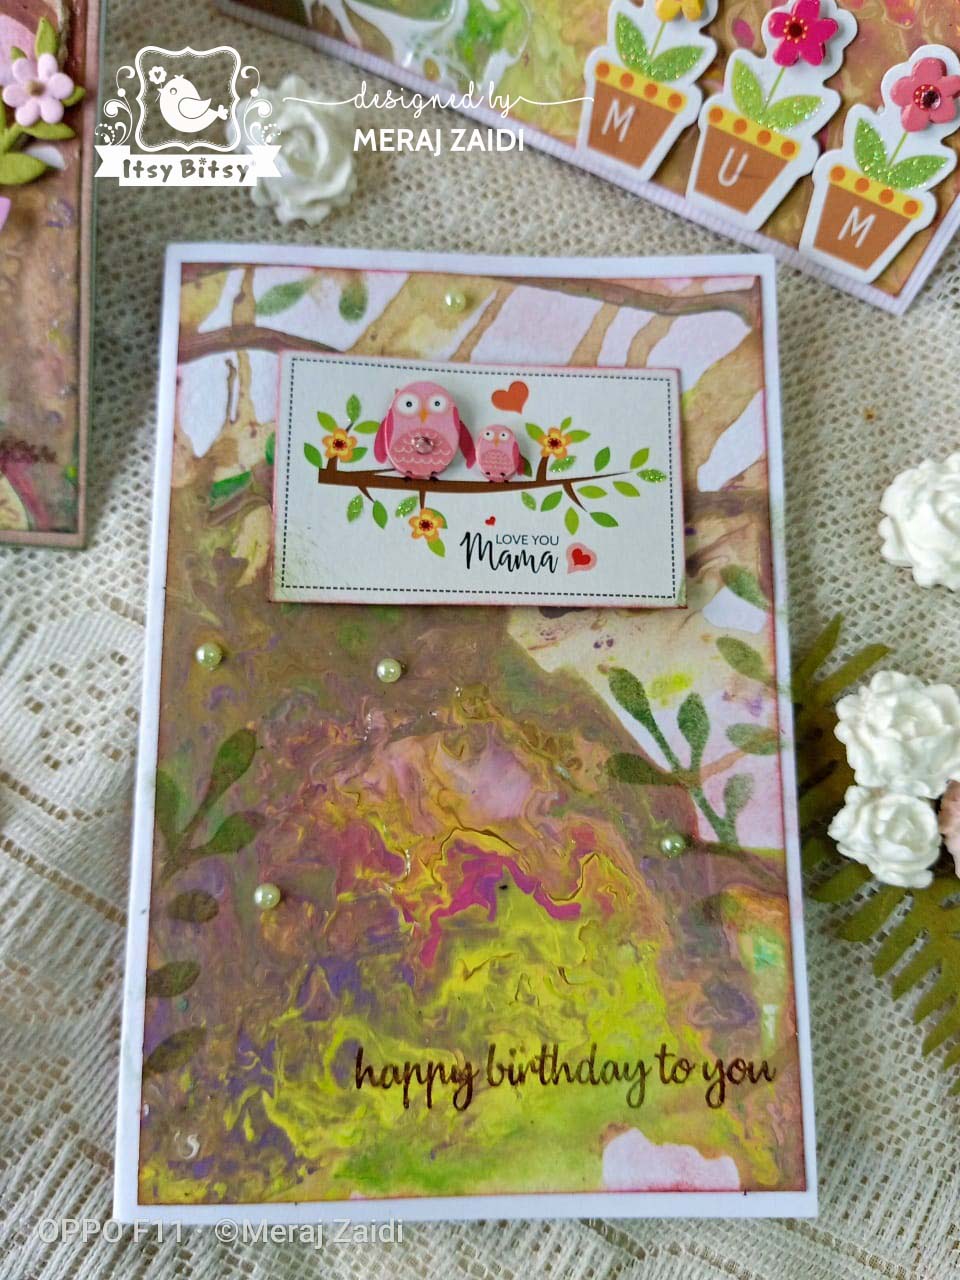
These are the three different cards made using one watercolour paper. Do scroll down to check these. Hope you like it.


Below is the list of material used in these projects along with their links to the website.

Thank you for stopping by. Hope I have inspired you. Do participate in the ongoing blog challenge at Itsy Bitsy and share your creations …Happy Crafting!
Love,
Meraj Zaidi