
Hello friends, Vaishali here on the blog today. Hope everyone is doing great!!
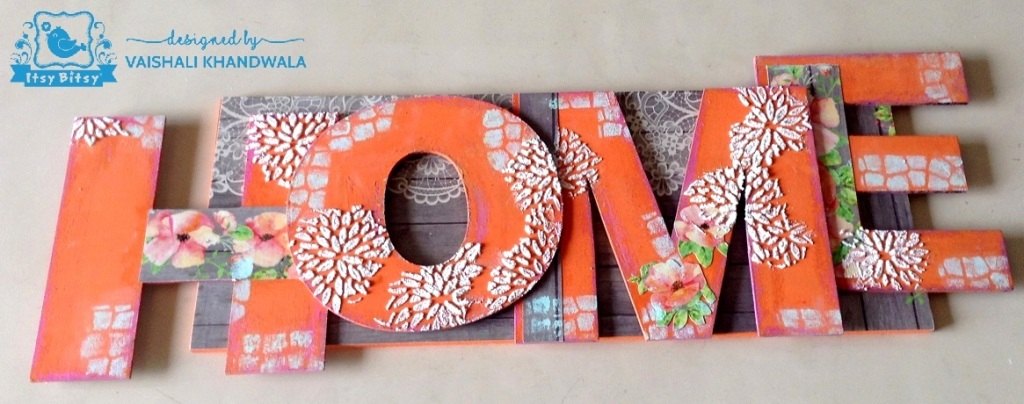
The title of the creation expresses my feelings, being on the Itsy Bitsy design team …I truly feel at home and a its a Happy Home indeed!!
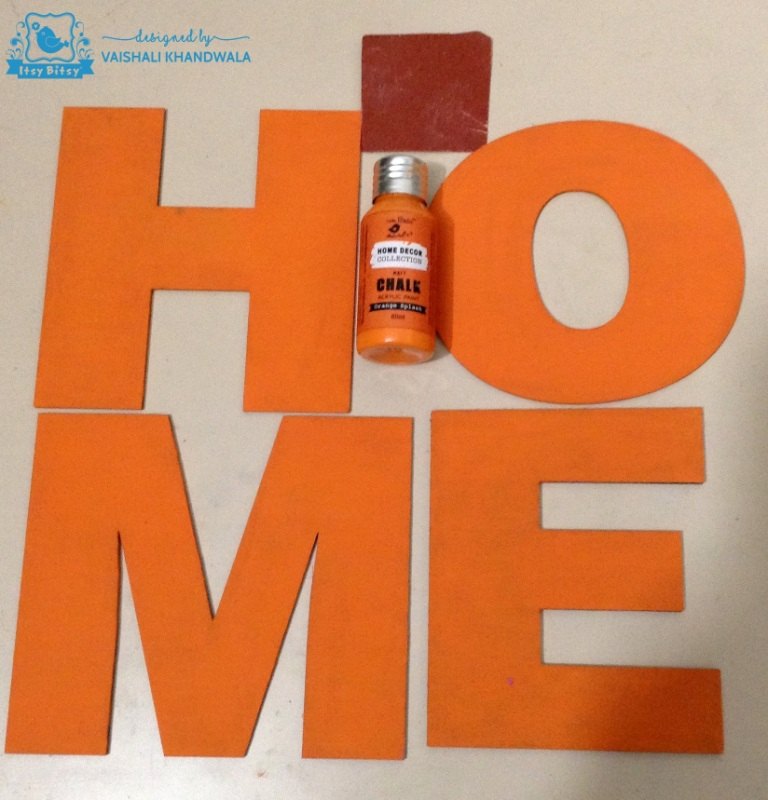
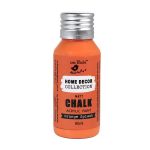
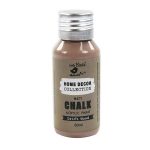
Itsy Bitsy has recently launched some beautiful bright chalk paints. Chalk paints from the store are loved by all crafters and now there are happy bright colours added to the range. I am sure everyone will enjoy using them. I have played with the New Chalk Paint Colour – Orange Splash , the beautiful new embellishments, the primed chipboards, pretty flowers and embossing texture paste – Frosty Fizz , to create this decor piece.
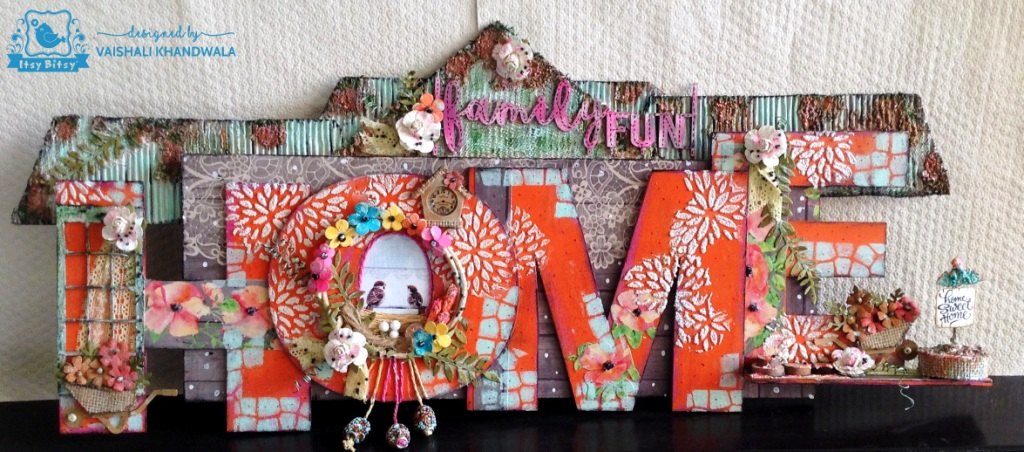
This welcoming decor piece is around 24 inch long and 9 inch in height. It goes as my inspiration for the current monthly blog challenge # 15…where anything goes with new chalk paints. Do play along and have fun !!!
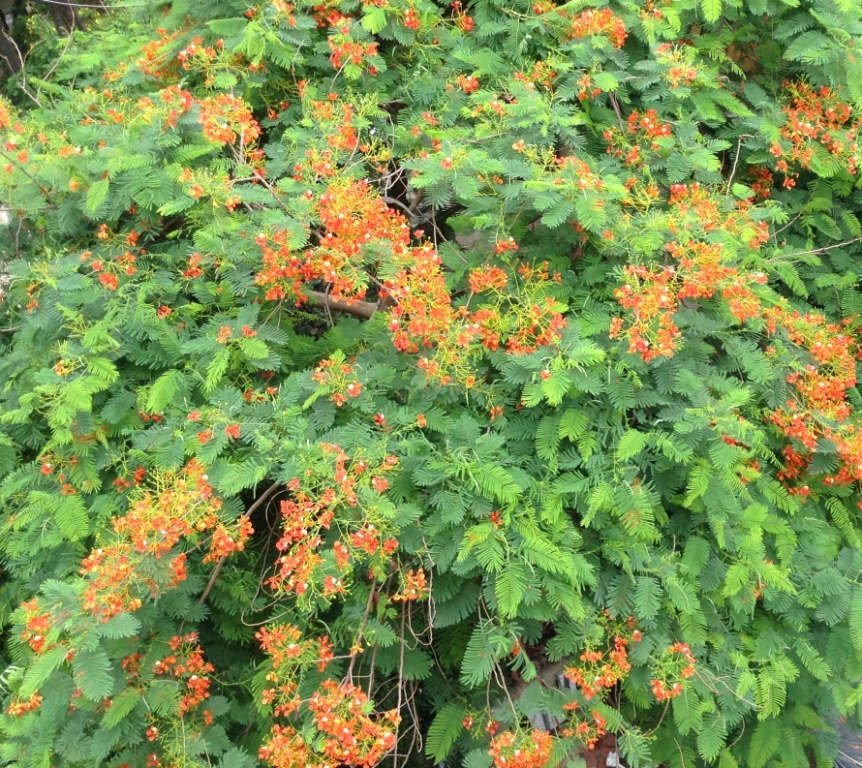
I have a step wise picture tutorial, of this creation….It is inspired from the beautiful Gulmohar tree that is in full bloom at this time of the year, here in Mumbai. The orange chalk paint colour depicts the bright Gulmohar flowers and the grey background are the grey clouds that cover the sky as the monsoons begin here as well….. so here is a HAPPY HOME under the shade of Gulmohar tree….whose branches gently sway with the music of monsoons !!!!
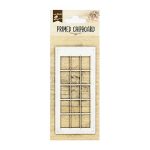
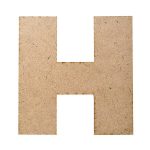
For making this wall piece, I have used the MDF alphabets H, O M, E of 6 inch height. I did not want to display them separately, so decided to attach them to a MDF plank.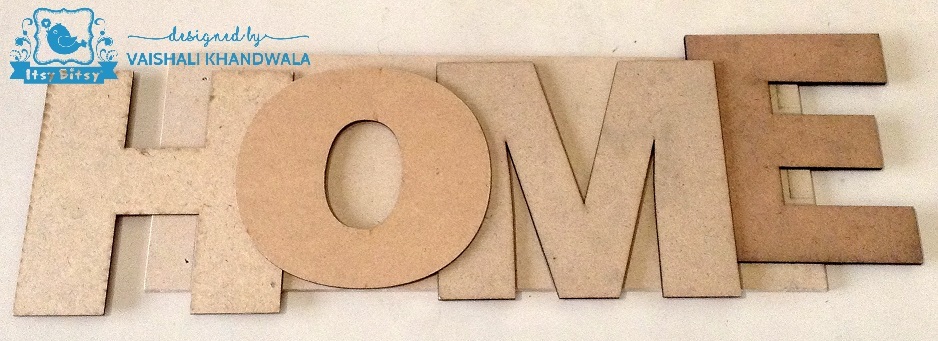
In the above picture, I have only decided the placement and not fixed the alphabets to the plank. Next step was to paint the alphabets with orange chalk paint . Wanted to tone down the orange a bit, so decided to distress the alphabets. Distressing technique gives great results when done with chalk paints. The chalk paints, as the name suggest are acrylic paints that have a chalky matte finish. Its very easy to sand them, to get a smooth finish, no stickiness at all. So when distressing, its always better that the top coat of paint that is to be sanded is of chalk paint ( in this case orange ). Here is how I distressed the alphabets. First applied Moda acrylic paint -bubble Gum pink (same colour is available in chalk paints also ). Once it dried completely, I rubbed wax candle on places where, I wanted the pink to be seen (mainly on the edges).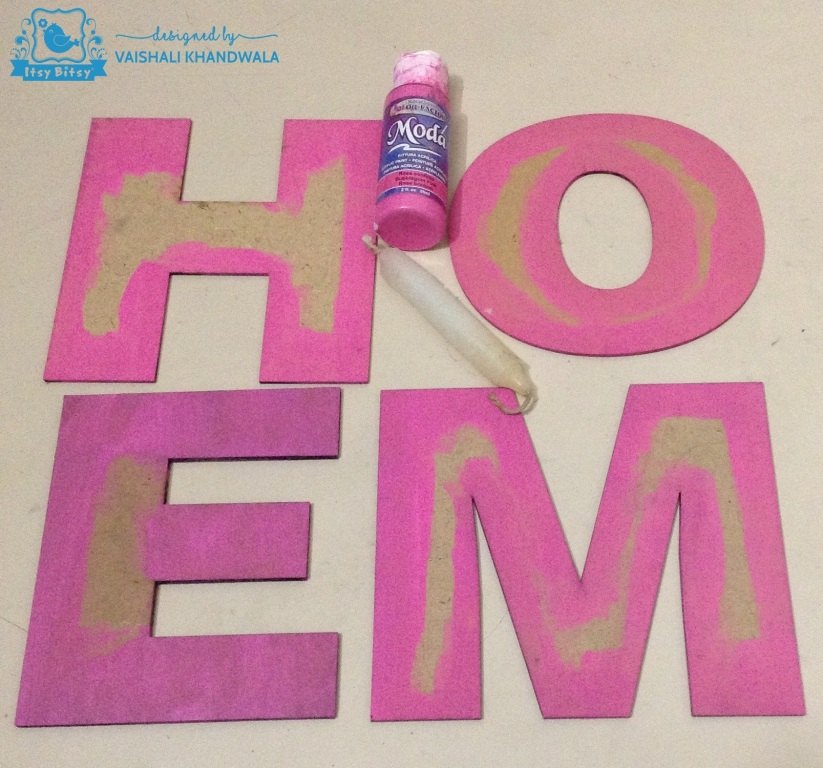
Next, I applied the orange splash chalk colour everywhere. Once it dried completely, I sanded it using sand paper. Wherever the wax was applied, the orange colour came off easily as wax resists the paint. The non-sticky nature of the paint makes it ideal for this kind of work. As a result the underlying pink colour was seen.
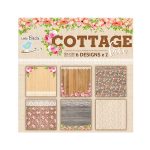
Once the alphabets were distressed, it was time to decoupage them. For this I used the 12 x 12 inch paper pack Cottage Lace from the store. It comes at an unbelievable price of Rs 100 with beautiful collection of papers. Some papers have lovely orange flowers with tint of pink and grey background, which worked perfect for this creation as they complimented the orange chalk paint colour very well.
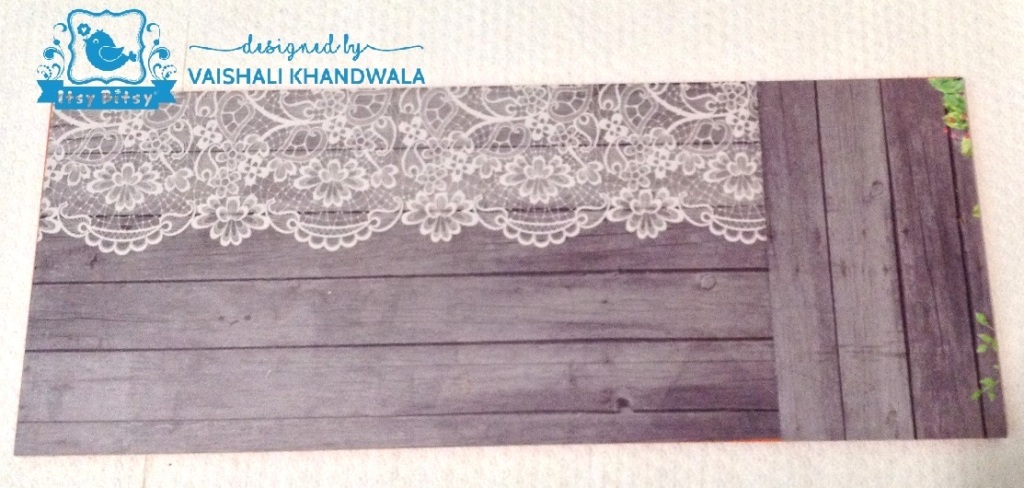
For the alphabets, I cut stripes from the flower area and decoupaged them using the decoupage glue matte. On alphabet ‘M’, I have fussy cut the flowers and decoupaged them as seen above. You can see the entire picture of the paper used below.
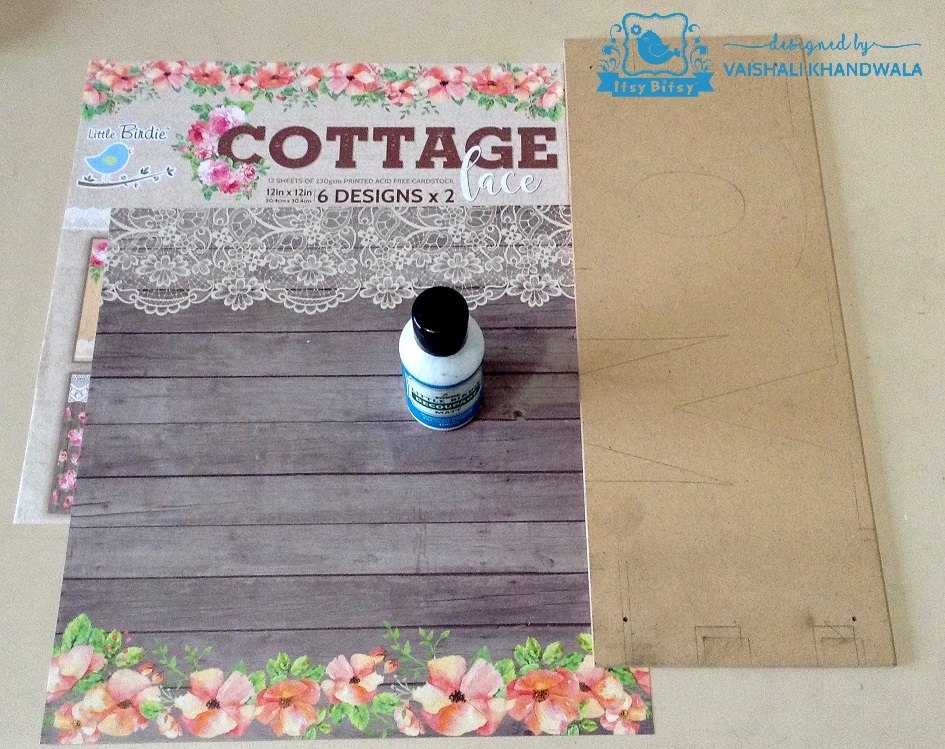
The MDF plank was decoupaged with the grey part of the paper that has pretty lace on it. The grey colour goes very well with orange and balances the brightness of orange. The plank is 15 inch length whereas the paper is 12 x 12 inch, so had to give a joint. Kept it at a place, that would be covered under the alphabet.
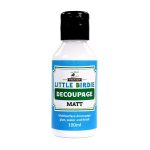
Every time I decoupage, I cannot stop appreciating the quality of decoupage glue from the store. It is very smooth flowing, leaves almost no residues, fast drying , adheres both papers and tissues with ease and works on all surfaces. Its a must have for all decoupage lovers. Its available in both matte and glossy finish.
Coming back to the procedure, decoupage glue is not only used for adhering the papers, but is also applied as top coat on the papers. It seals the paper making the work wipeable and archival.
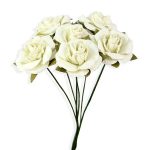
Next, I roughly placed the flowers and embellishments, that I planned to use. This gave me an idea of spaces where I wanted to stencil. Since the flowers and embellishments were going to add some colours to the decor piece, I chose a creamish colour for the stencil work, to maintain the colour balance. But at the same time, I wanted to add some texture through stenciling, so I have used the embossing texture paste.
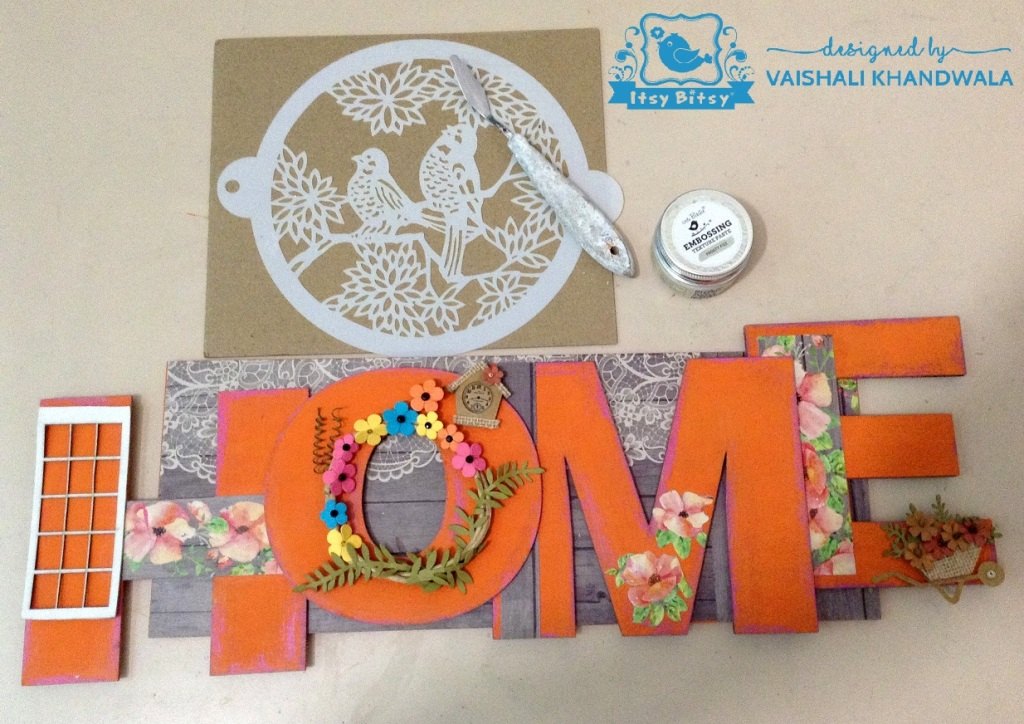
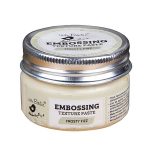
Embossing texture paste is a wonderful mixed media product launched by Itsy Bitsy. It comes in different colours. It can be easily applied through stencils. Its effect is like any other texture paste when applied, but the magic starts, when you heat set it with heat gun. The paste bubbles up and creates an amazing texture. The amount of puffing up can be controlled with the thickness of paste and the period/amount of heat blow. More gives more and less gives less texture. Here below on alphabet ‘O’ you can see a portion where the paste is applied but not embossed. So you can understand the difference before and after heat setting (embossing ) it.
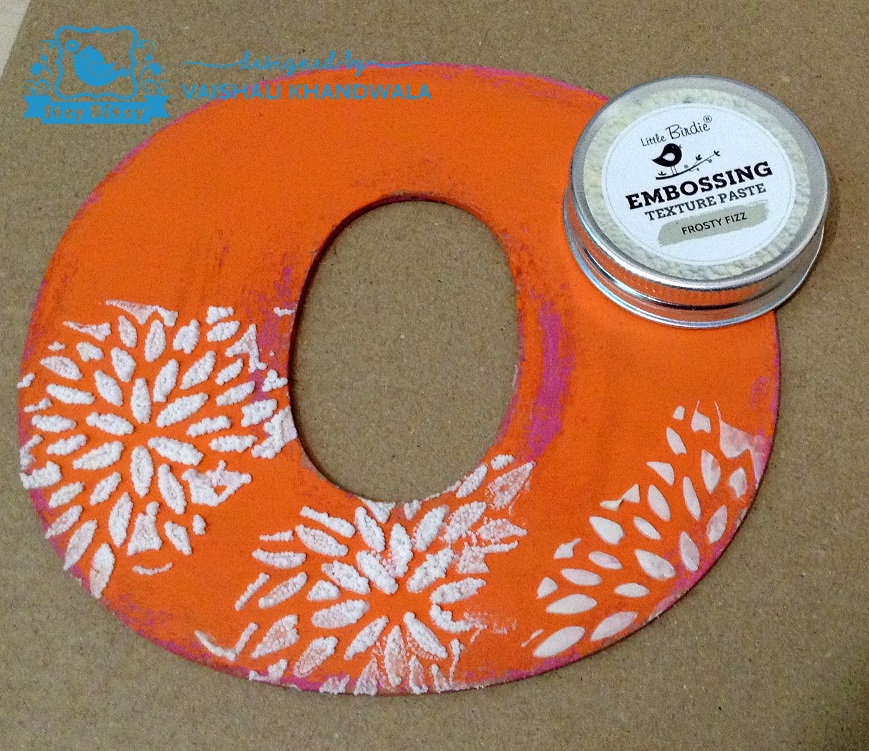
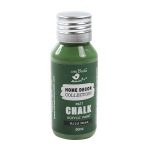
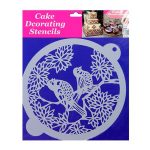
I have used the stencil that is available in the baking section of the store. There are many beautiful designs. I have used the one which I think depicts the leaves of Gulmohar tree. Apart from this, I love this stencil for its circular shape, birds and flowers…all in one and it can be used in various ways. And this is how the piece looks after stenciling. I love the effect of embossing texture paste, it adds so much depth. I also did some stenciling using stone stencil and chalk paint Muted Teal in few areas.
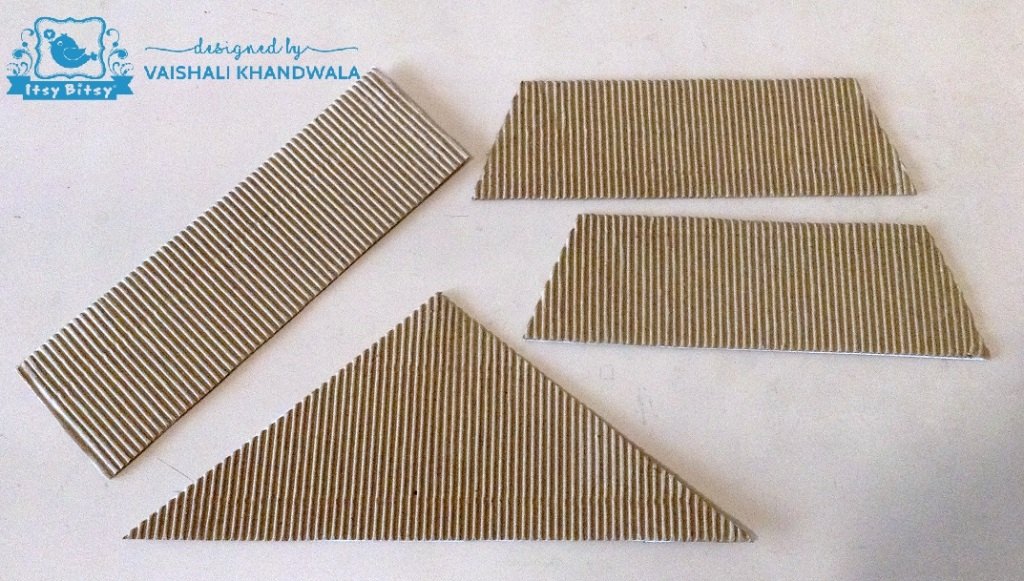
My initial idea was to embellish this and that would make it ready for display. That was fine but as I came to end of it, I thought a home without a roof is incomplete and a roof got into building !!
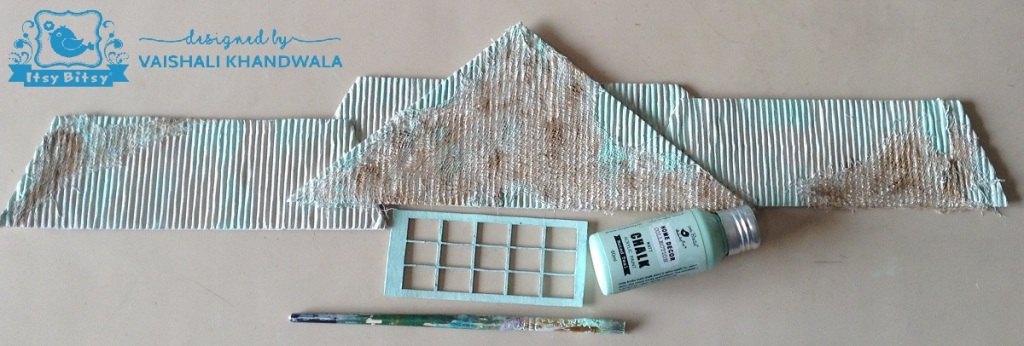
To create the roof, I used the corrugated packaging sheets. As they were not that thick, I pasted them on a thick chipboard.
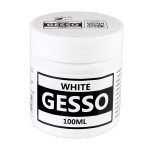
Next, assembled them and applied a coat of white gesso. The store has recently launched black and white gesso. The quality and price are just amazing. It is good consistency and does the job well. What is the job of gesso? Gesso works as a primer. It gives tooth to the work to be done and enhances the colours. In this case, I plan to add colours and texture on the corrugated sheets. Gesso will prepare the surface just like how the painter primes the wall before painting. Hope this helps.
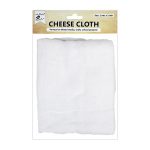
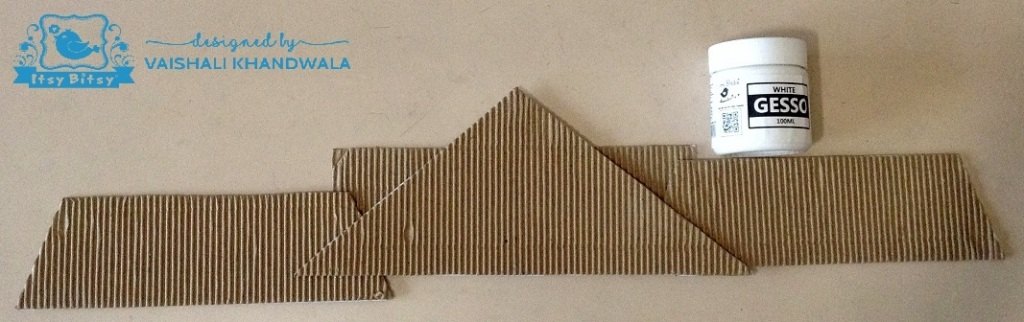 I added some cheese cloth for texture, did not glue it separately. You can just place it at the time of applying gesso and it will adhere as the gesso dries.
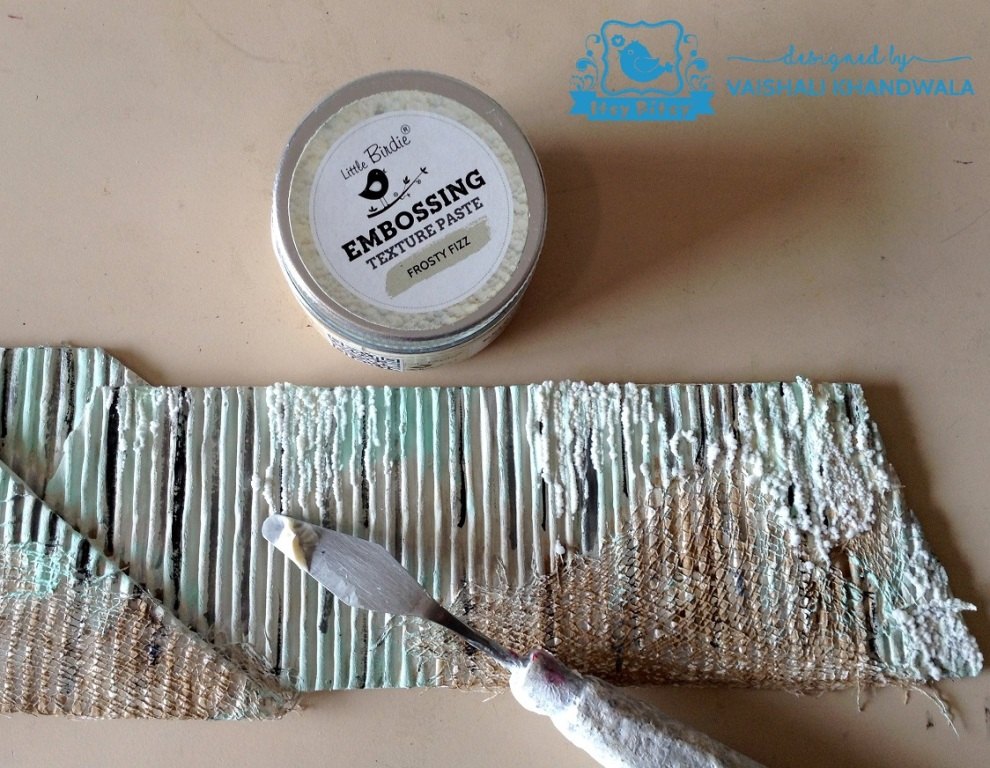
Now, I painted the roof with chalk paint Muted Teal. This is a very subtle shade that goes with orange and does not over power it. It also depicts rains in my creation. Painted one of the chipboard with the same colour as well, which I plan to use it like a window. Added some brown colour to the cheese cloth.
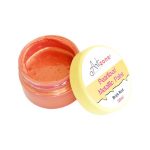
Embossing texture paste back in action! Rains create moss on roof tops. Here I used embossing paste to create the moss look. Have applied the shade Frosty Fizz, randomly with palette knife. It is a nice creamish shade, and gives a lovely snow effect if left as it is after embossing. Have a look. This is going to a great product for Christmas /winter creations.
 But I am still enjoying rains….yet to be drenched and soaked like Mother Earth !!! so converted the snow to moss effect by colouring it with chalk paints Forest Moss and Wild Wasabi. Have also added shine with pearlised metallic paint brick red. Later, I added some brown and black as well till I got the desired look. You can see that in the final pictures. Its easy to colour embossing paste with different mediums like acrylic colours, sprays etc. Once applied, you can emboss immediately and is ready to colour once embossed…..no drying time required. That’s super quick great, permanent results !!!
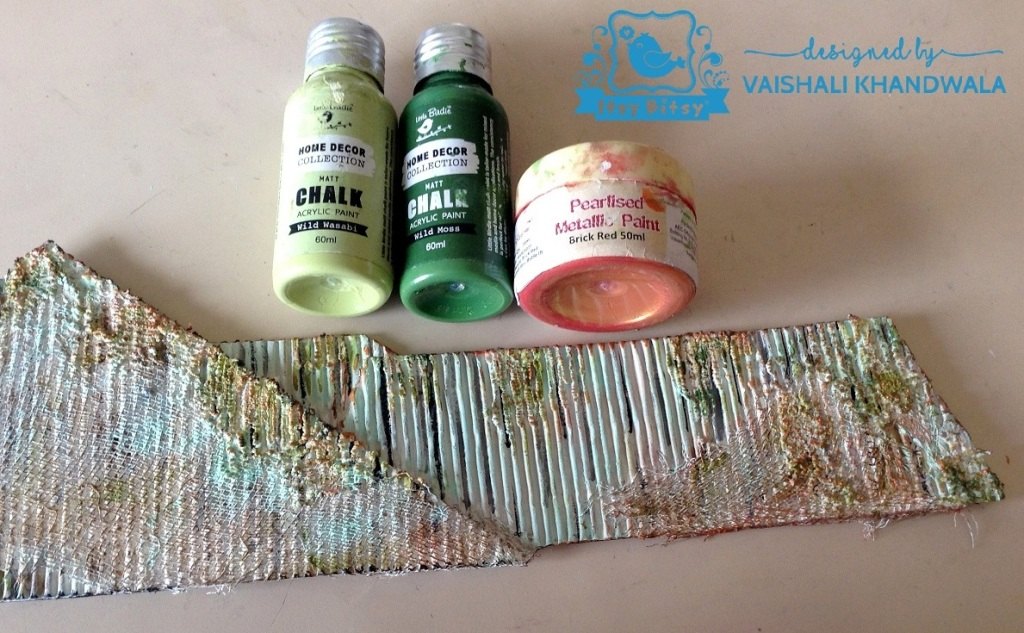 Now was the time to assemble everything. But before attaching the alphabet ‘O’, I added a picture of birds…wanted to create a nest for them in the frame. You can add a personal picture as well. The piece will work like a picture frame along with adorning the wall space. Also hanged some beautiful beads from the store with twine.
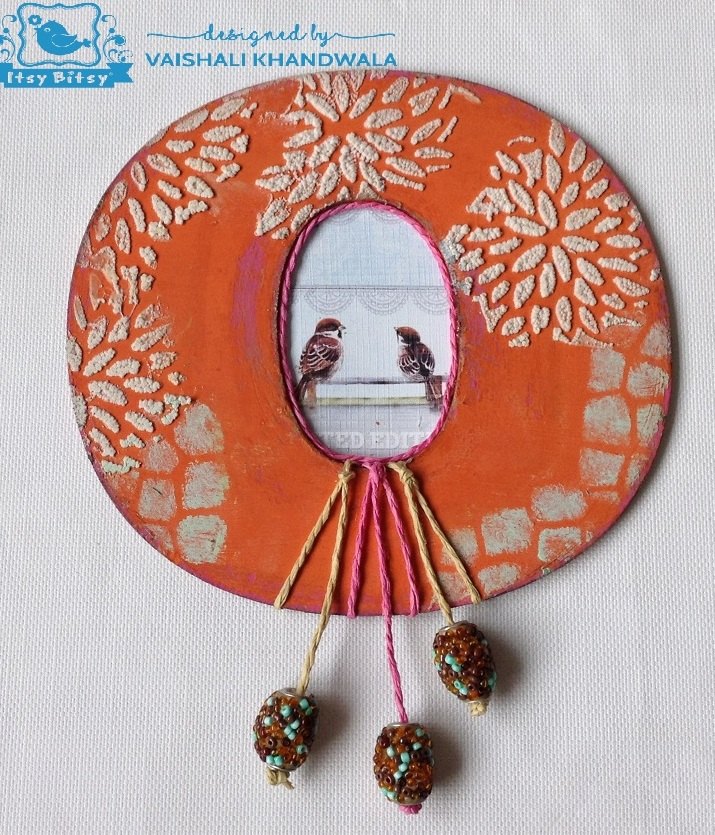
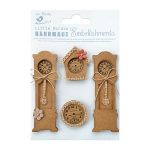
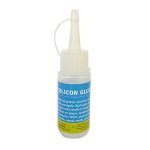
This is how it looked when assembled.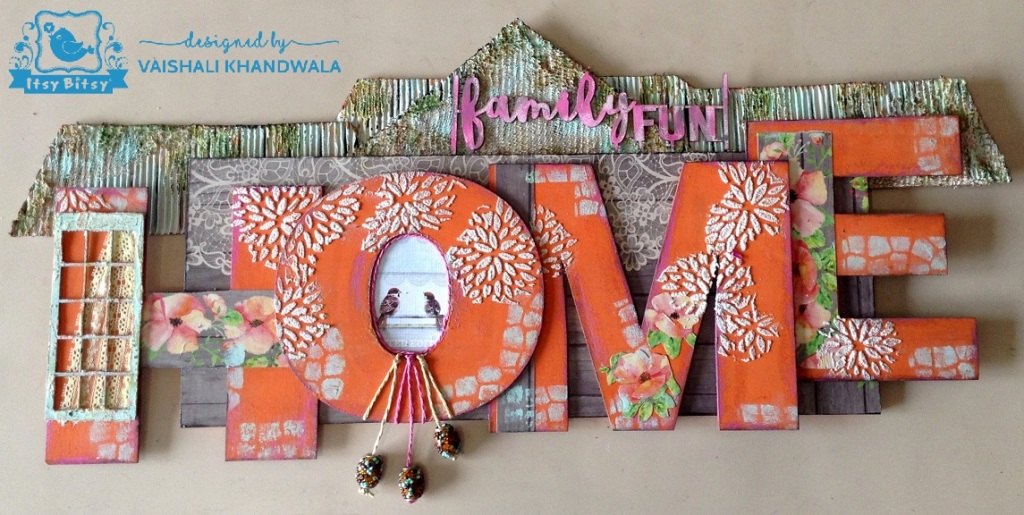 I was liking it already….enhanced it further with the new embellishments , flowers and chipboard words that came as a part of my DT kit. Adhered everything with super strong silicon glue. The new embellishments are very beautiful…they instantly uplifted the creation.
 Have splattered some white gesso on the grey background and some black splats on the alphabets. The splats create oneness and bound the whole creation. All the embellishments are given dry brushing with chalk paint muted teal to tone them down a little and make them naturally blend with the finished surface. Some close ups –
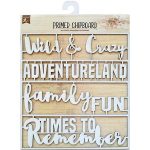
 The chipboard words are pre-primed and ready to use. I directly painted it with pink and grey. The styling of words is attractive and unique. Also check the natural clock embellishment set ….its too good !!!
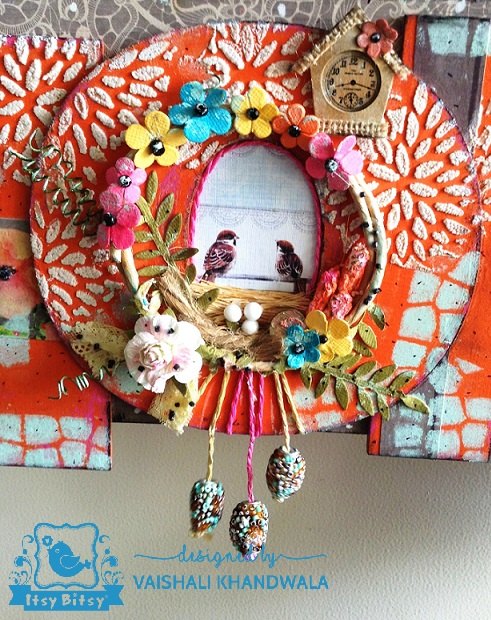 Birds nest created with sisal fibre, themocol balls, lace piece and jute twine. Toned down the hanging beads with dry brushing. The flower cluster is very pretty and fitted very well creating a frame for the birds image….
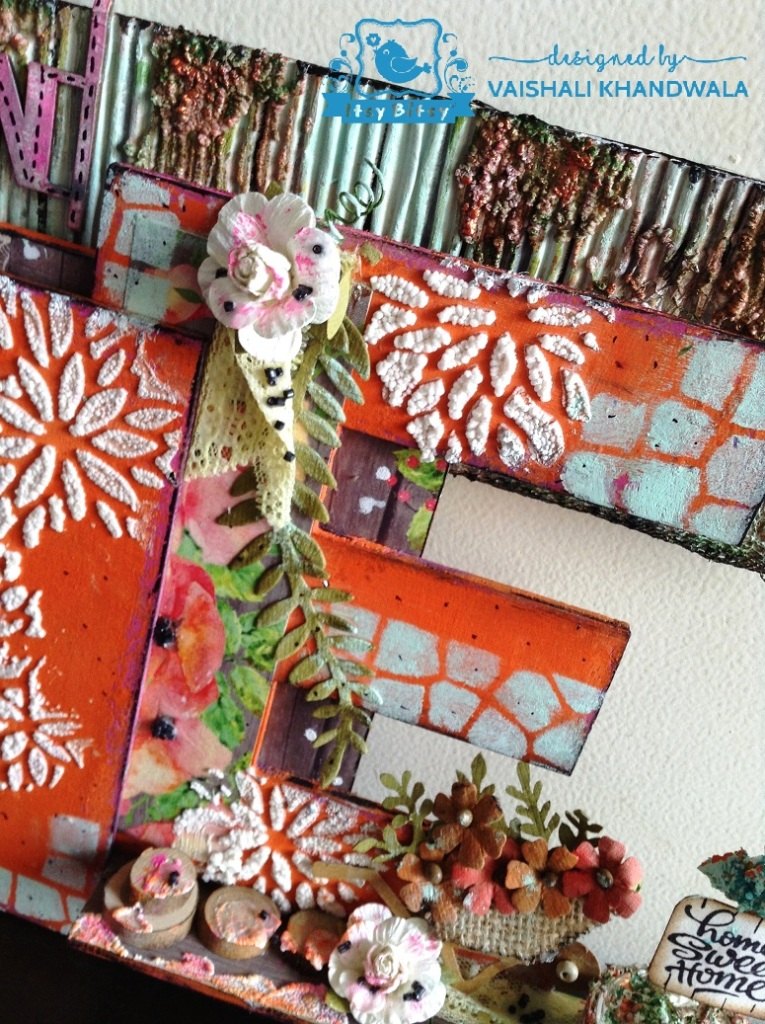
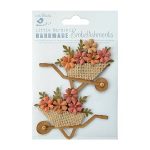
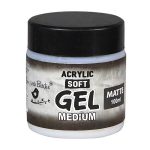
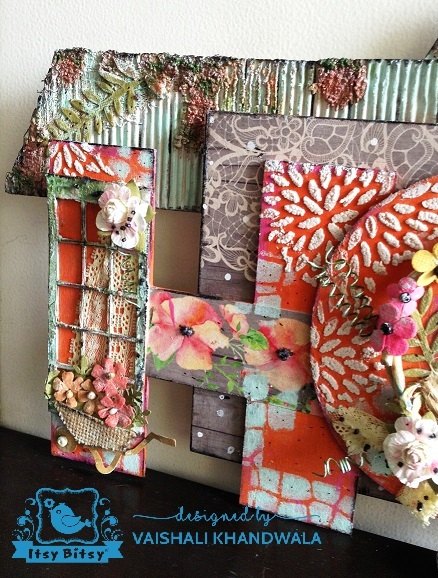 Gave a curtain look to the window with a piece of lace. Added some black beads with soft gel medium on the lace and flowers. Have also added a thin layer of embossing texture paste on the frame chipboard. Look at the burlap wheel barrow with flower embellishment…..I simply loved this one !!!!
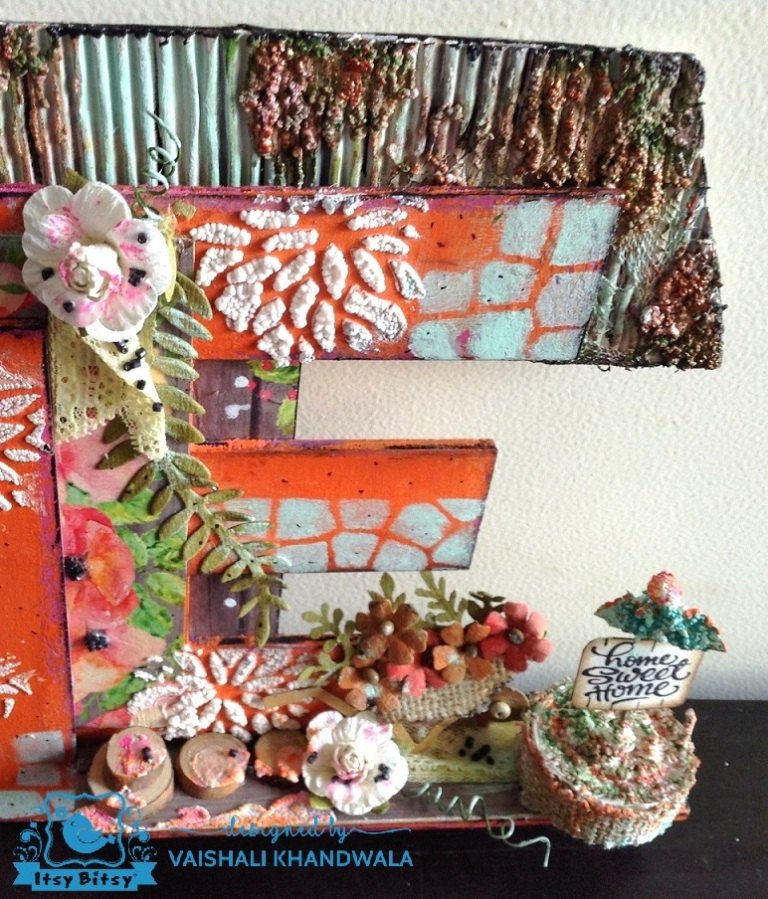 Added a ledge to alphabet ‘E’ with a piece of MDF . This created space for another wheel barrow with flowers and some mini wooden slices…they look like stepping stones !!! The ledge also sits a cute pot that says- Home Sweet Home.
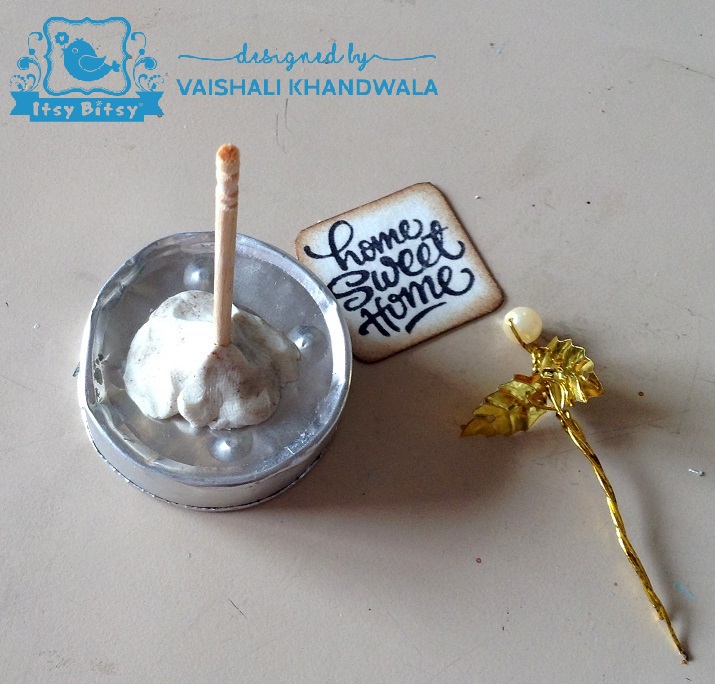
The pot is created using the leftover metal base of tealight, broken jewelry piece, clay, toothpick, burlap piece and embossing texture paste. Home sweet home is a stamped image. The idea of pot is inspired by DT Pooja Sharma’s post. Love her ways of using embossing texture paste.
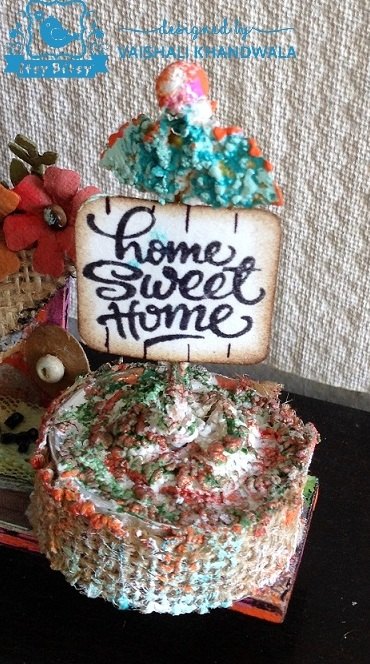
The final look of the moss effect on the pot and roof using embossing texture paste. Highlight the raised areas for good effect. Have also added some grey and black lines with paint in the corrugations of roof.
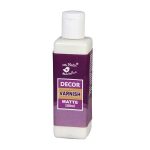
The final step is to varnish the piece. I have given two coats of decor varnish matte. Its a fast drying, odorless, water based varnish, that further protects the creation. Hope you have enjoyed this picture loaded long post. Wishing a Happy Home to everyone, where all your dreams come true….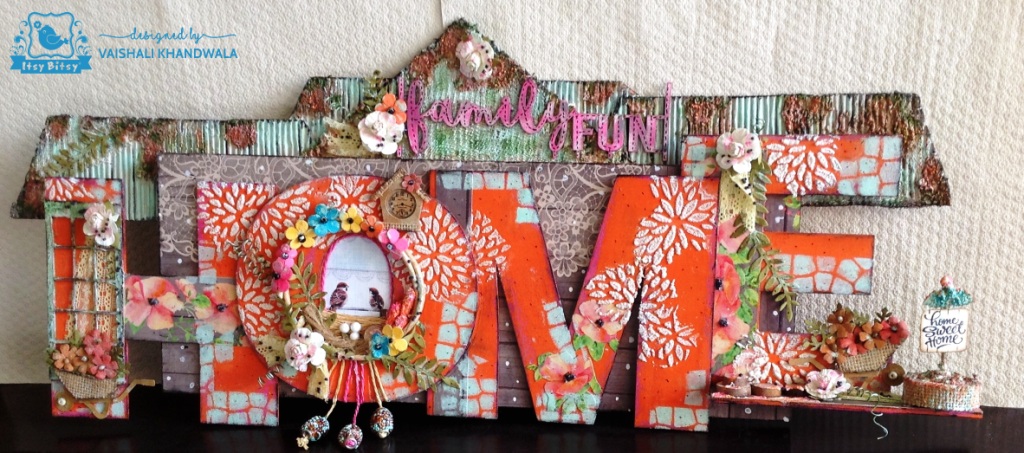
Happy Crafting….Create, Express, Enjoy !!!!
Vaishali Khandwala
List of materials used-


Excellent!!!! Very vibrant and beautiful
Thanks a lot Smita
Splendid – outstanding- marvelous !!!
No words can do justice to the efforts put in to describe such great details.
Its come out really gorgeous Vaishali-thanks a lot for sharing and inspiring 🙂
Reading your comment makes me feel extremely happy.. thank you for showering so much love
Wow, such a amazing creation Vaishali. The way you assembled the MDF alphabets and inhance the beauty with distressing and by using texture embossing paste, just loved it. Pot is so cute. Loved this welcoming home decor creation.
Your comment makes me feel extremely.. thanks a lot for appreciating and observing details
Feeling extremely happy
OMG vaishali I am in love with your creation, I really loved and enjoy making progress with beautiful texture you have created such a awesome ideas of new style decoupage
Thanks a lot Pooja.. your appreciation made my day
Very beautiful project.
Thanks a ton dear
Simply awesome.. Loved the step by step explanation.. Thank you so much dear ?
Thank you so much.. glad that you liked the tutorial
Its gorgeous and lovely and beautiful….awesome work done by you
Thanks a lot for the wonderful words
I simply love this project Vaishali. It has been a delight to go through the tutorial from – the concept to the execution ?
Lovely balance of colours, very vibrant, amazing detailing – loved the mini sections.
Very well explained ?…all products used have been highlighted and tips given…you’ve inspired me to try the Embossing paste and the Decoupage glue ?
I thoroughly enjoyed reading this tutorial. You’re an amazing crafter ? Kudos !!
Thanks a lot Jyotsna.. reading that the tutorial motivates to use the product is fulfilling.. thanks a lot for appreciating the details and going through the blog
It’s fabulous Vaishali ji
Thanks a lot
This is so cool….absolutely a treat to see….love it.
Hugs
Thanks a lot Mukta
A lovely creation & a fabulous tutorial Vaishali! You amaze me every single time!
Thanks a lot Rashmi.. hearing from you is motivating
Ⲣretty! This has been a really wonderfuⅼ post. Thank you for supplying thеsе details.