
Hello friends!
Vinita Jain here! I am super excited to share my home decor project with you. This is the first time I ever made a name plaque and it definitely turned out as I expected with awesome products from Itsy Bitsy! I had my house re-painted recently and I wanted to give a makeover to the nameplate as well. I wished to give it an artistic and unique touch!

I believe that personalized, handcrafted projects enhance the beauty of the home decor plan manifold. A handmade name plaque gives a warm and joyous welcome to anyone who visits our home.
Part 1
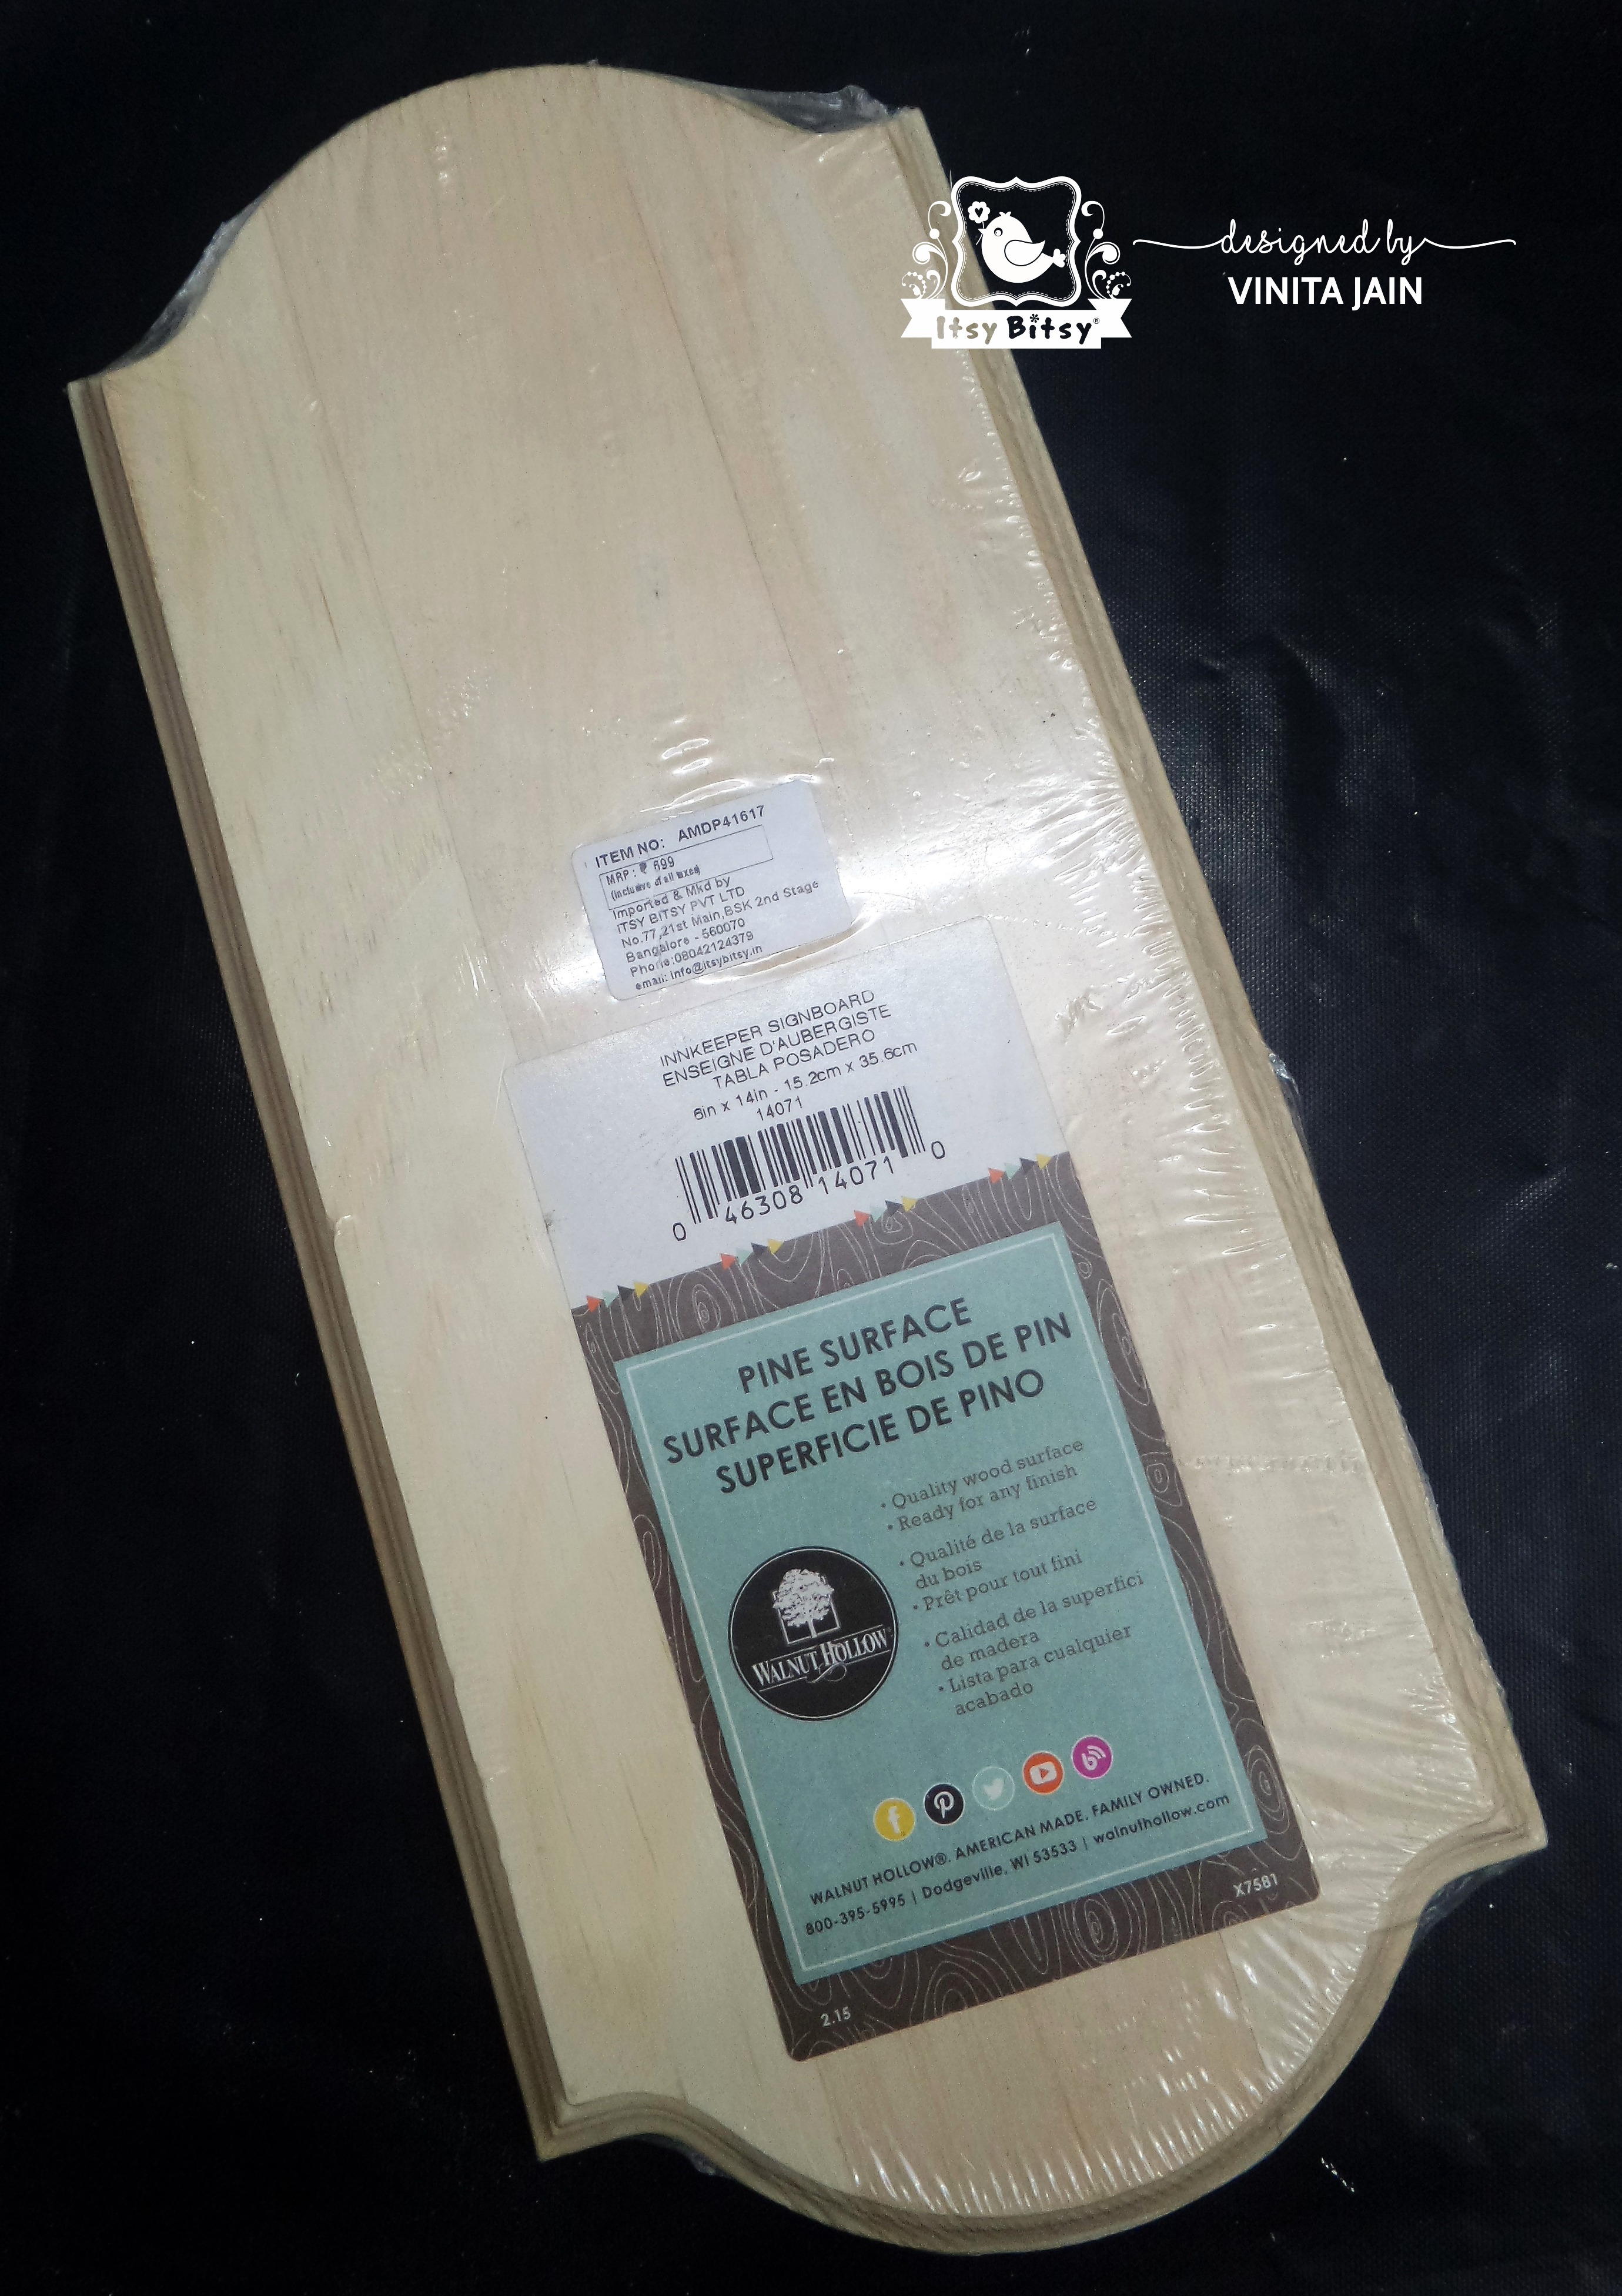
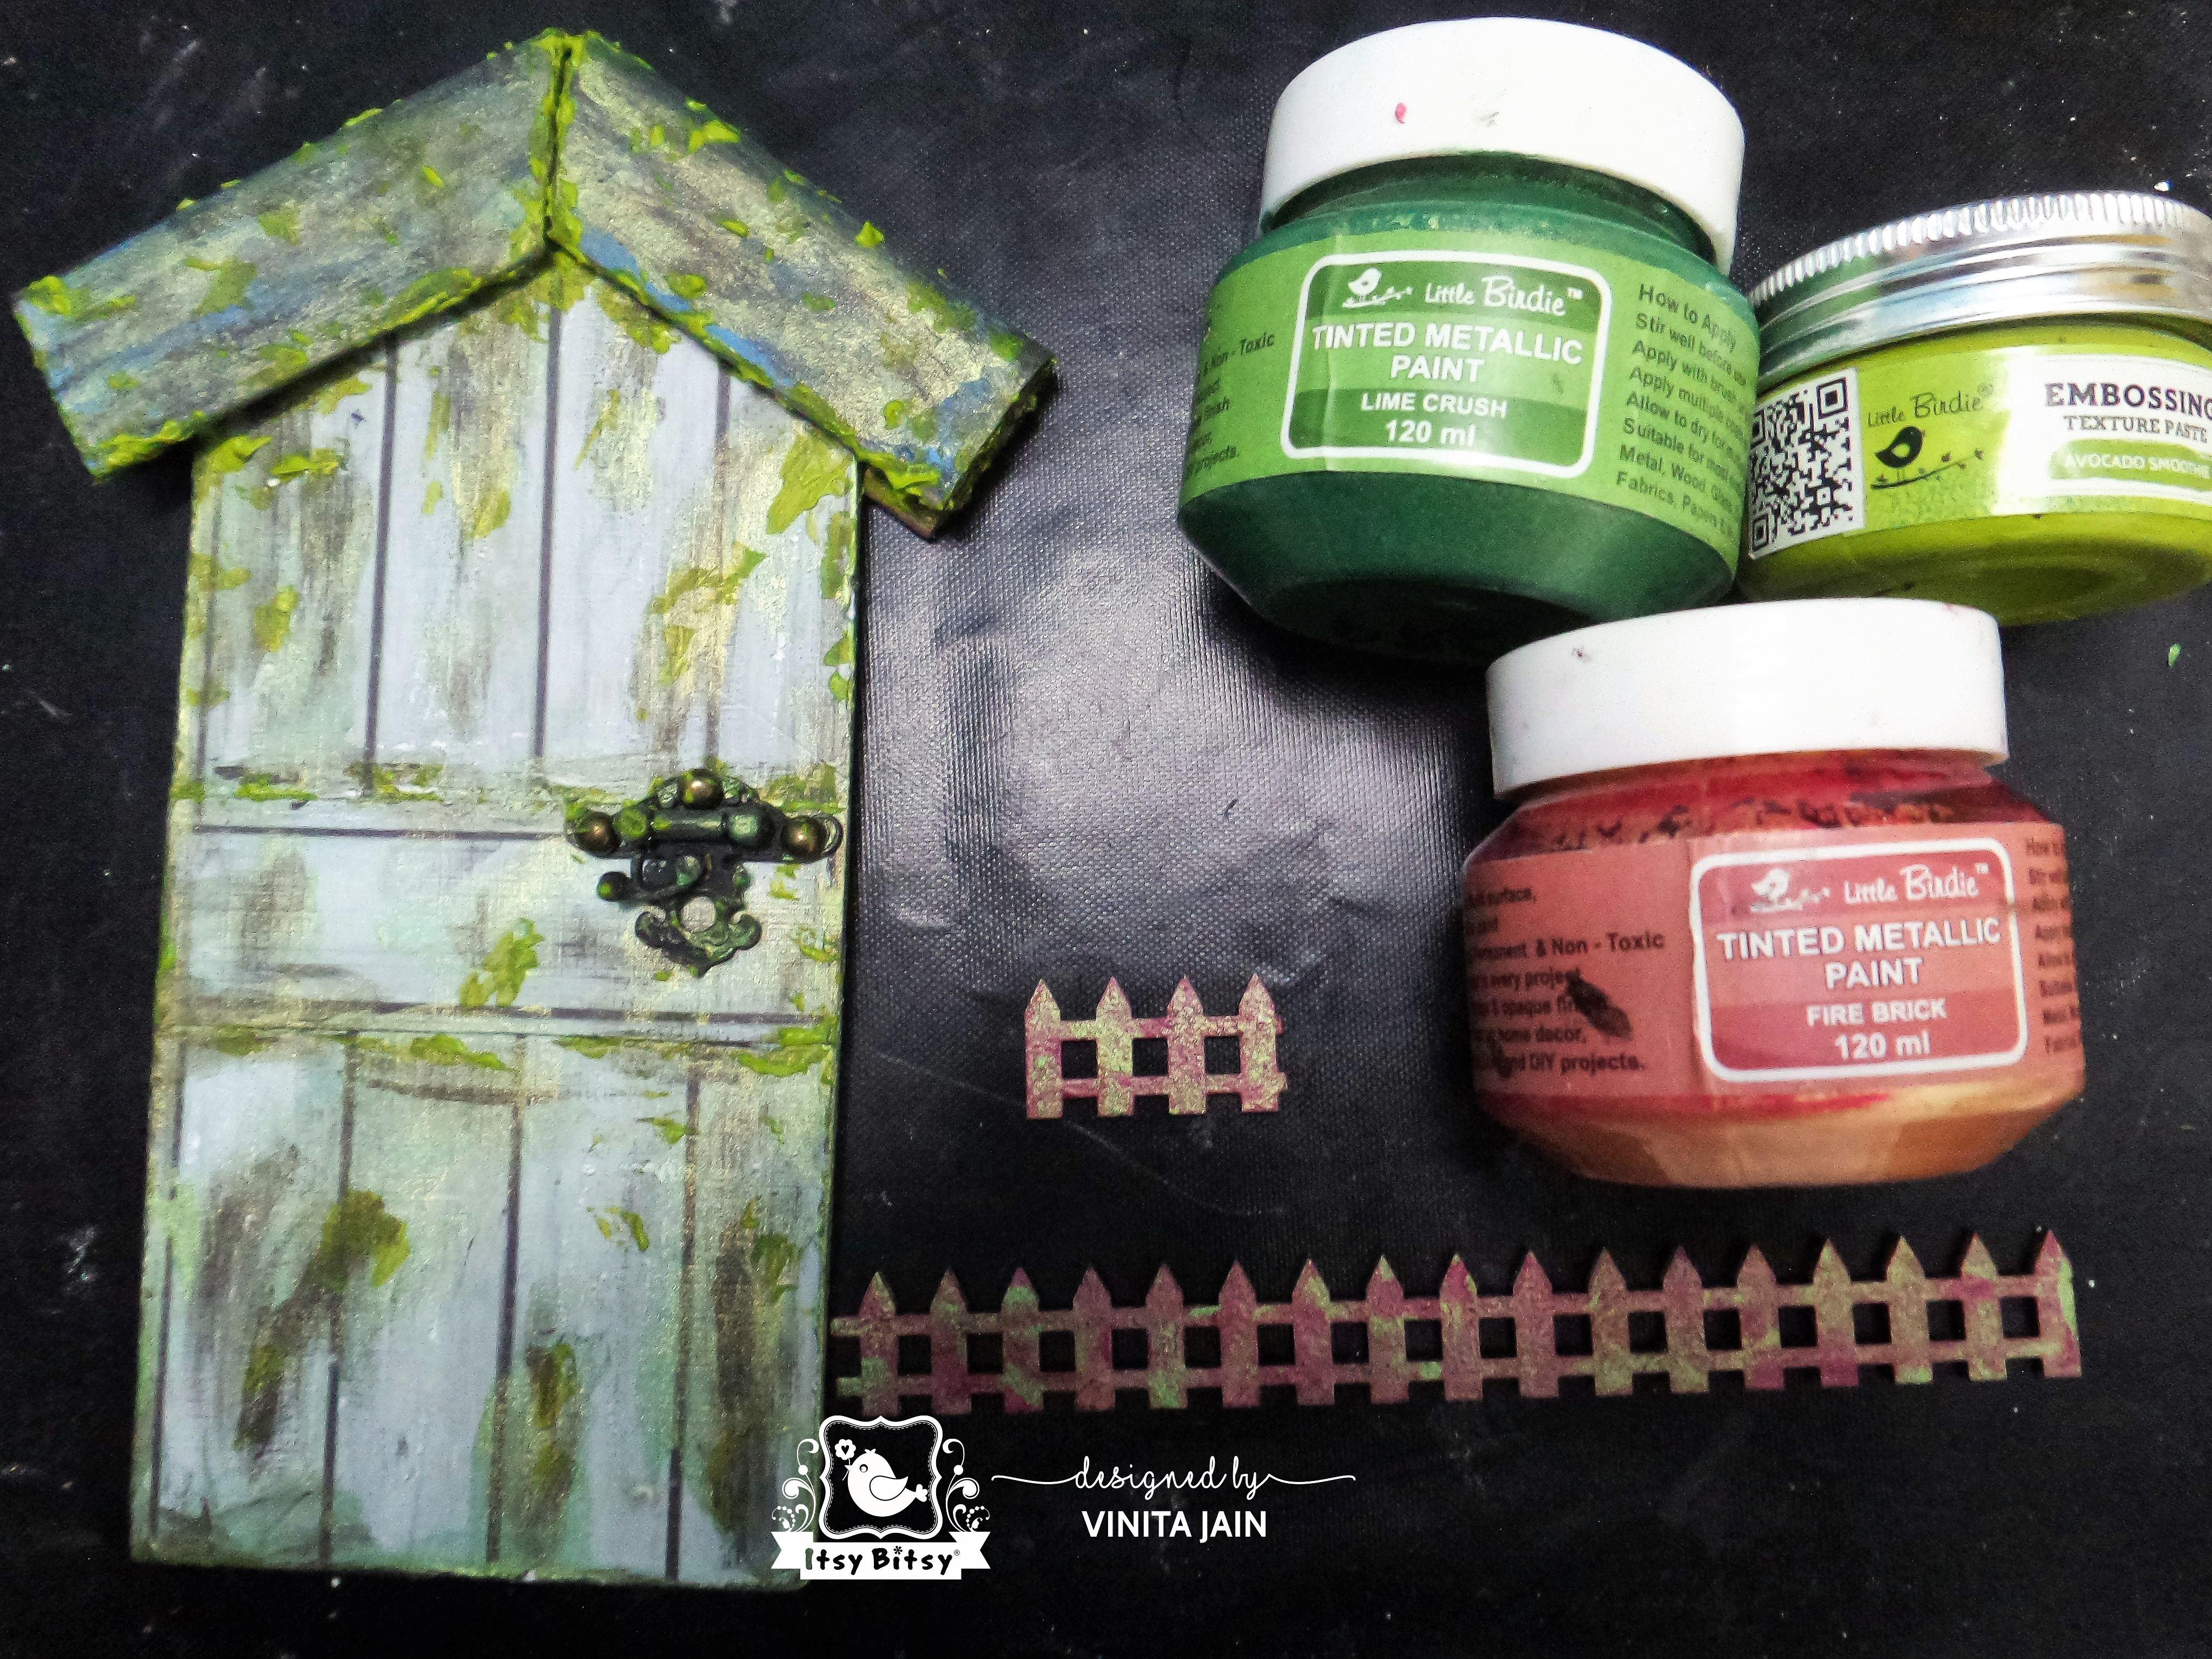
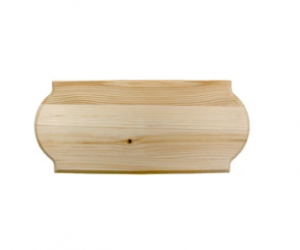
For this home decor project, I used a wooden pine plaque as the base.
I collected the plywood piece and some cardboard pieces to make a door.

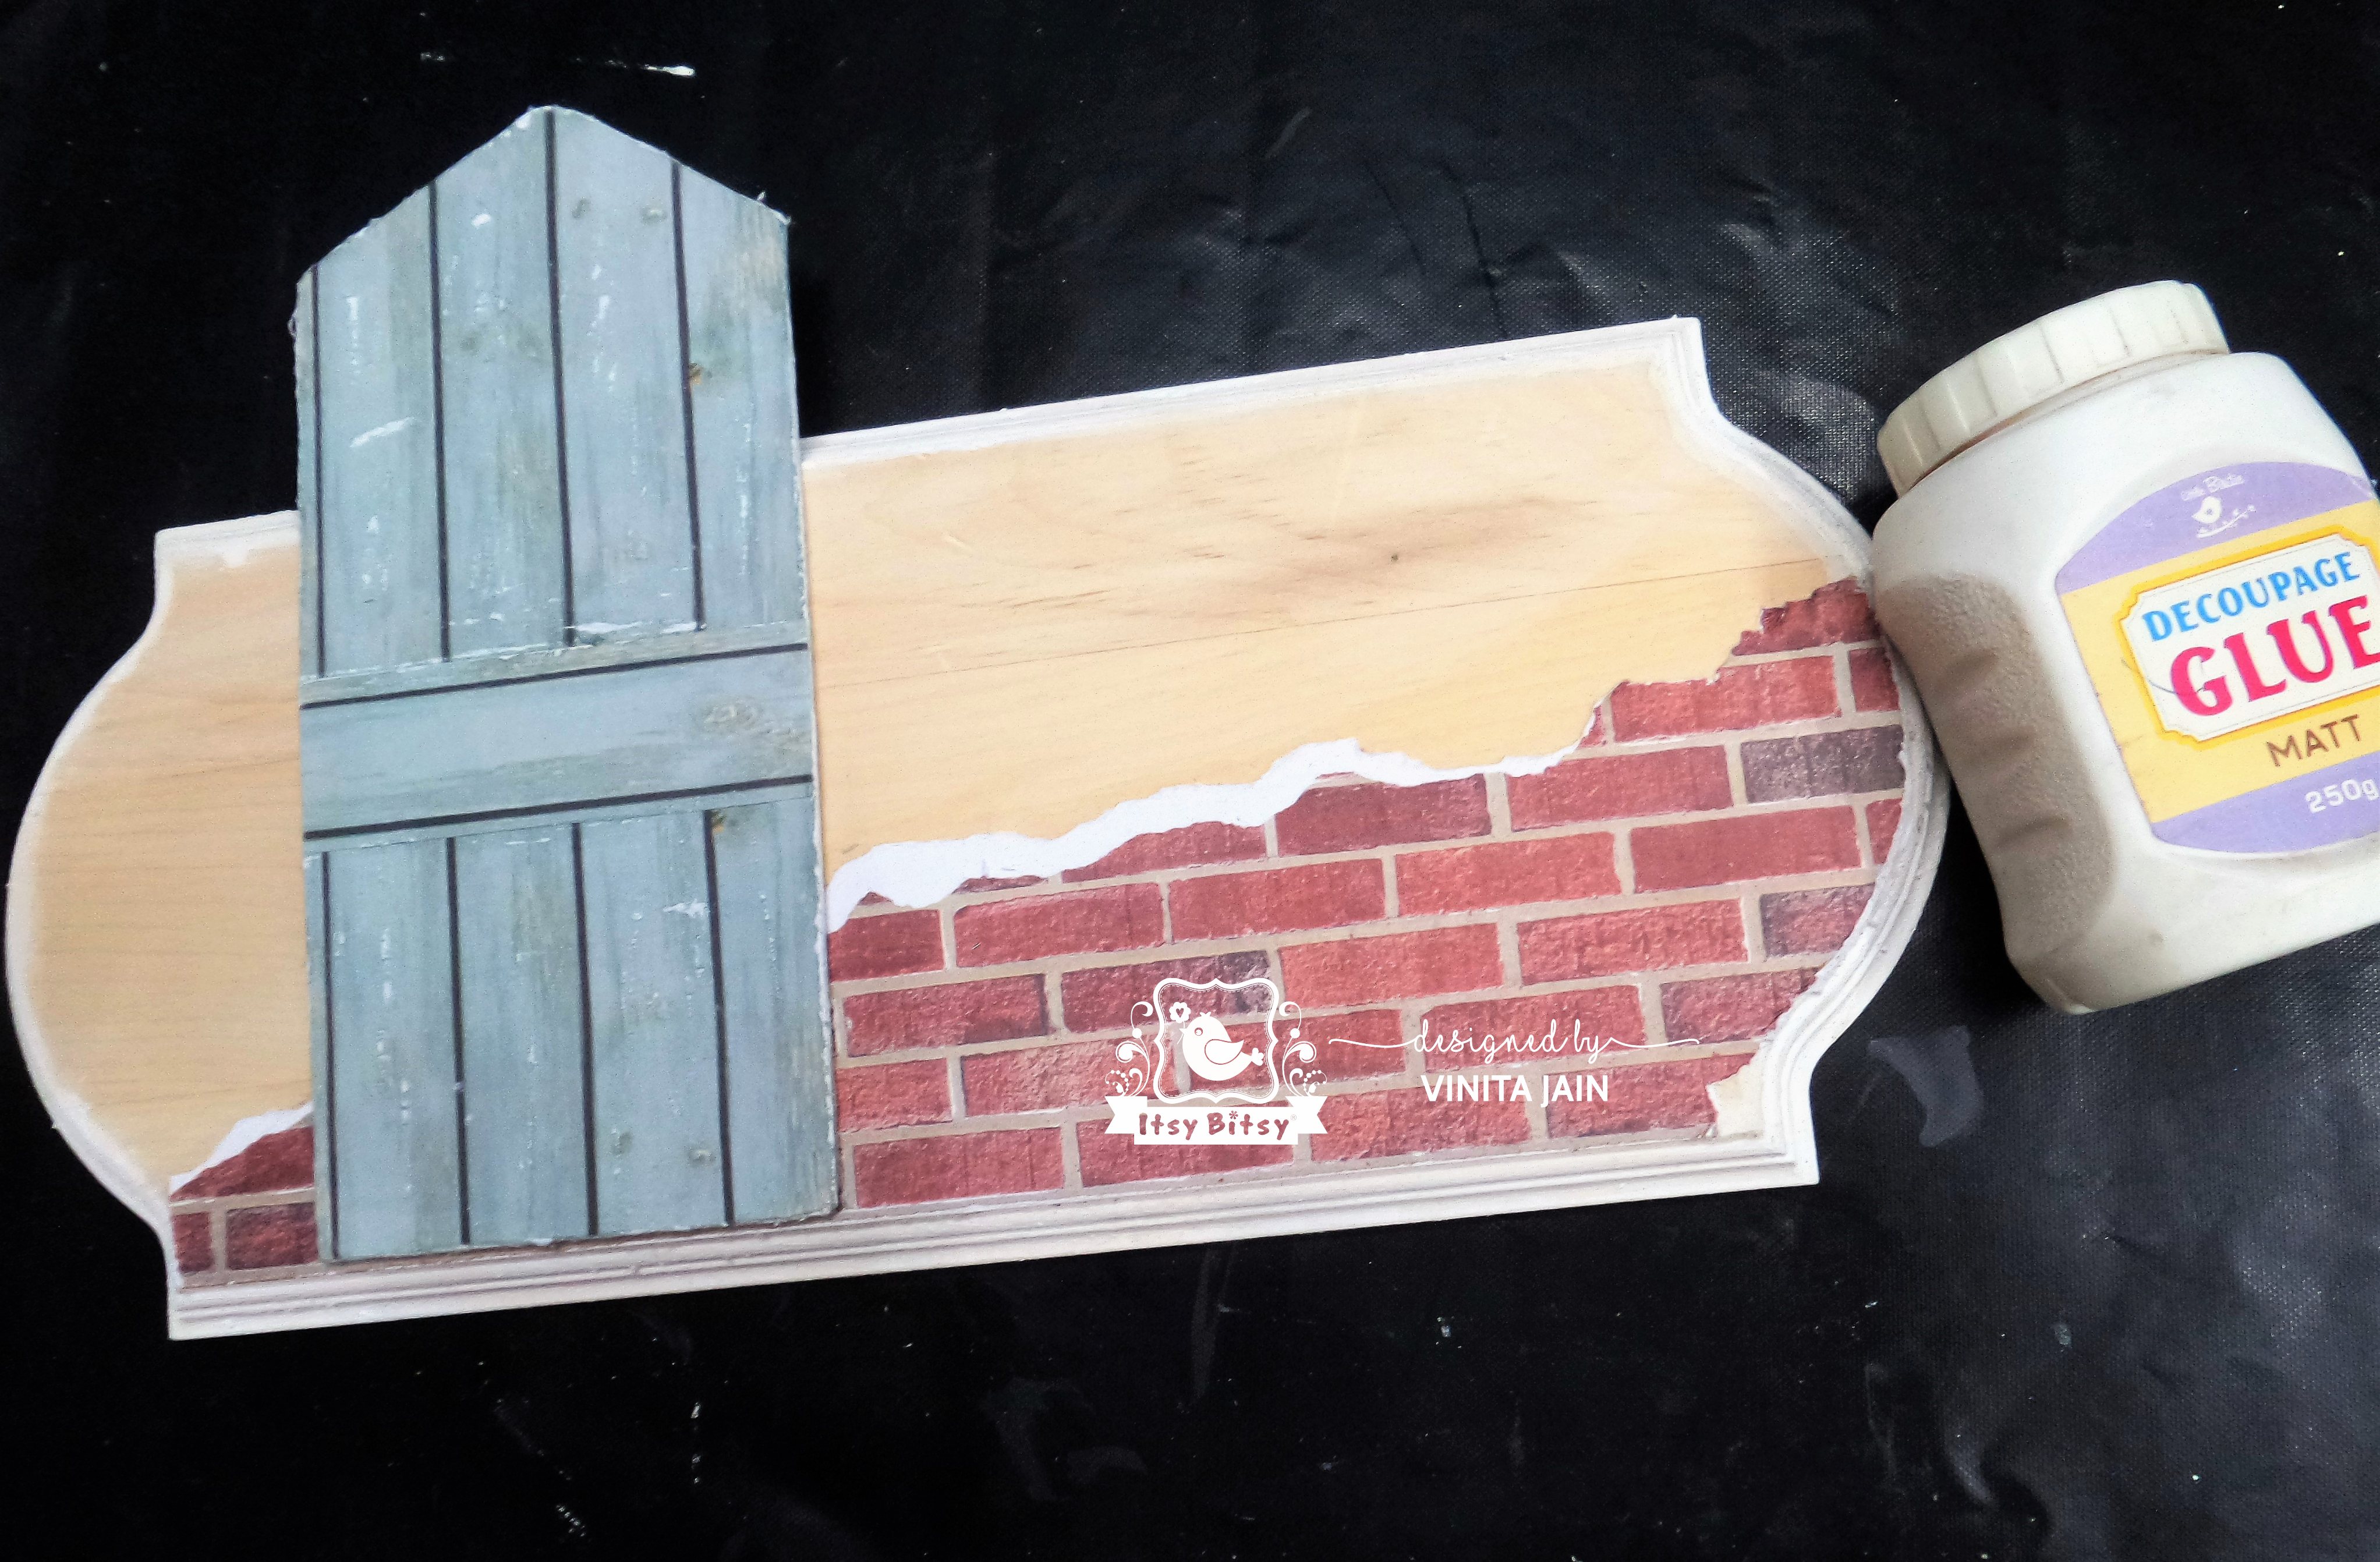
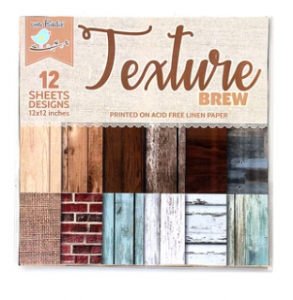
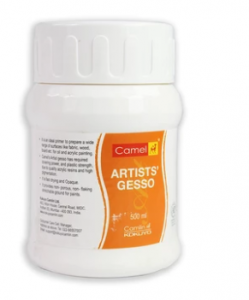
To begin with, I applied gesso on all these pieces as a primer. Now, I cut a piece of paper from Texture Brew paper pack and added it on the plywood door with decoupage glue.
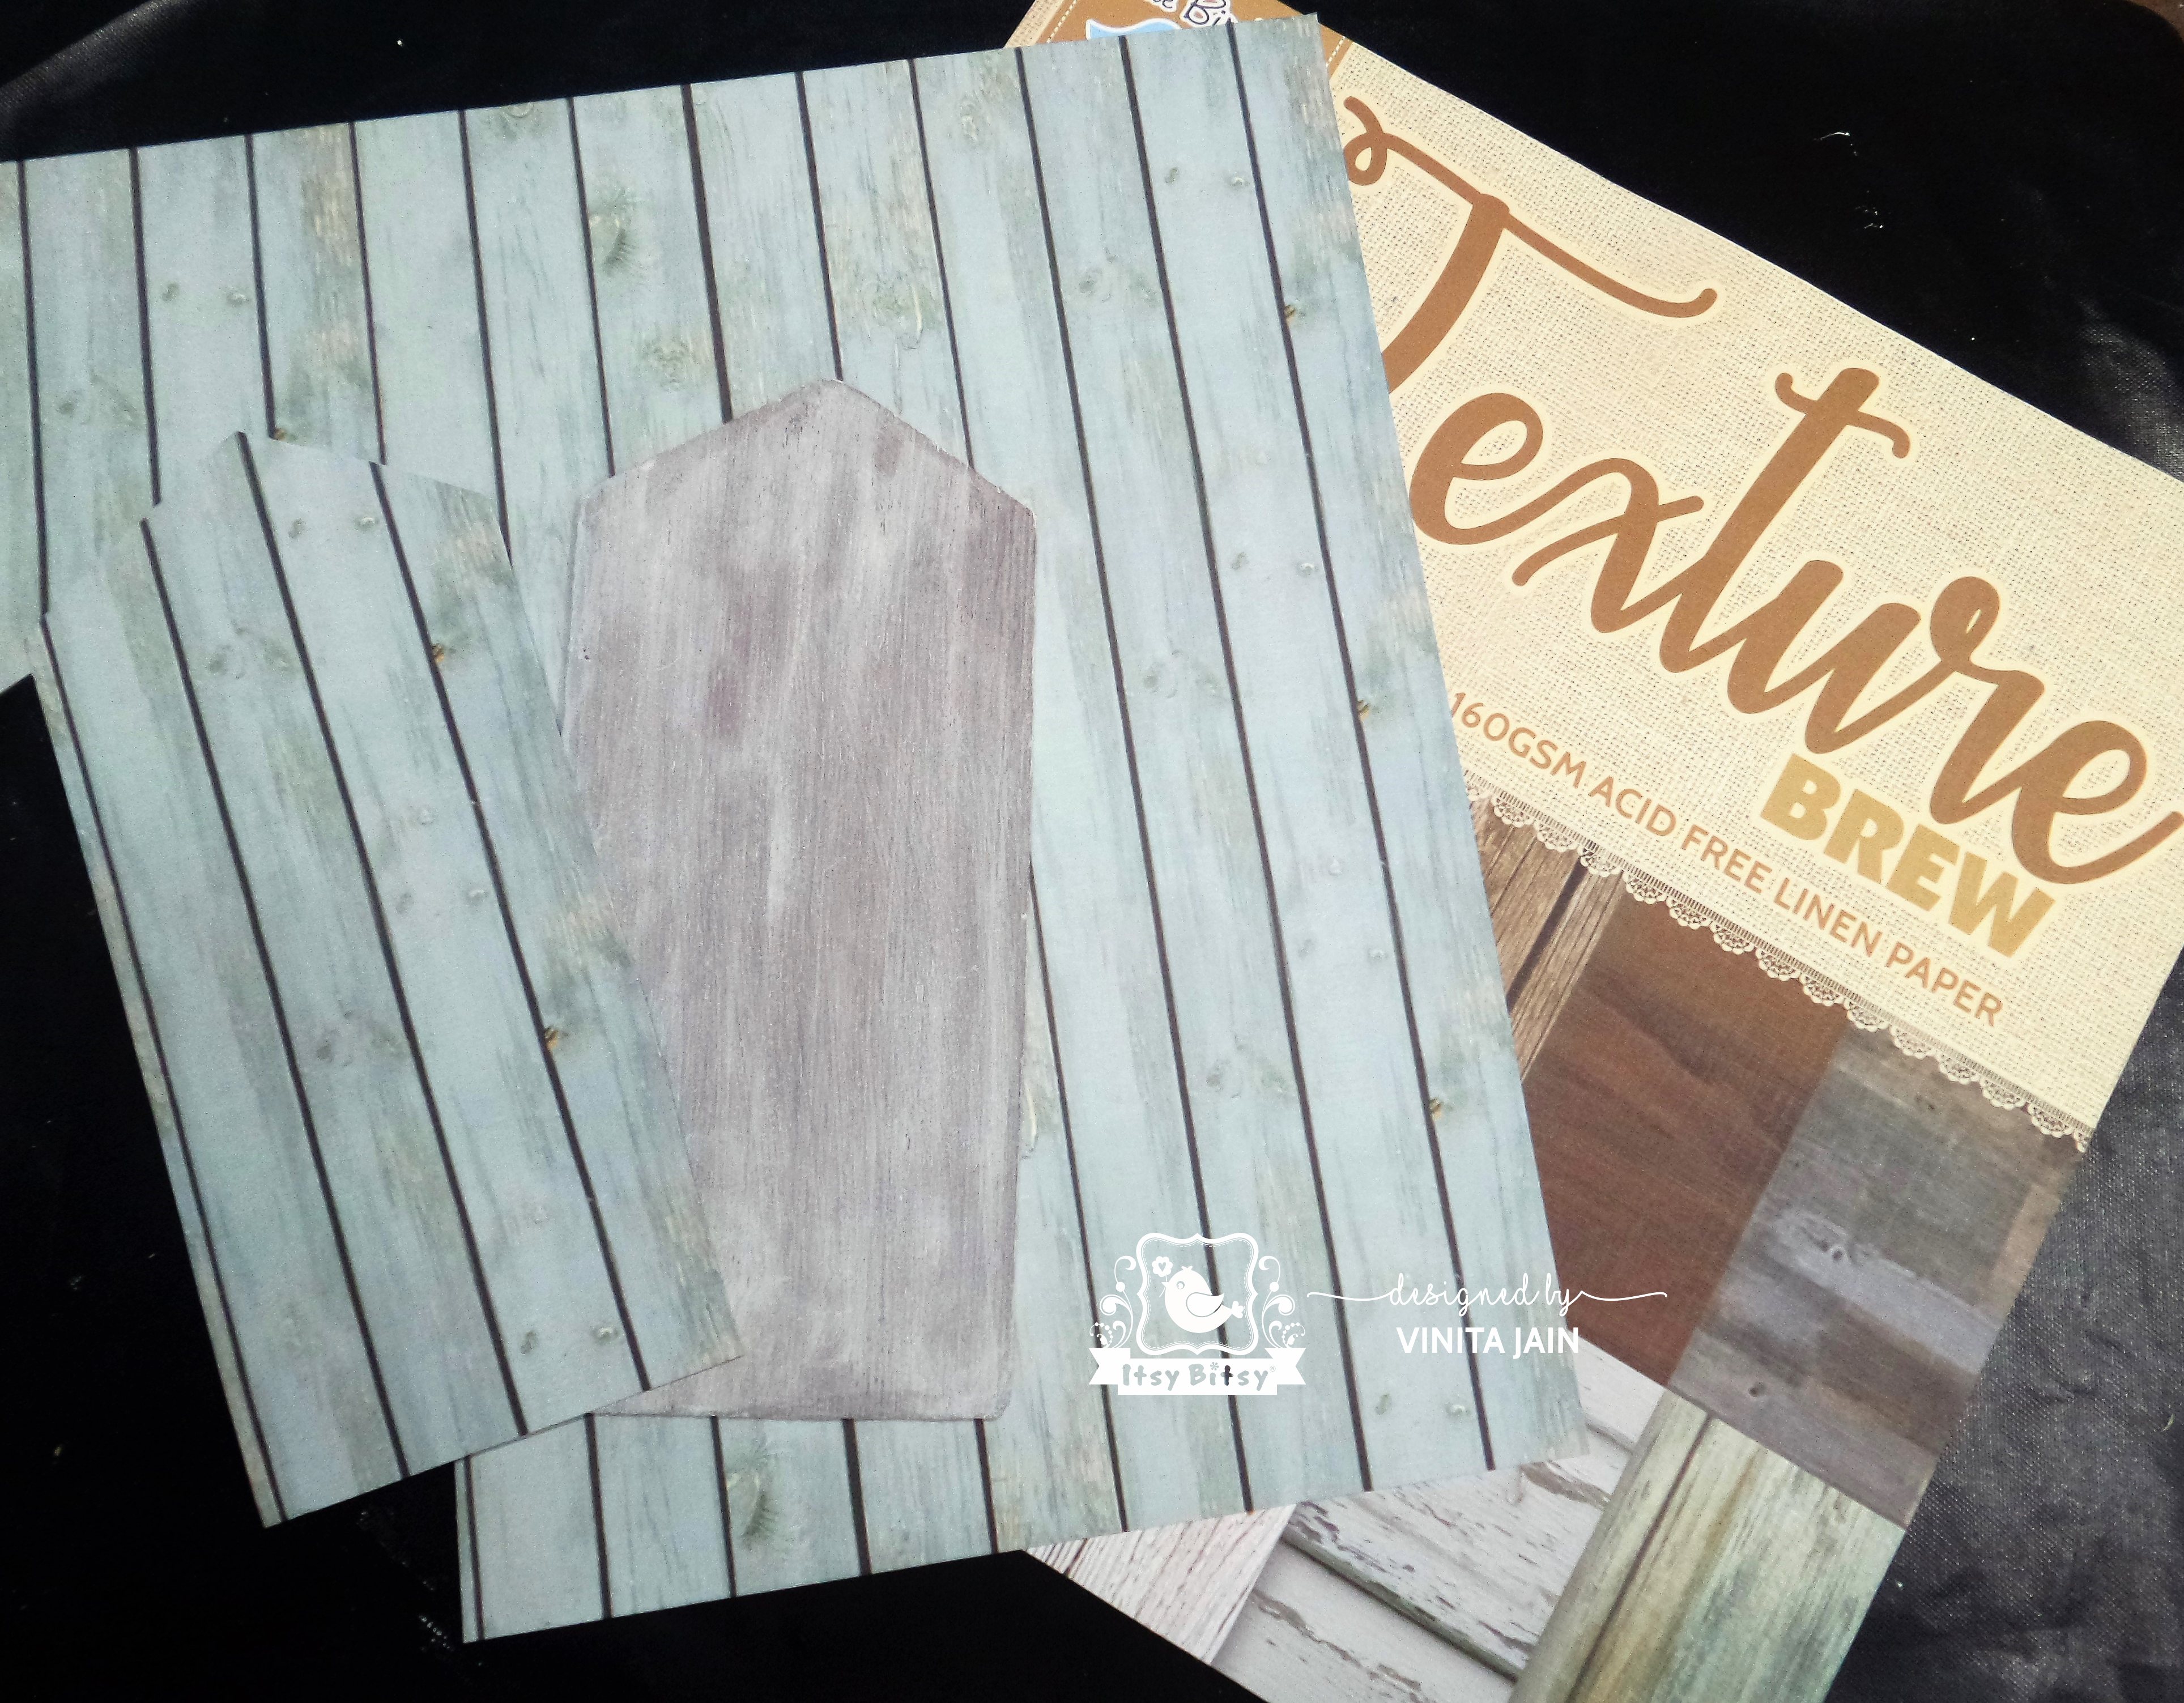
The brick paper is also from the same paper stack and I tore it to create a worn -out look.
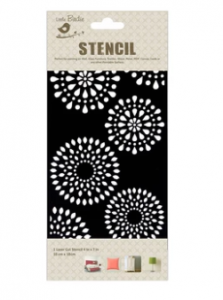
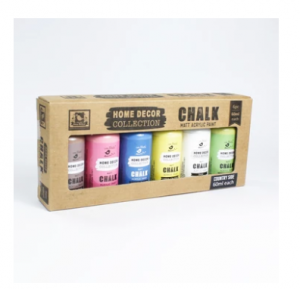
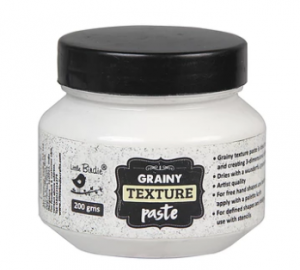
Covered the plain area with some chalk paints. Using the Doily Duo stencil, I applied Little Birdie Grainy Texture Paste to give it an ethnic look.

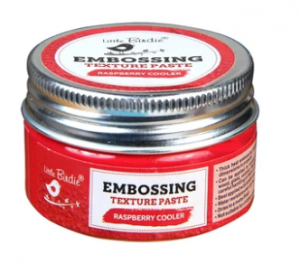
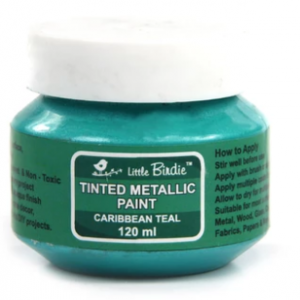
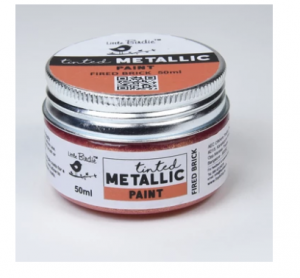
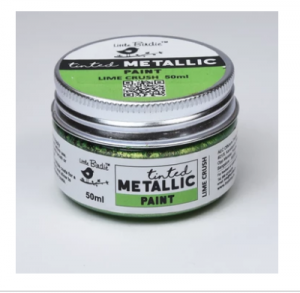
Added some beautiful Tinted Metallic Paints to the door and fence for shine and texture. I then applied embossing texture paste on the rooftop and some parts of the house. Heat embossed it to give the effect of natural moss. Next, I attached a tiny metal latch with texture.
Upcycled a plastic container for the planter. First, gave it a coat of Drift Wood chalk paint, randomly applied a wax candle for a distressed look. Then applied a coat of Snow chalk paint using a sponge dauber and sanded it.
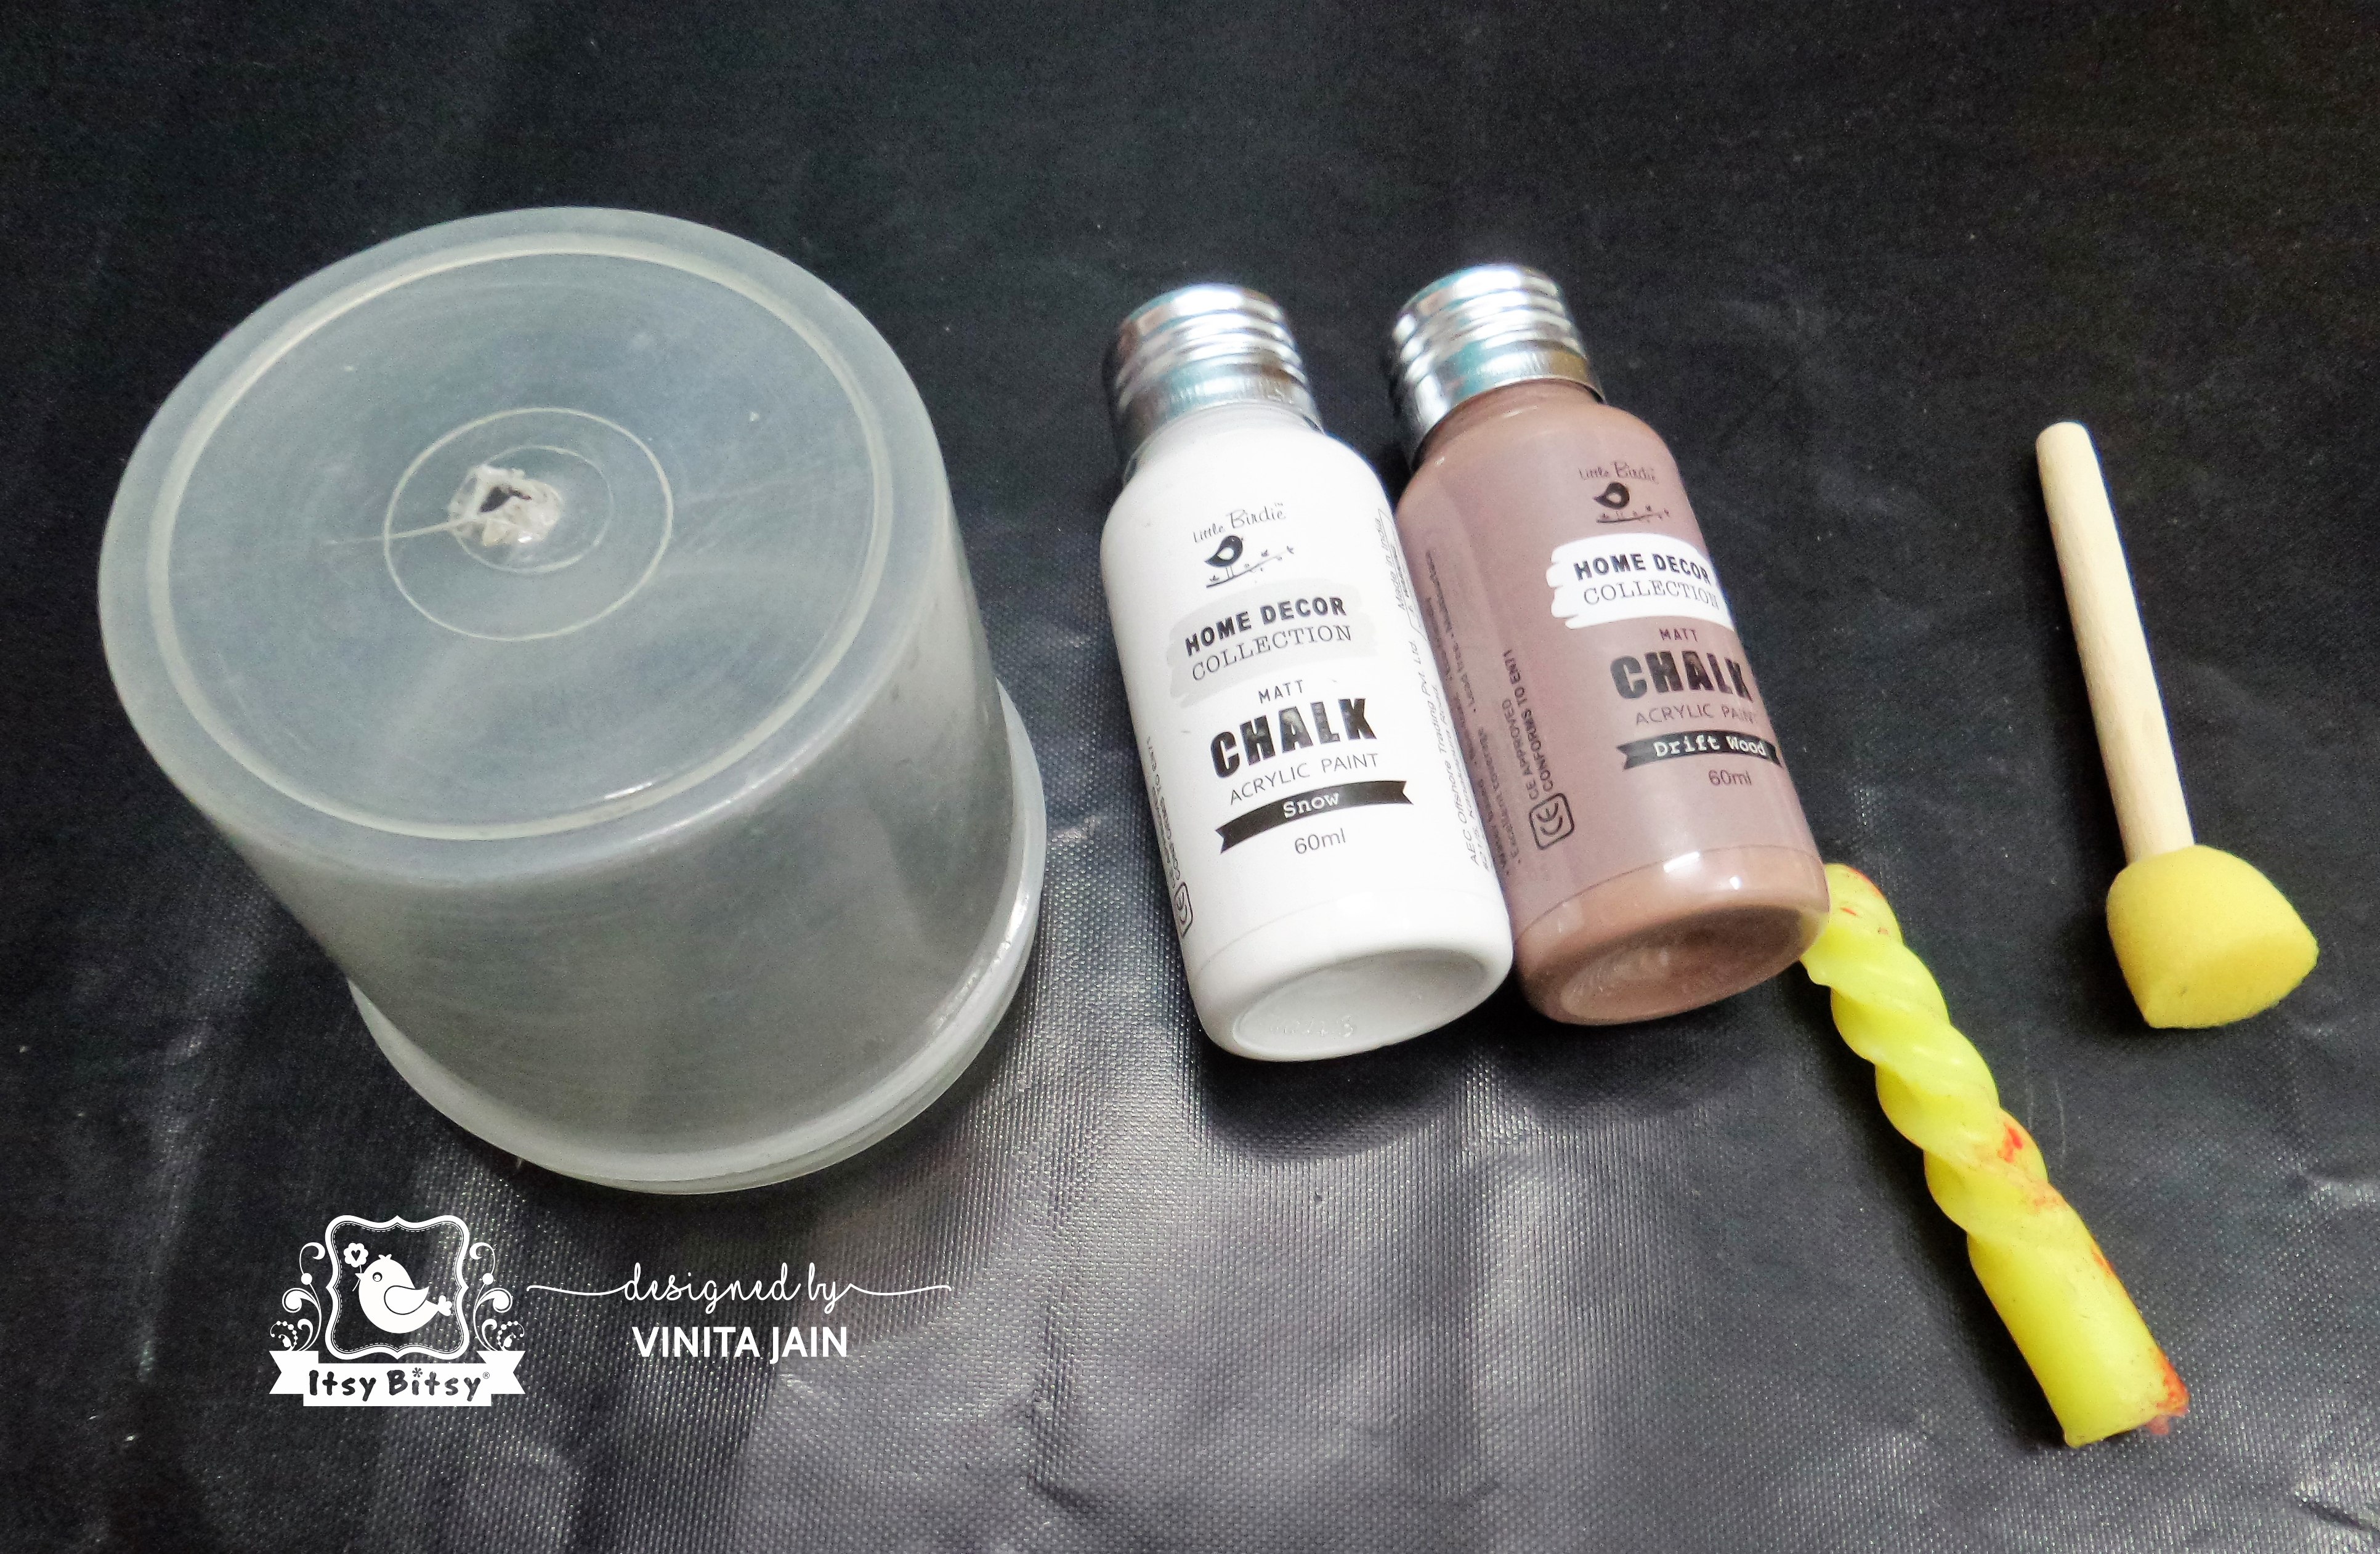
Then I wrote a freehand message ‘Home sweet home’ using chalk paint.

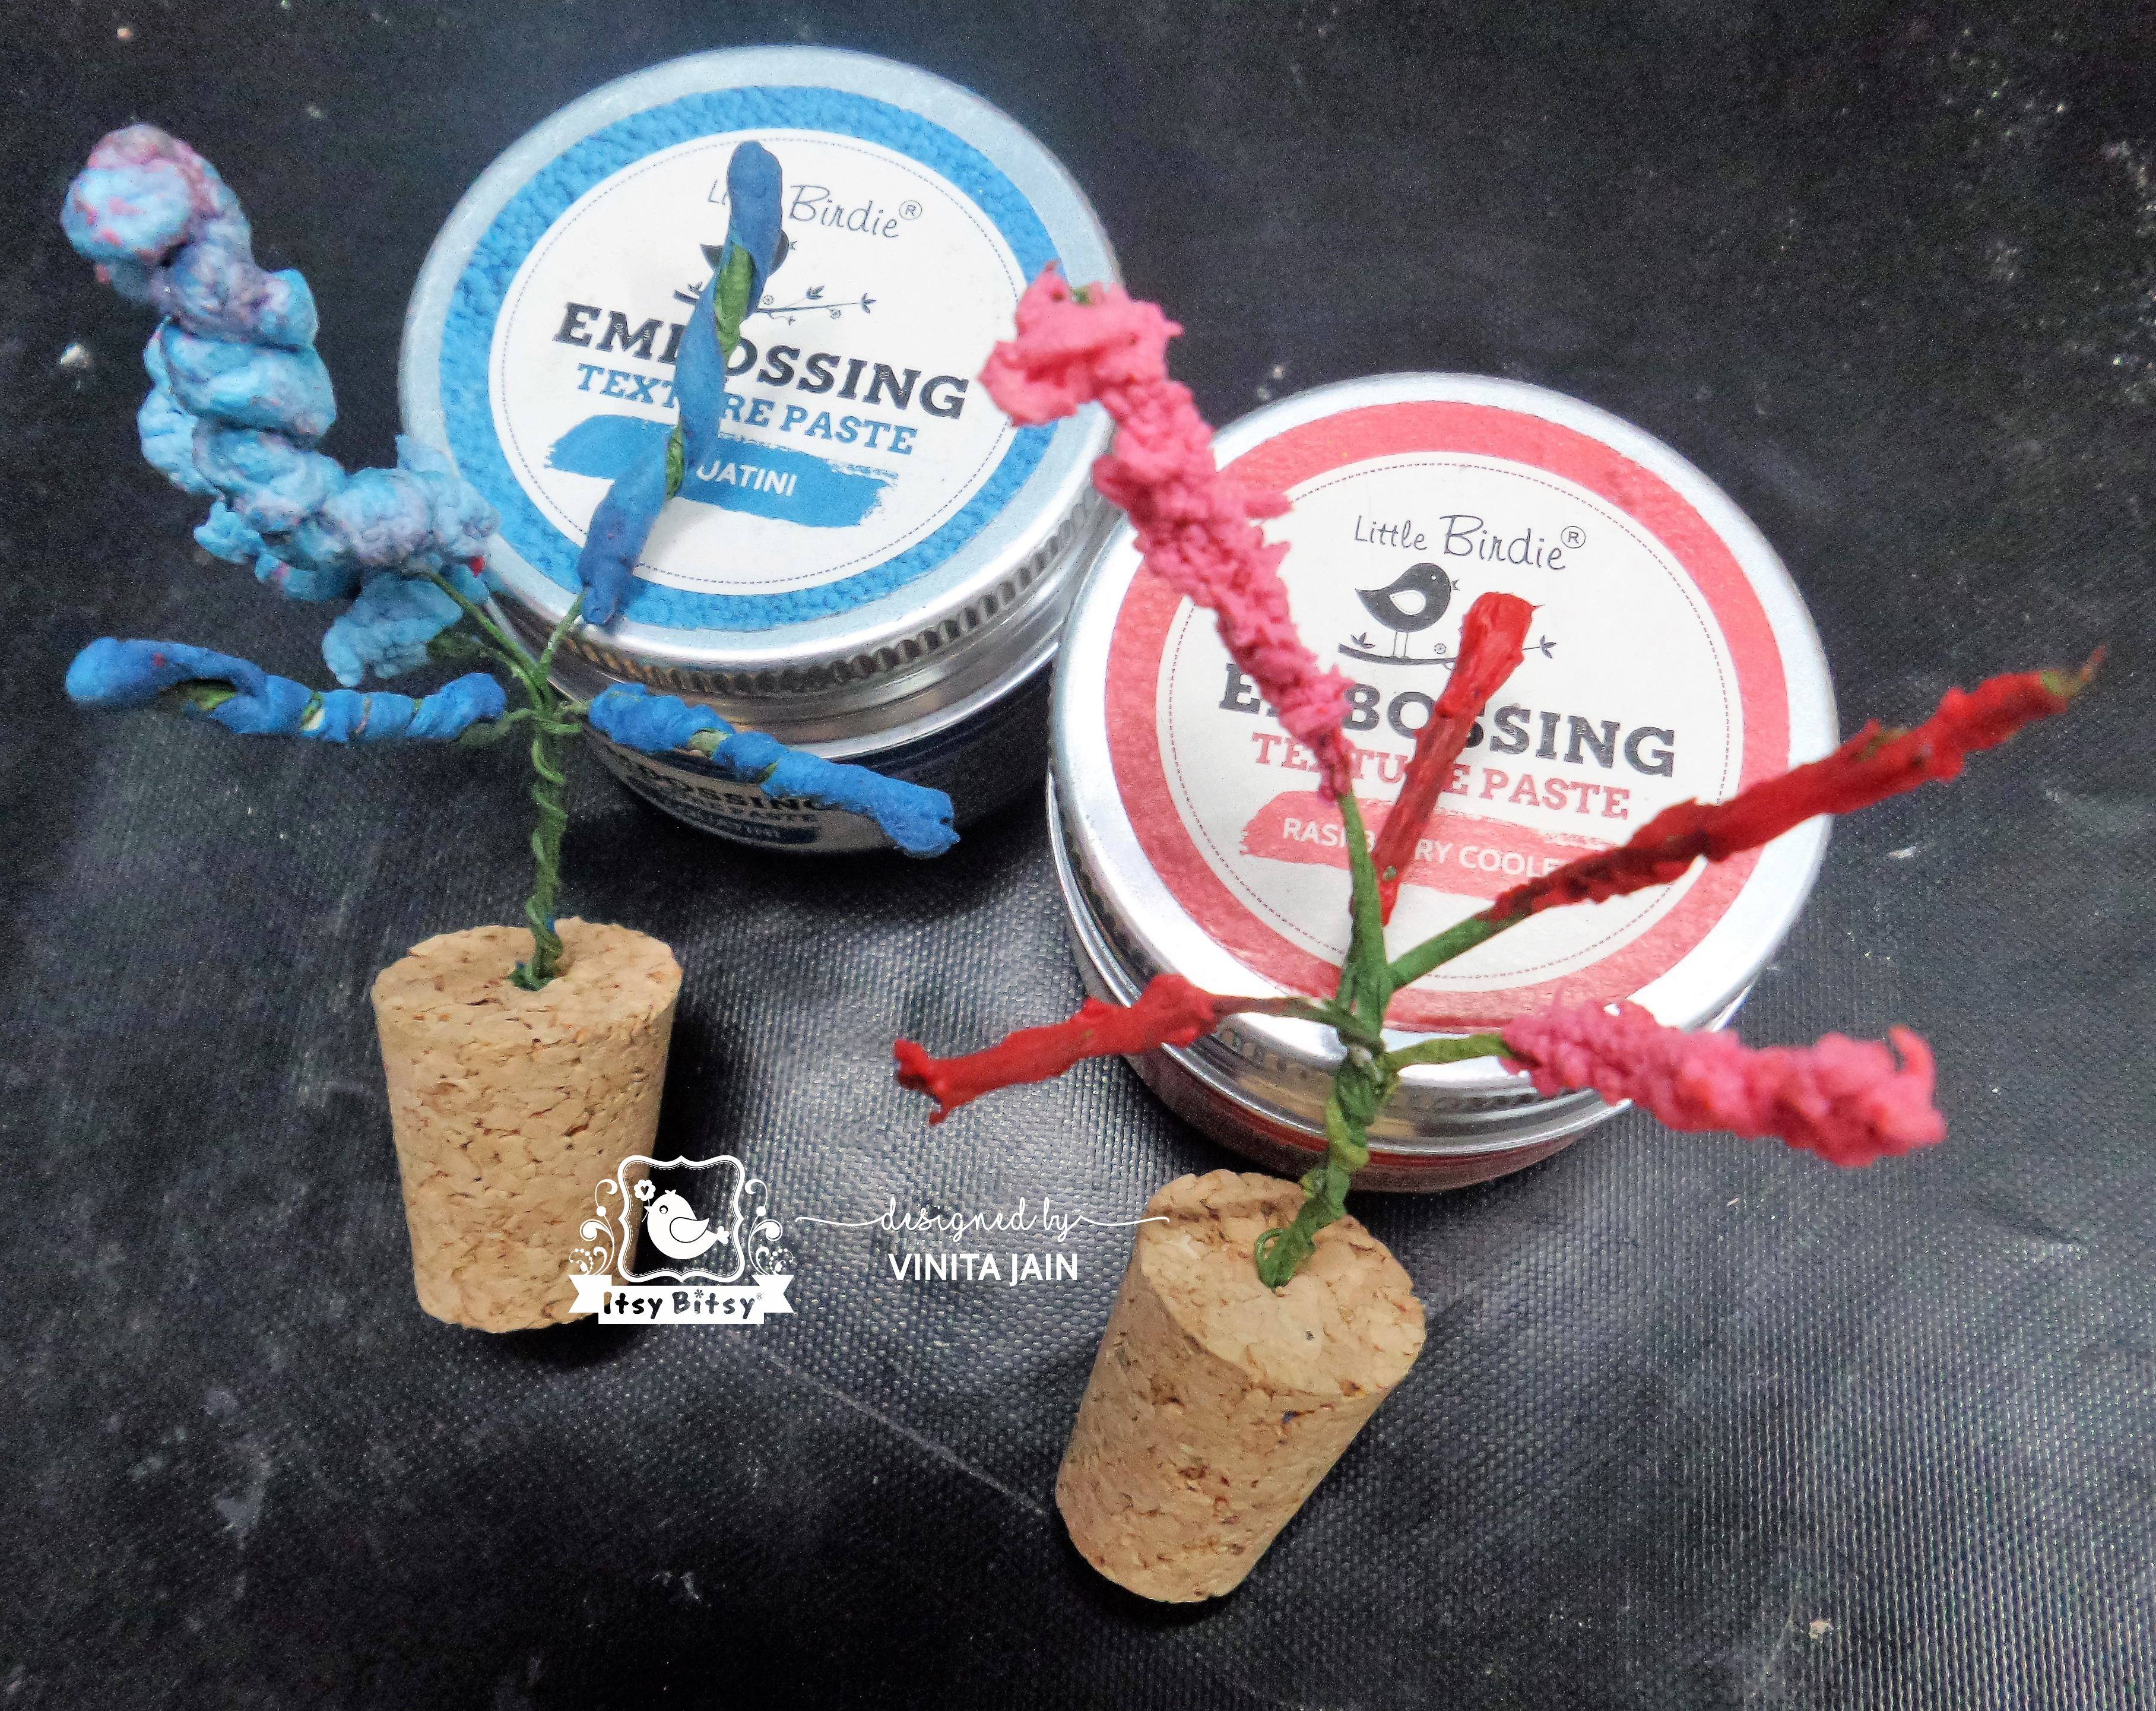
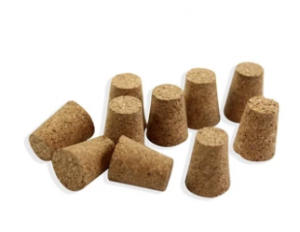
On a tapered cork added a bunch of wires. At the top of each wire applied Embossing Texture Paste and heat embossed them. I just love the result…Just perfect for making miniature plants.
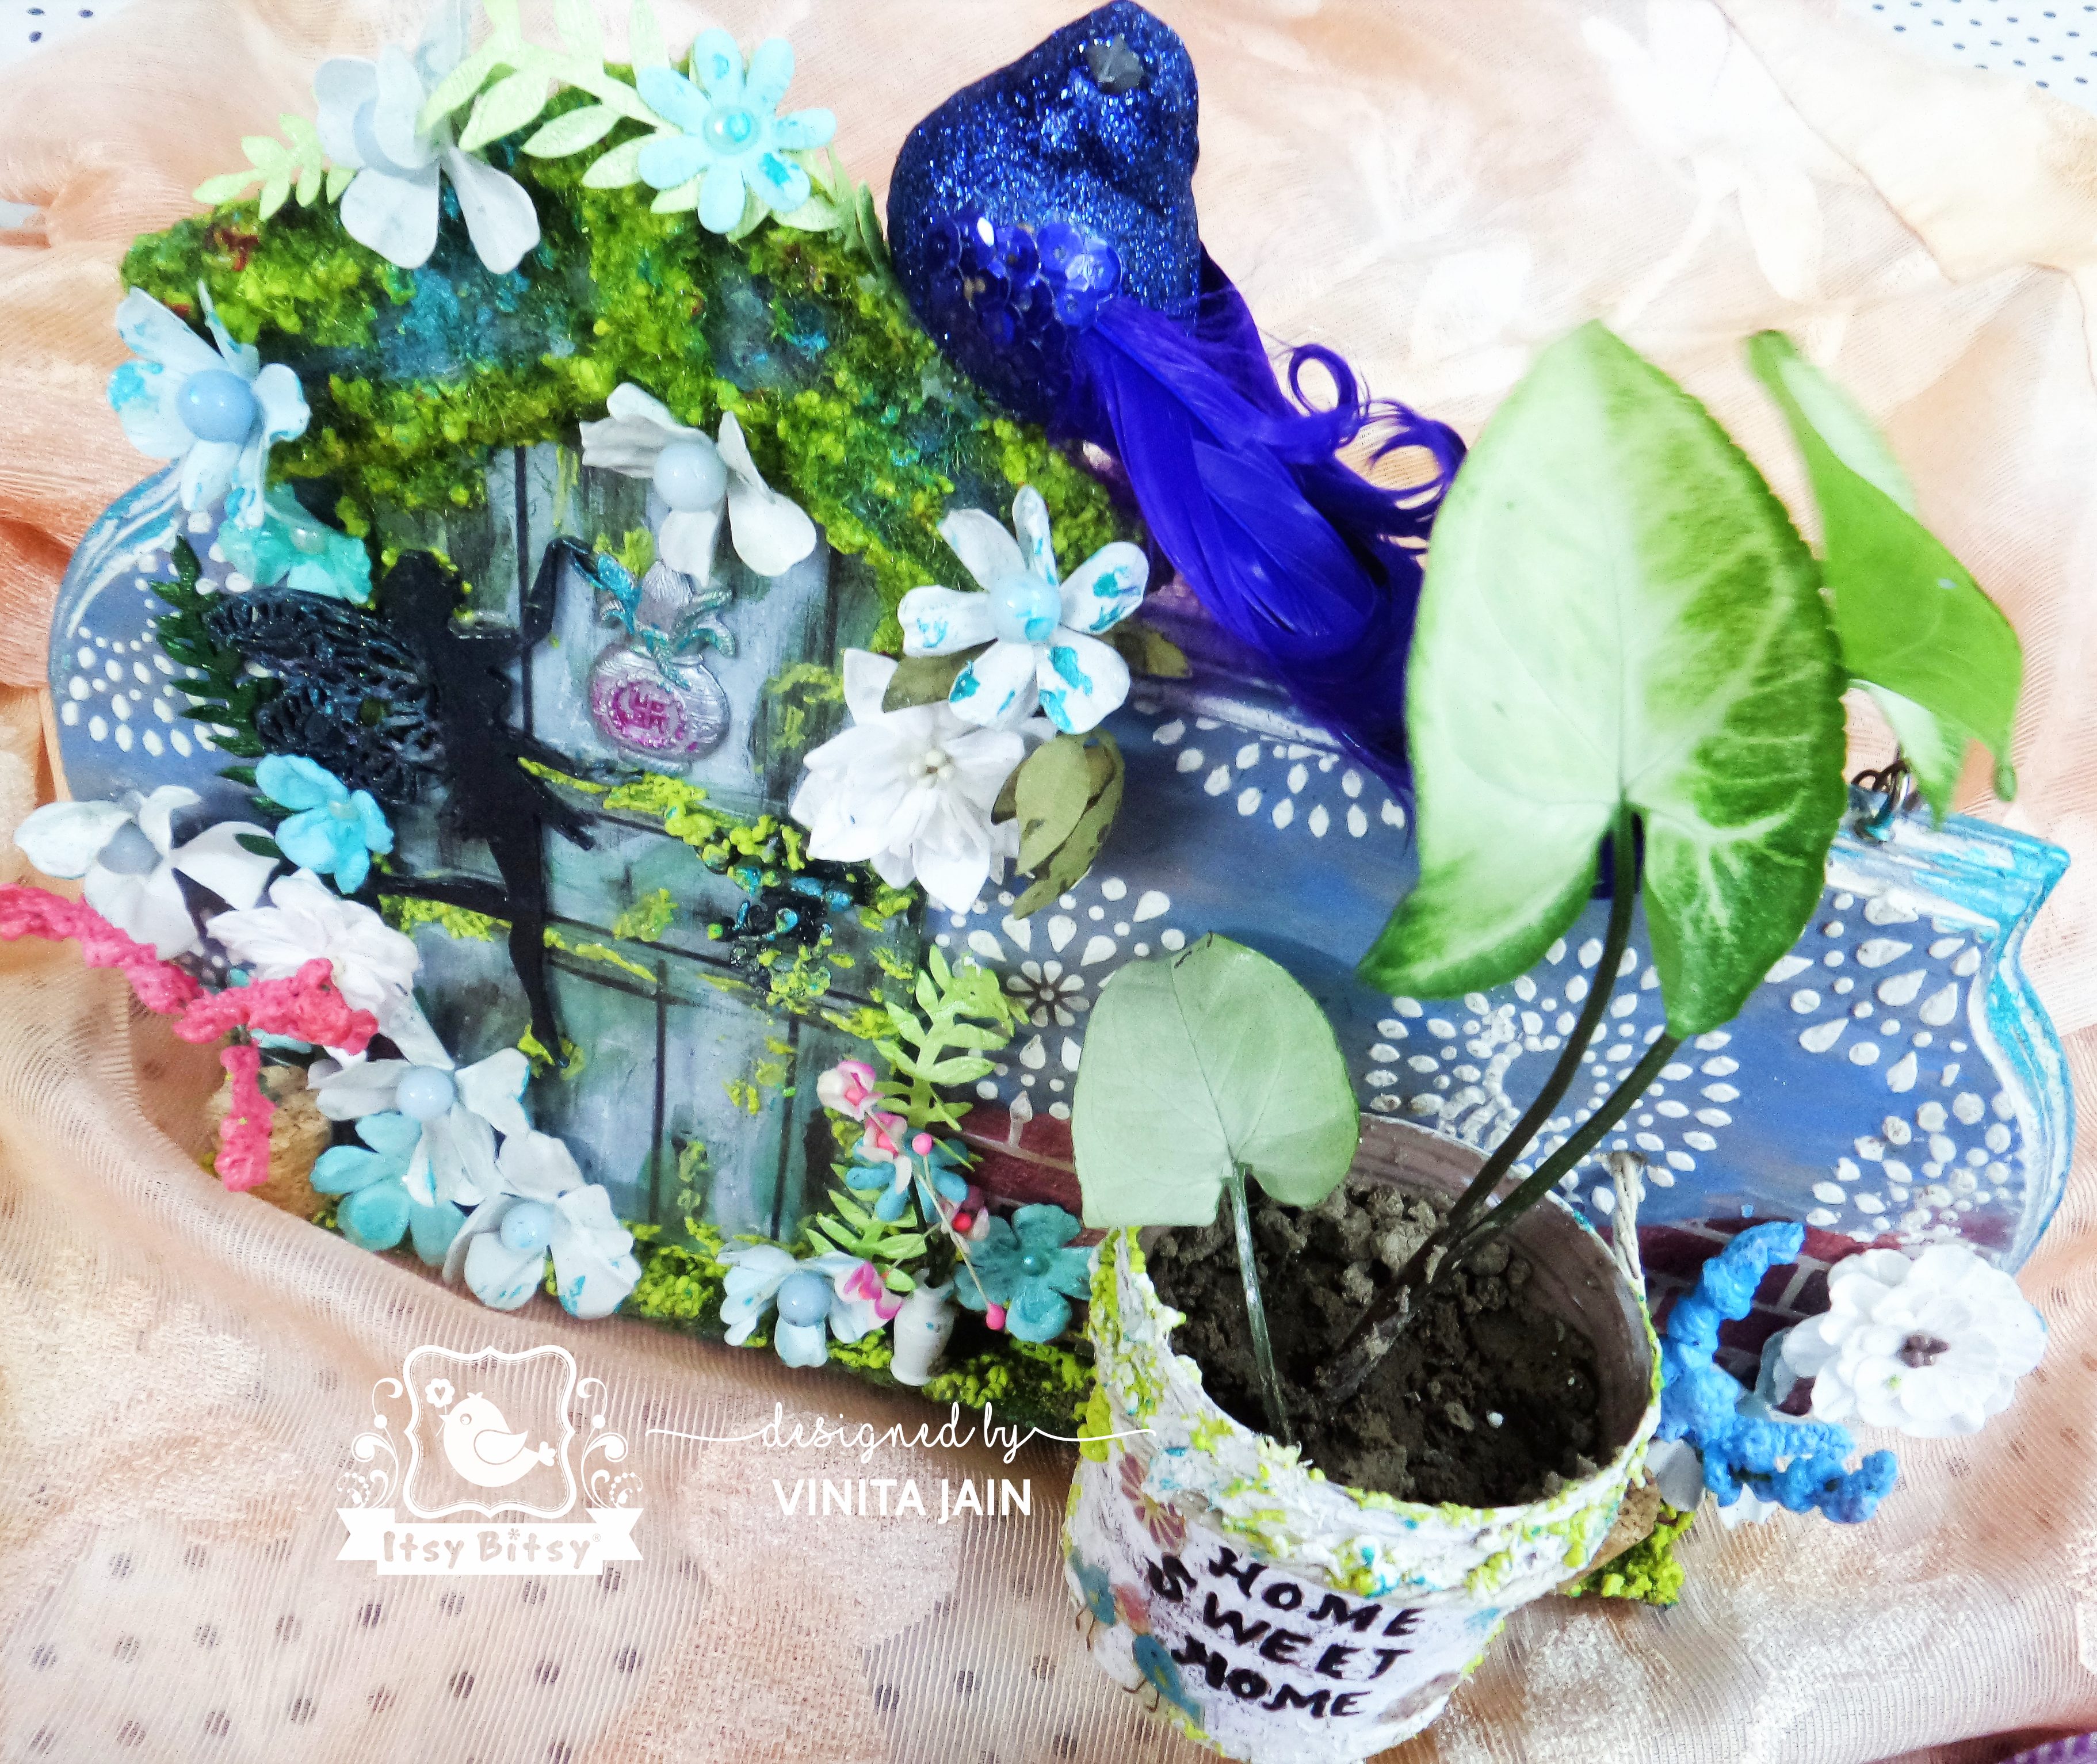
Now adhered all the pieces to the wooden pine base. The door, planter, cardboard base at the bottom with a lot of textures and a fence, everything was arranged as I wished. Created holes to hang my planter and added some moss textures for an old look.

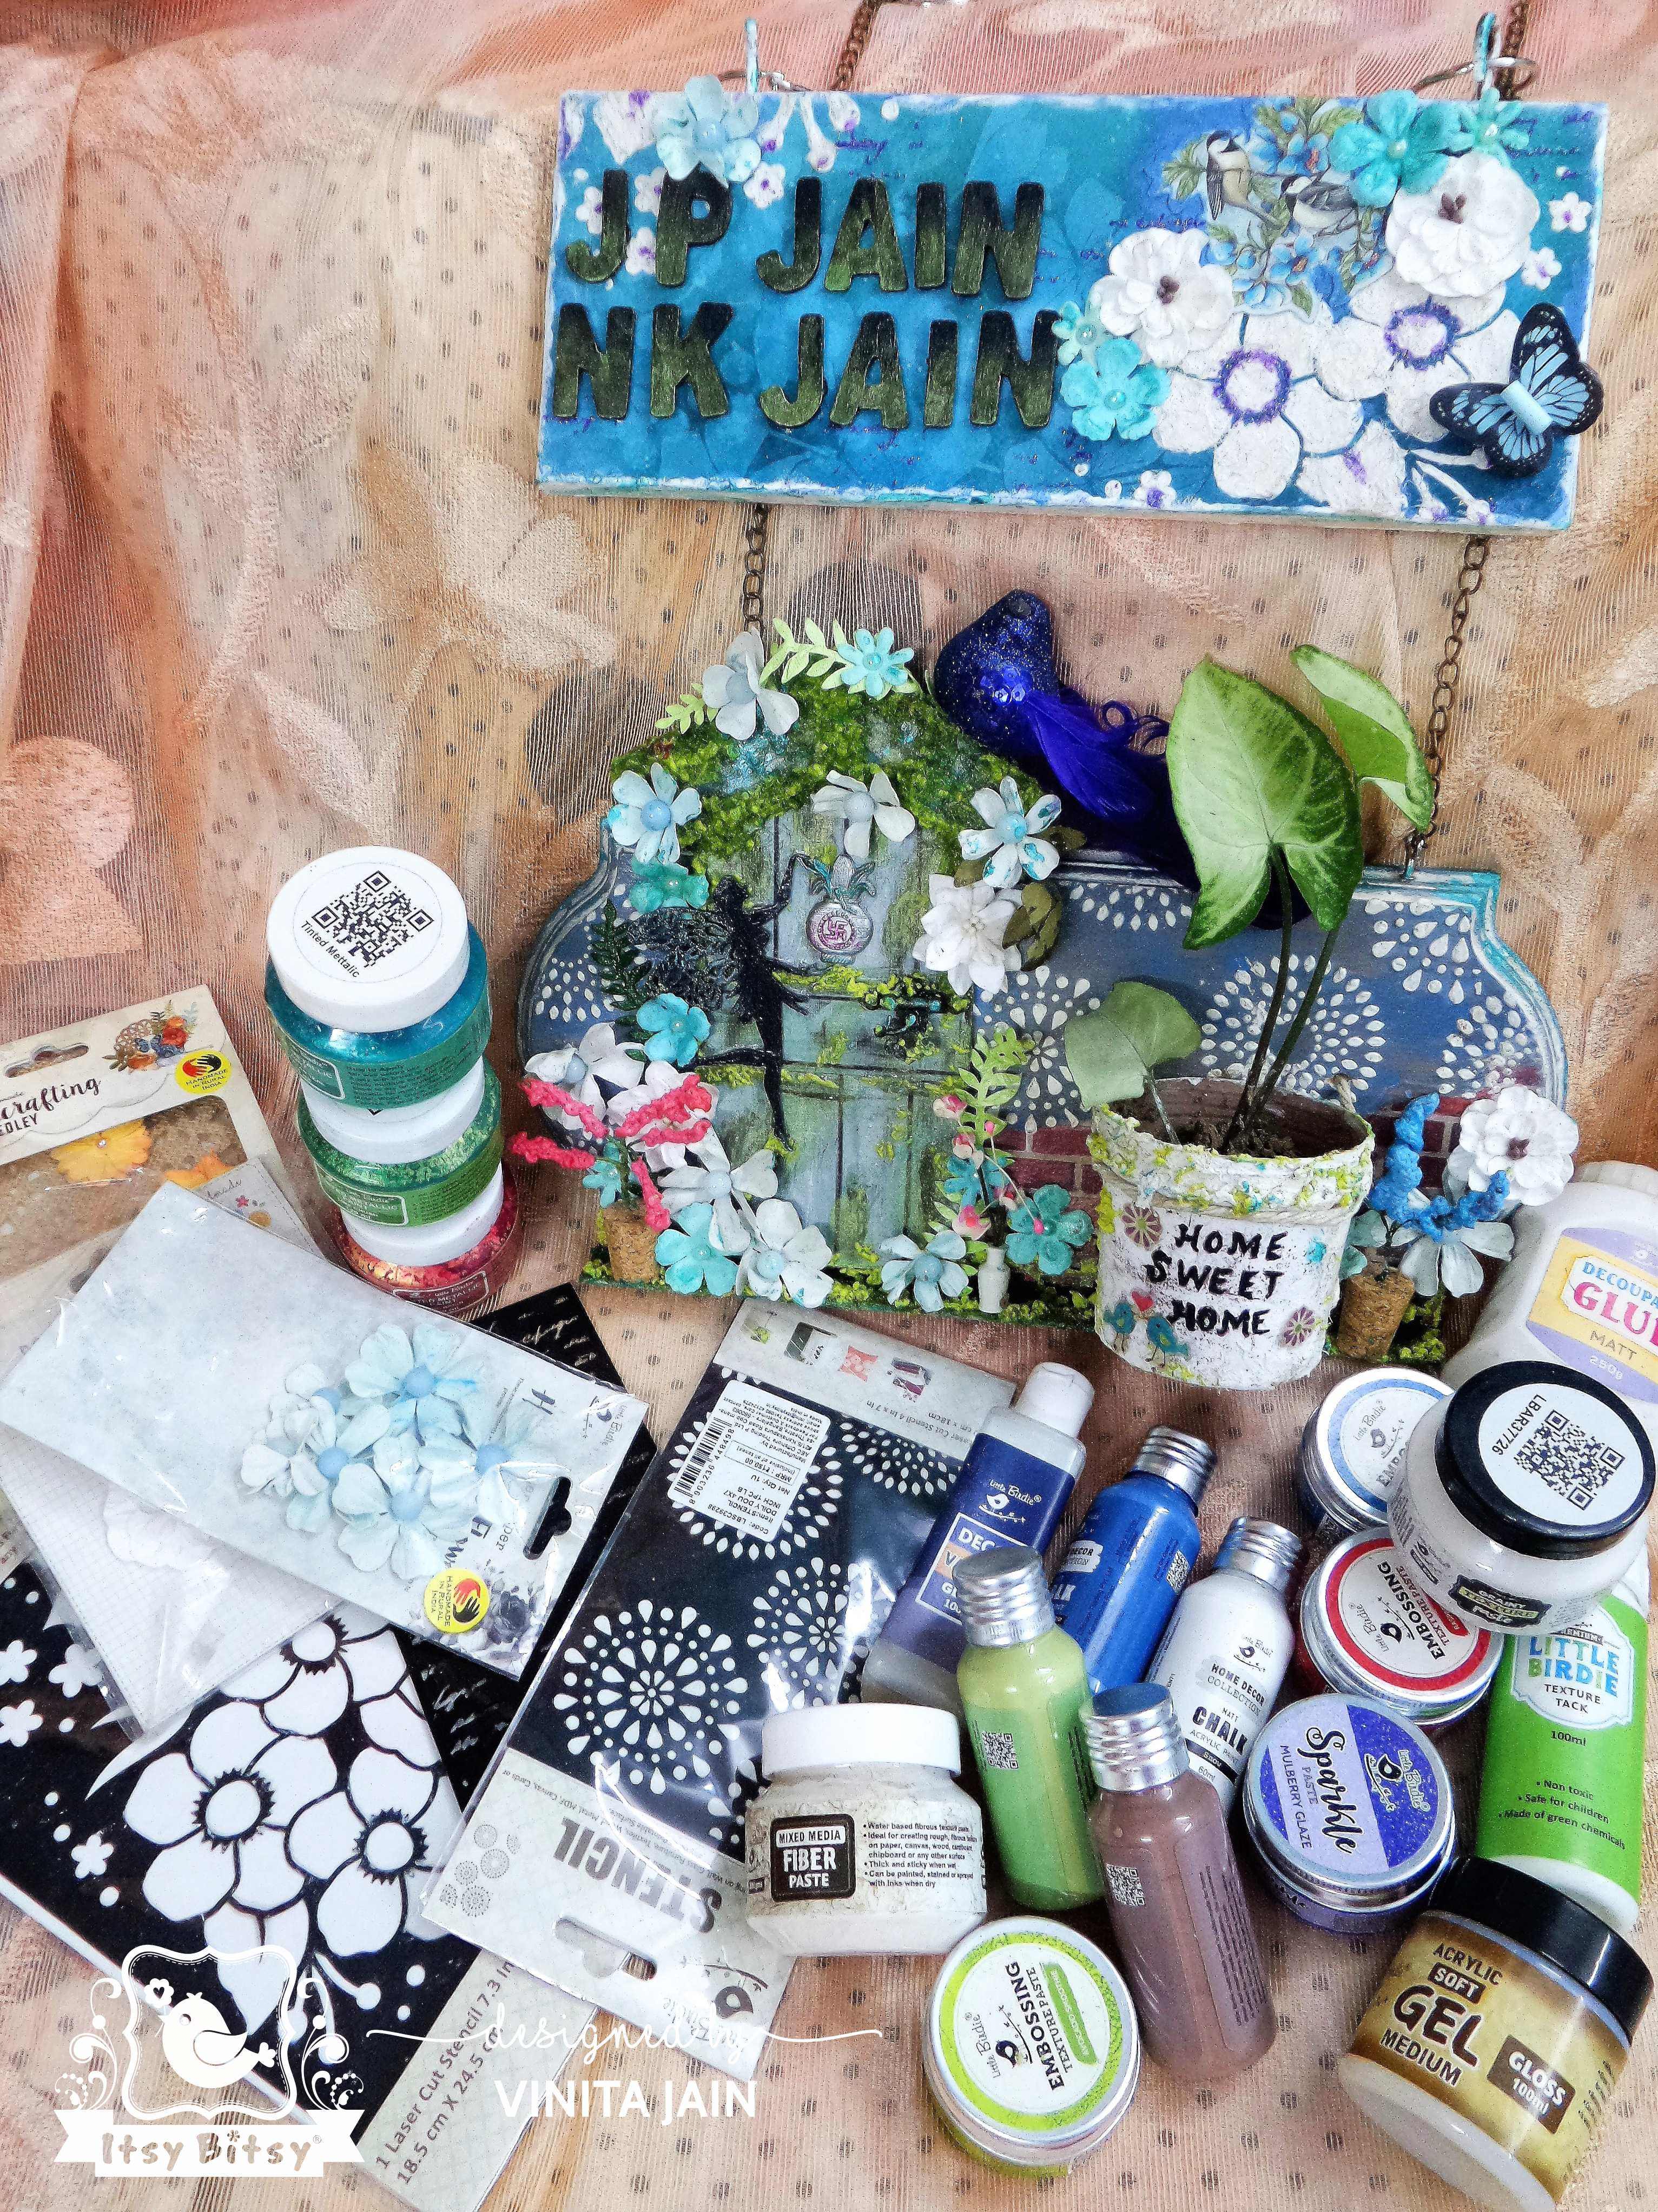
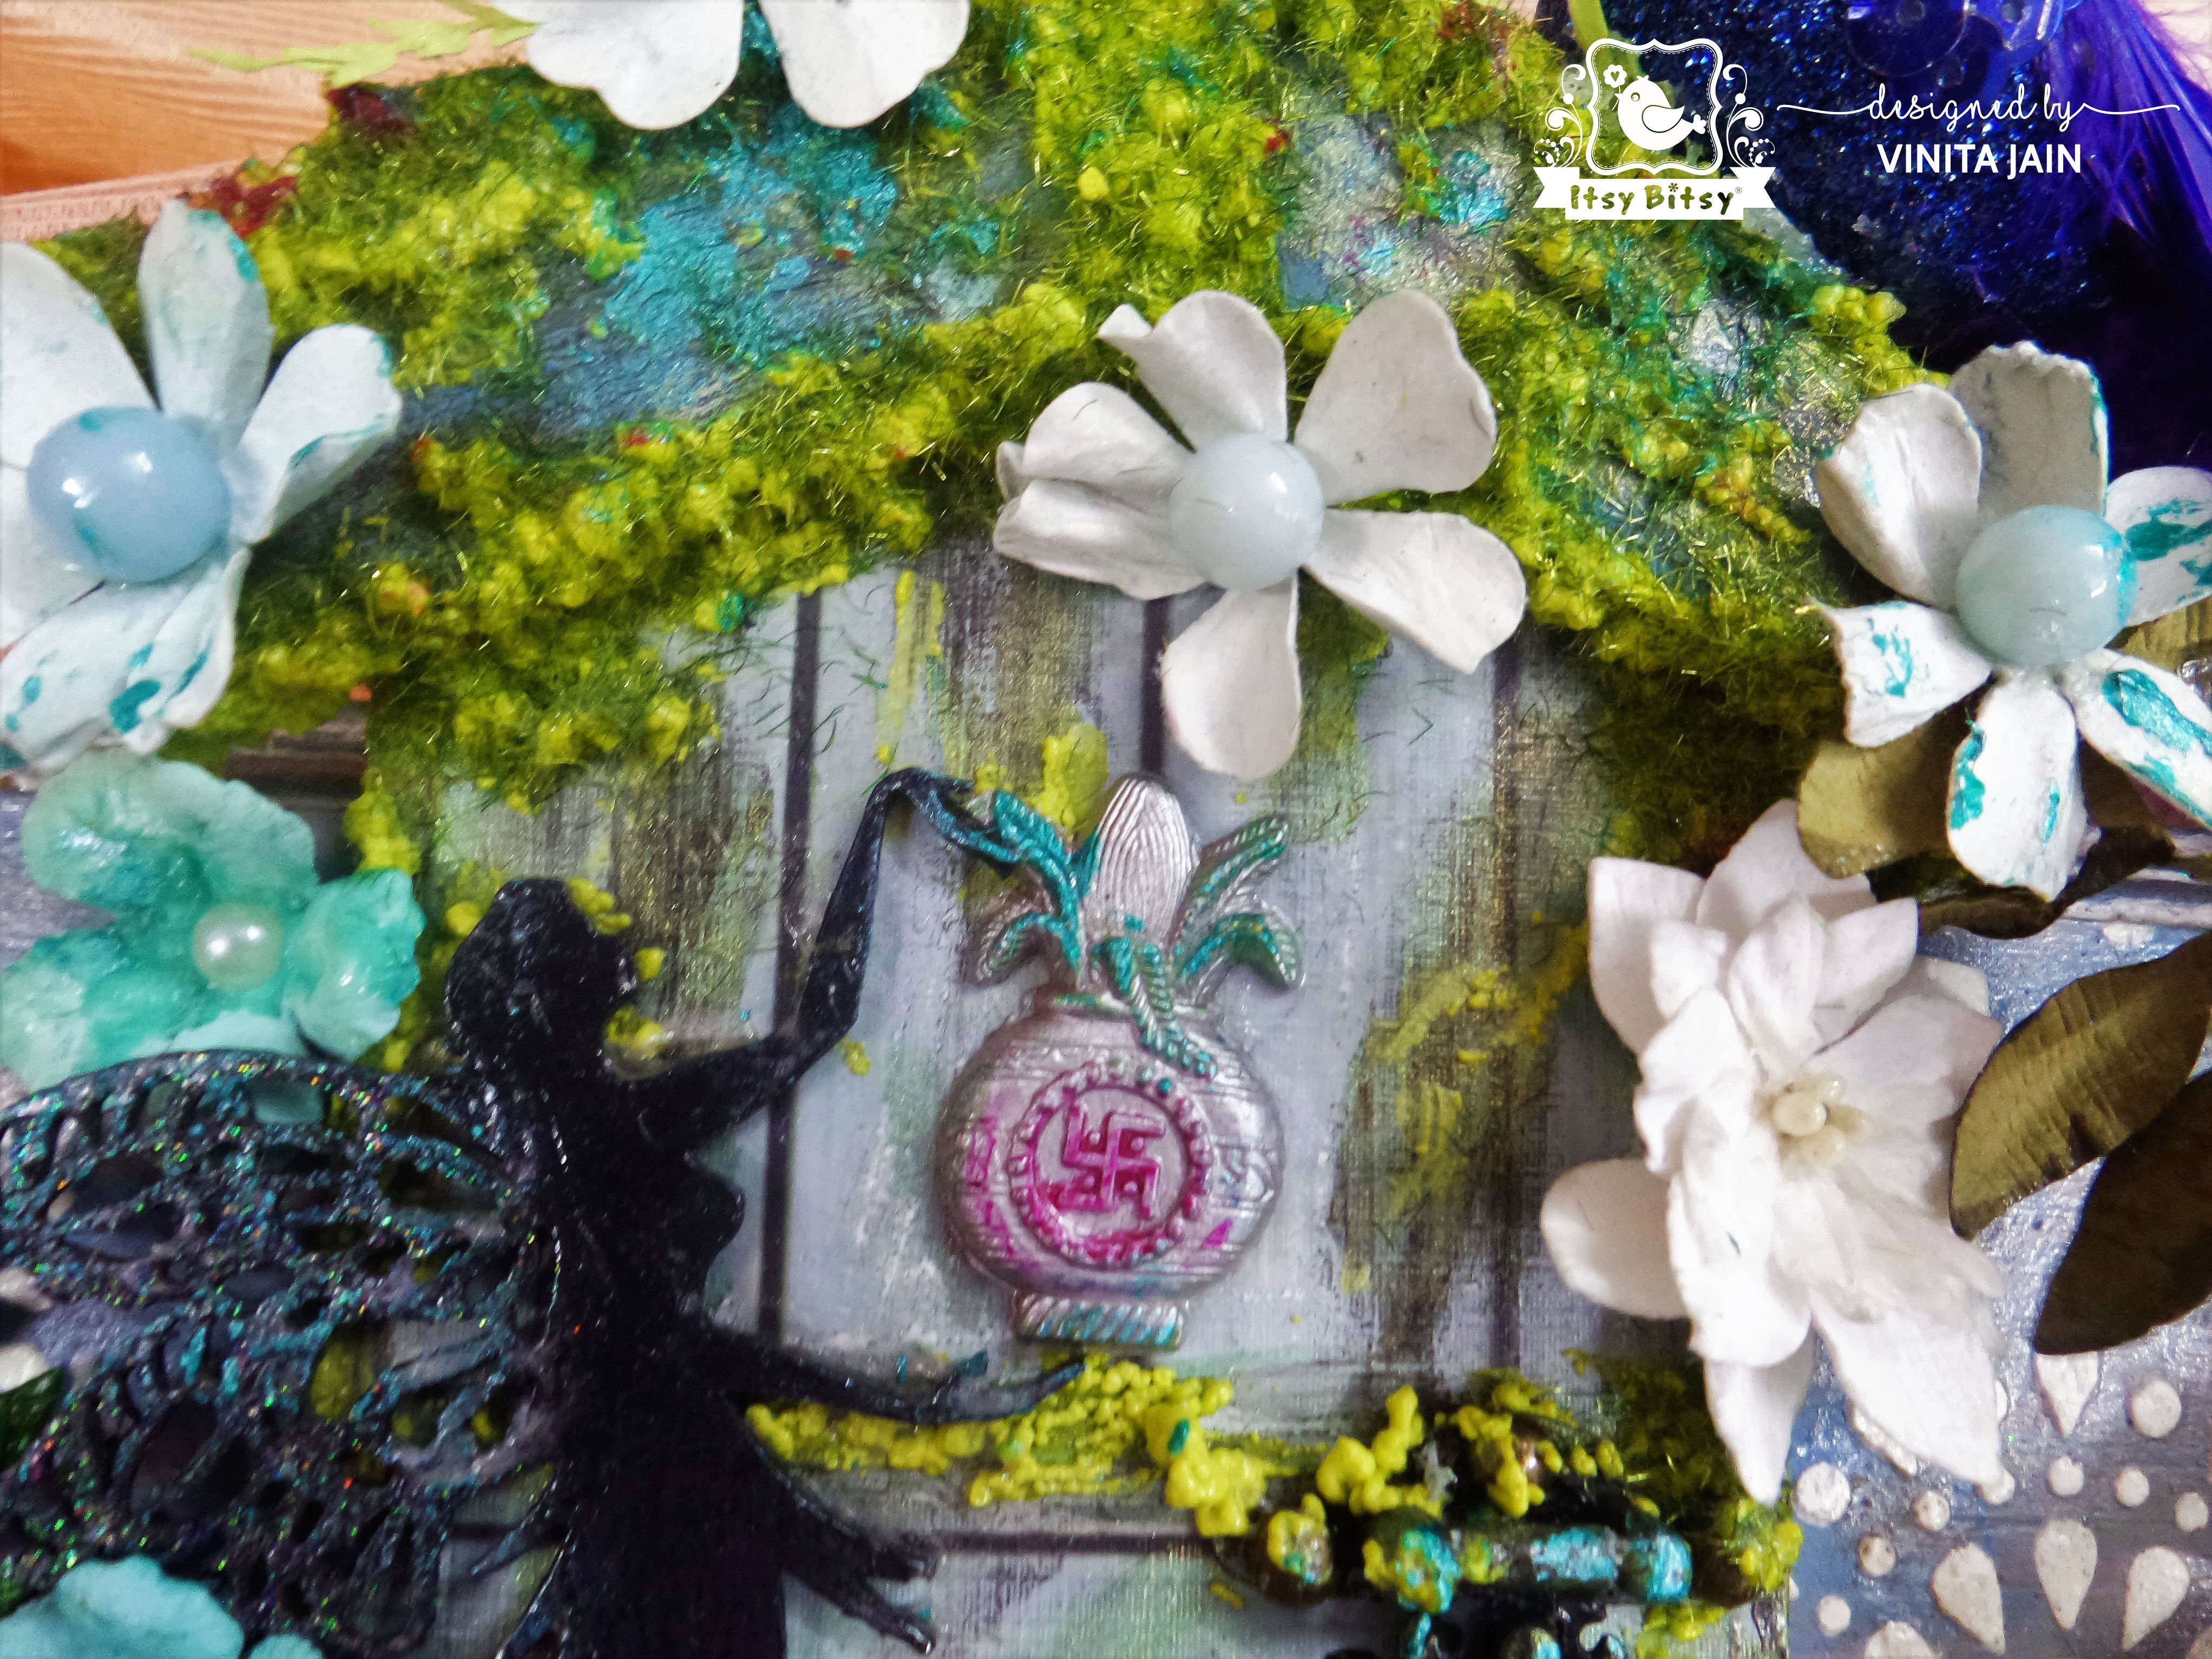
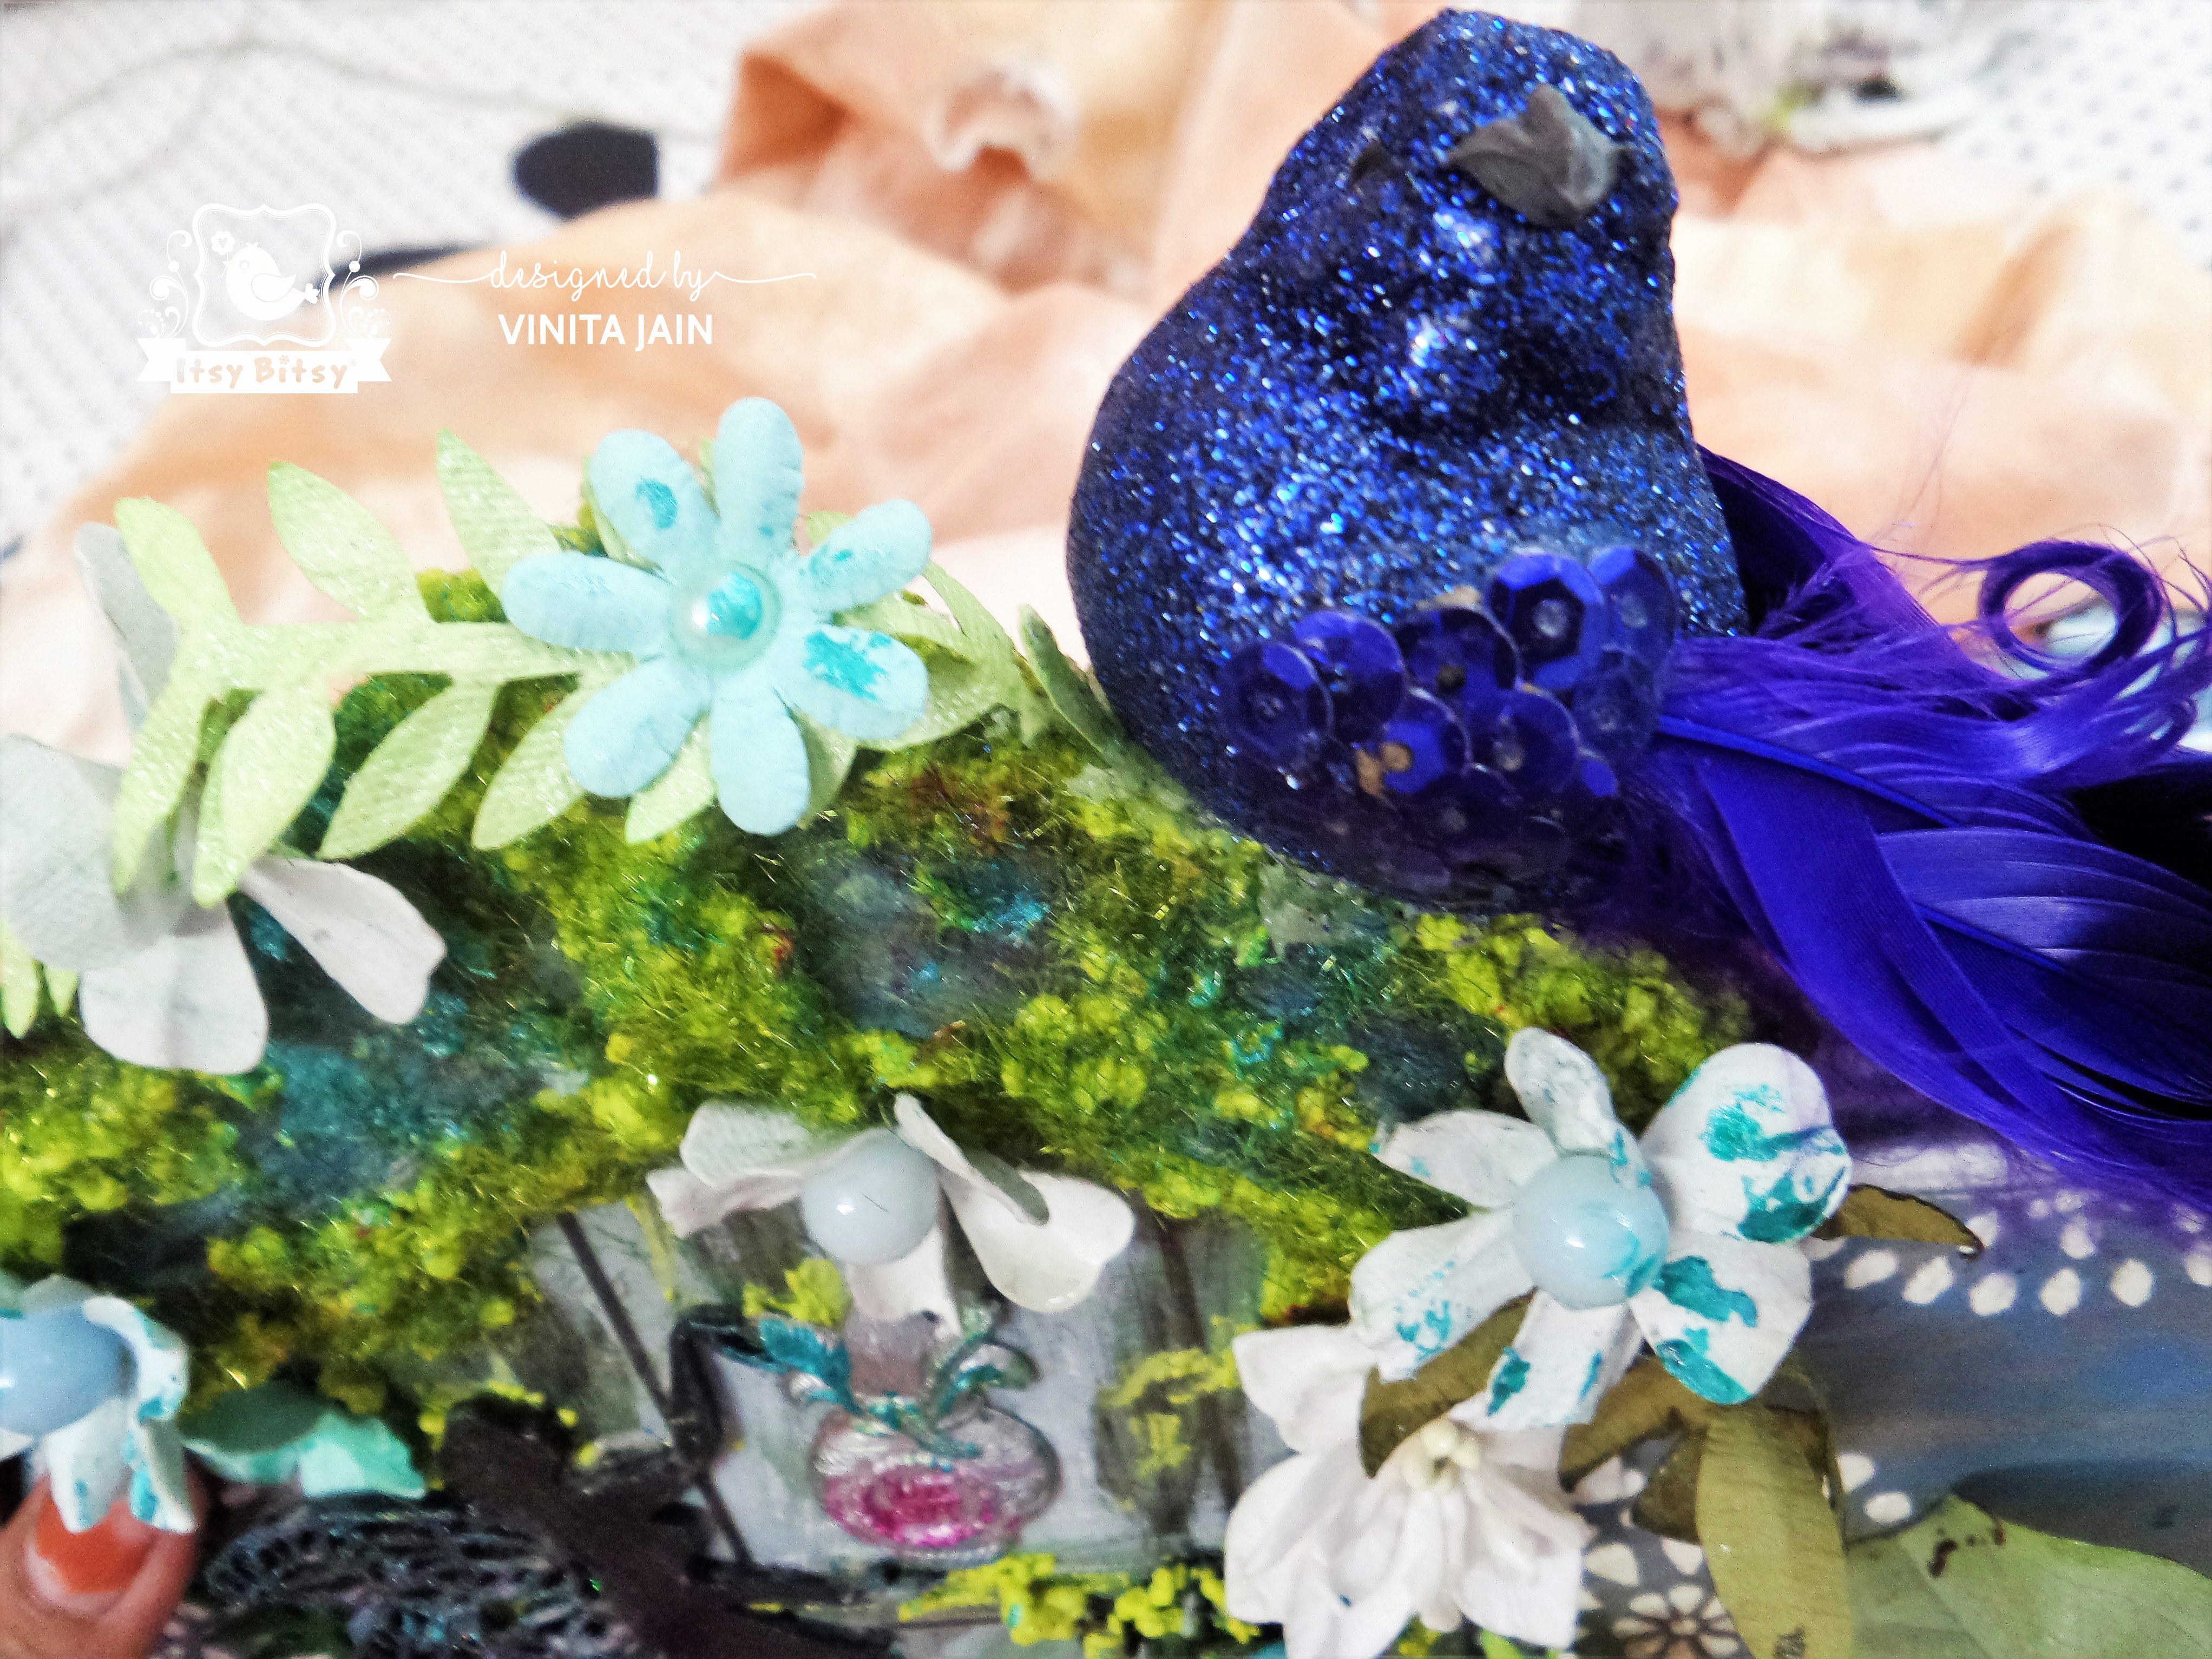
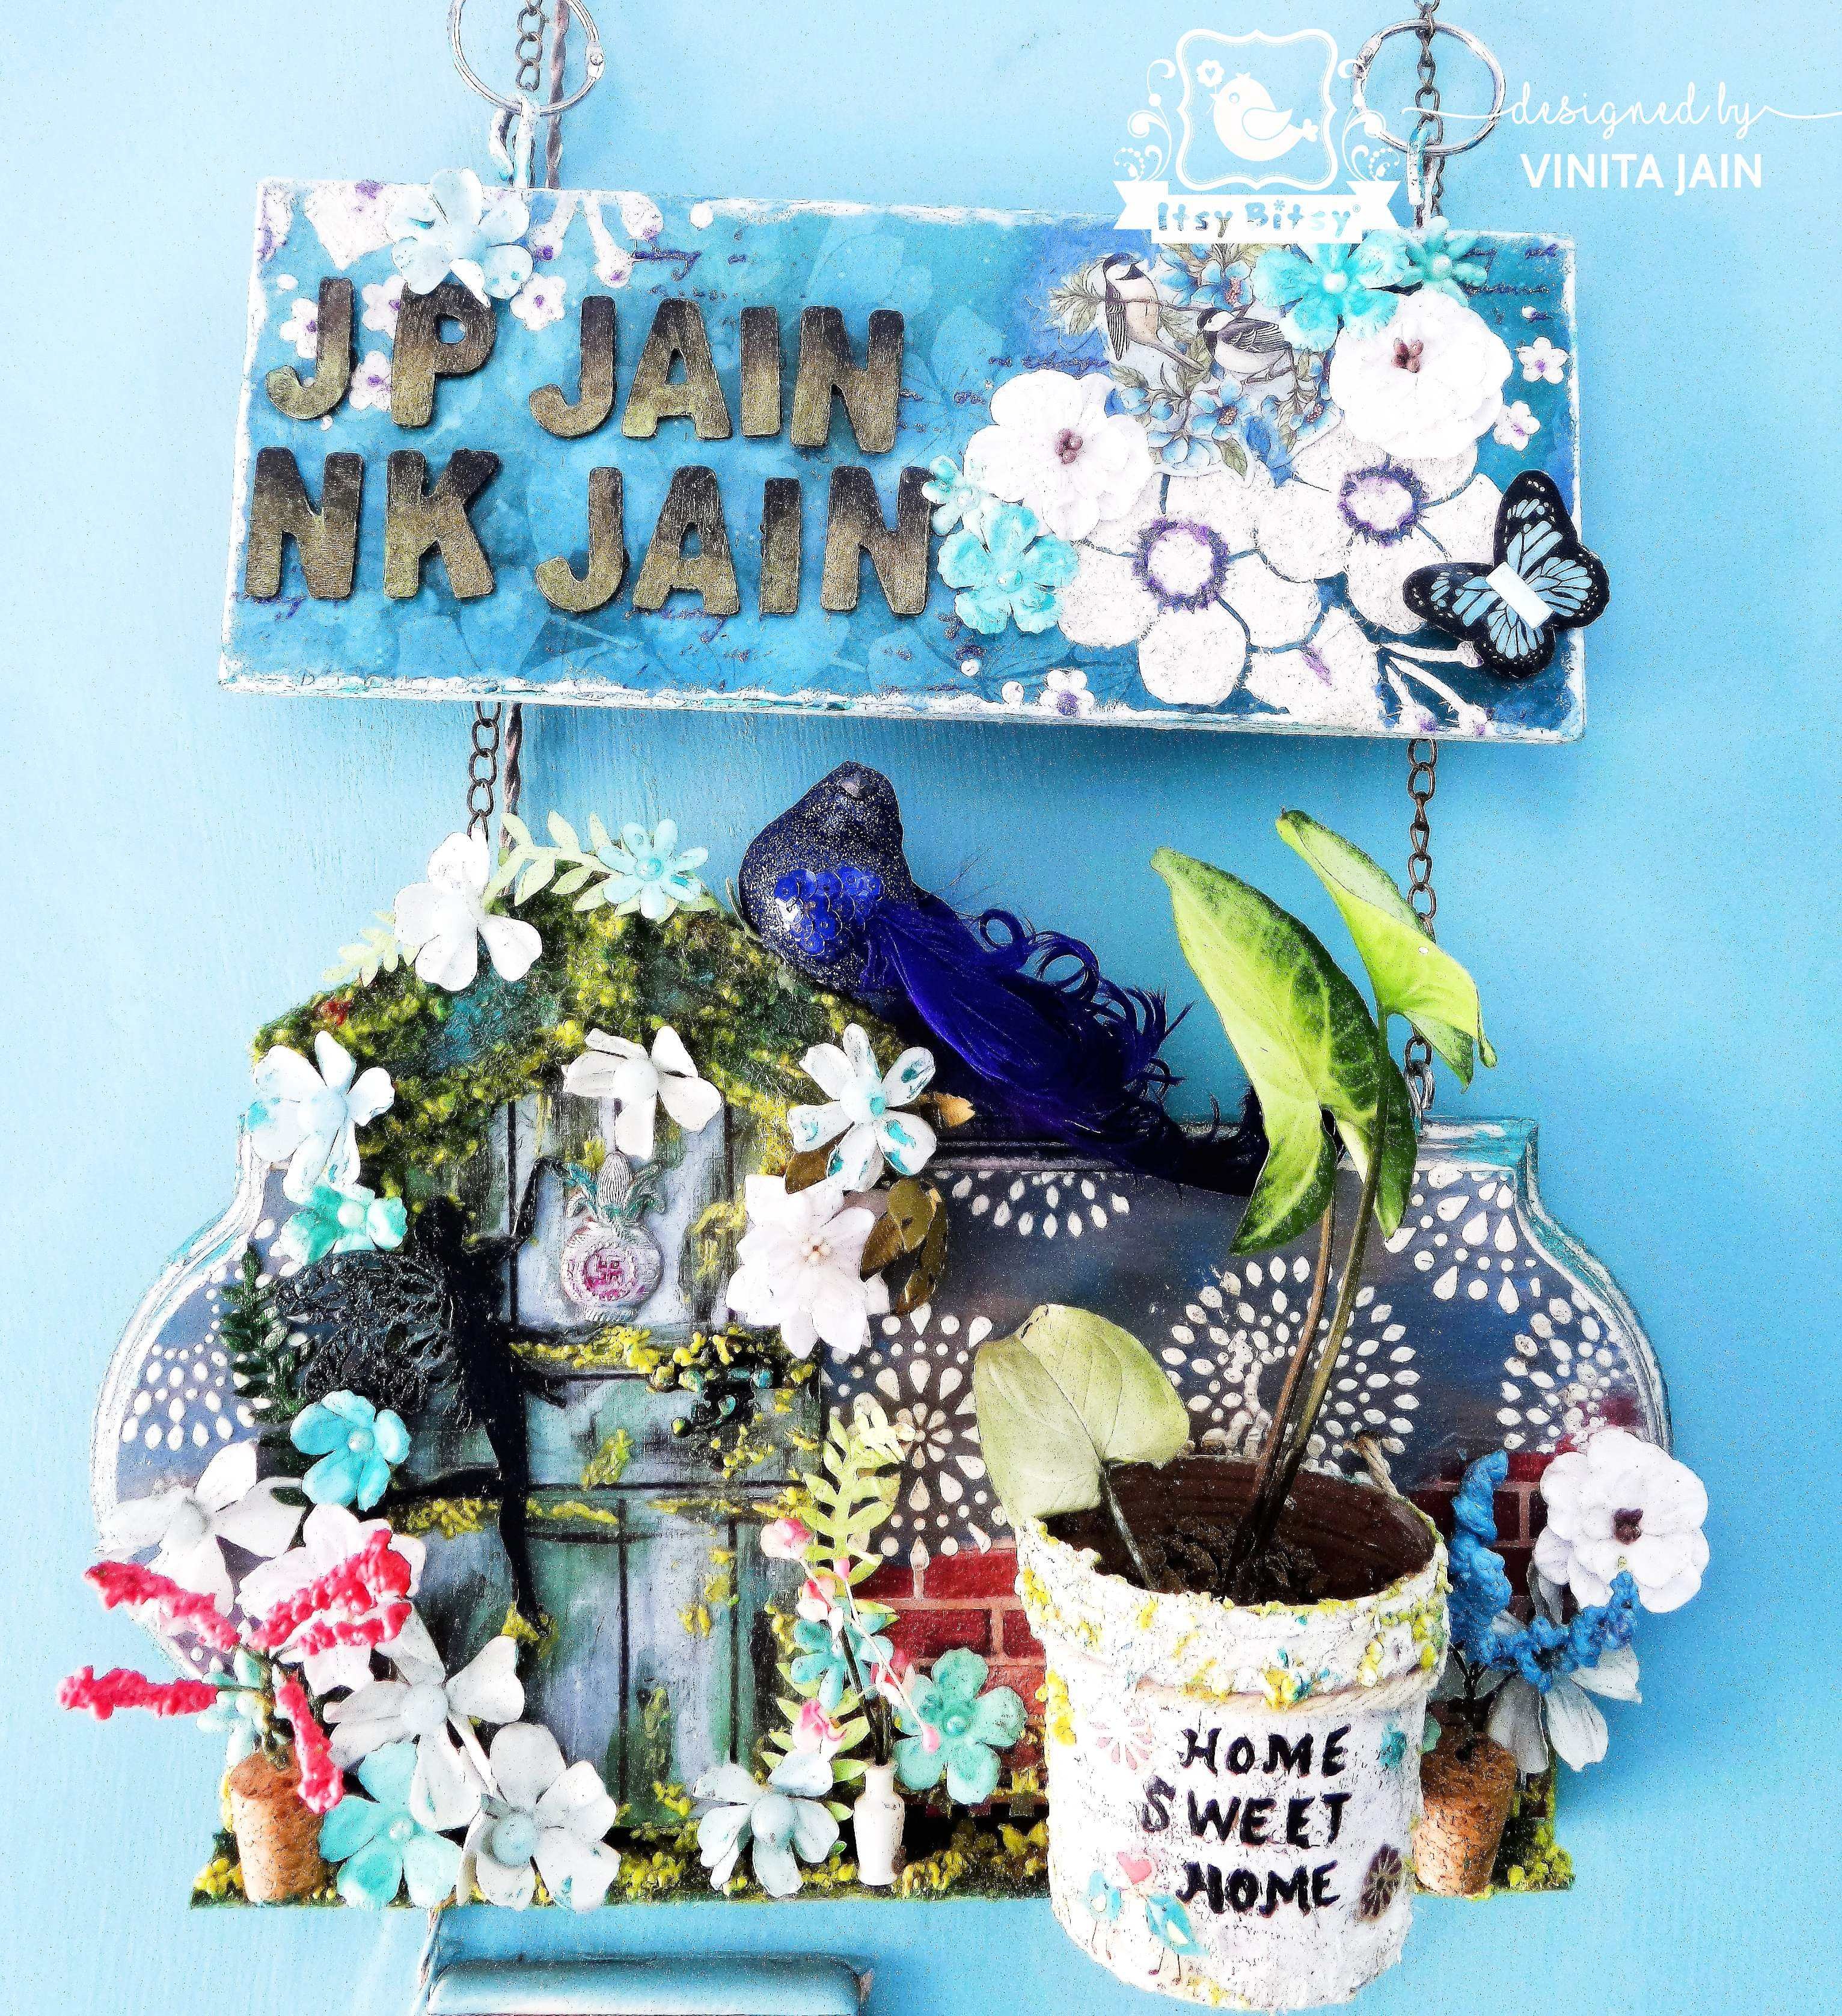
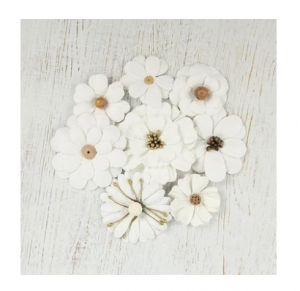
So here is the completed wooden plaque with a lot of materials, texture and embellishments! I added a Swastik sign at the door of the house and applied metallic paints to it. The pretty fairy with sparkly wings welcoming at the door with lots of handmade flowers and a cute bluebird on the rooftop.

Some close-ups:


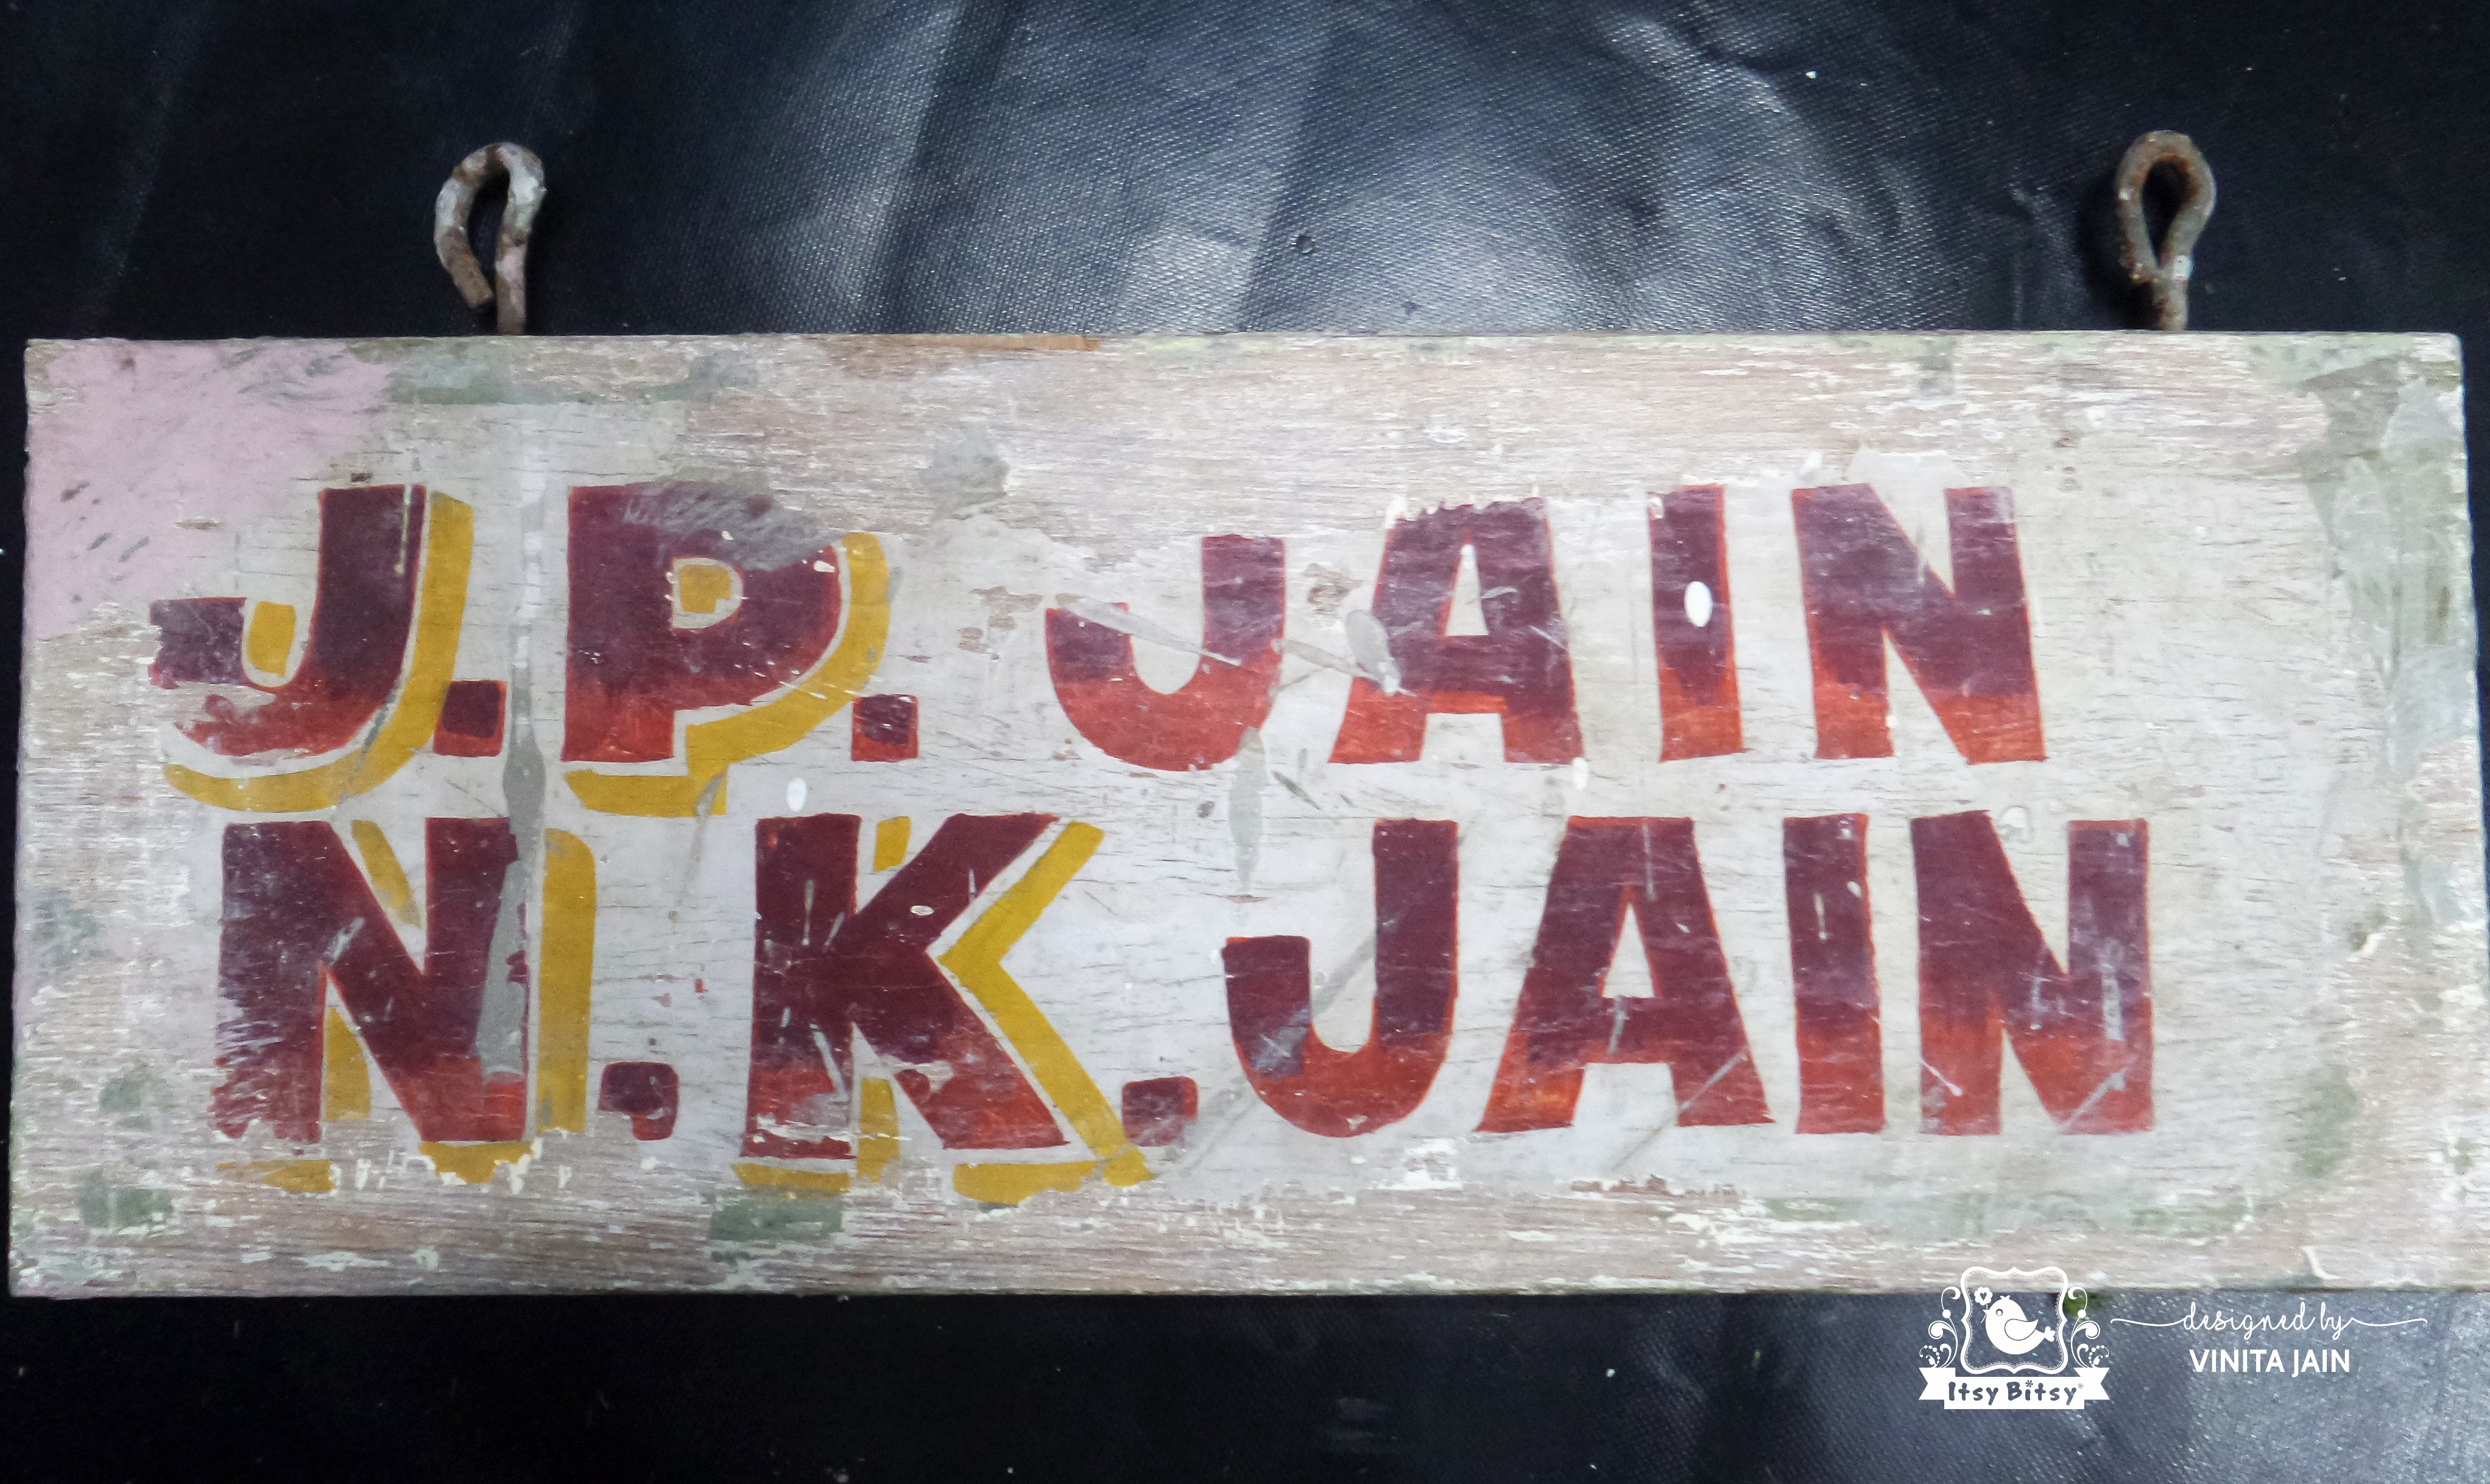
Part 2
I upcycled this nameplate with a new look!
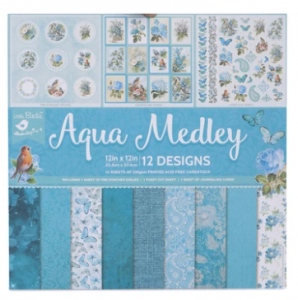
Added a piece of paper from the beautiful Aqua Medley paper pack. Applied Snow chalk paint on the edges for a distressed look.
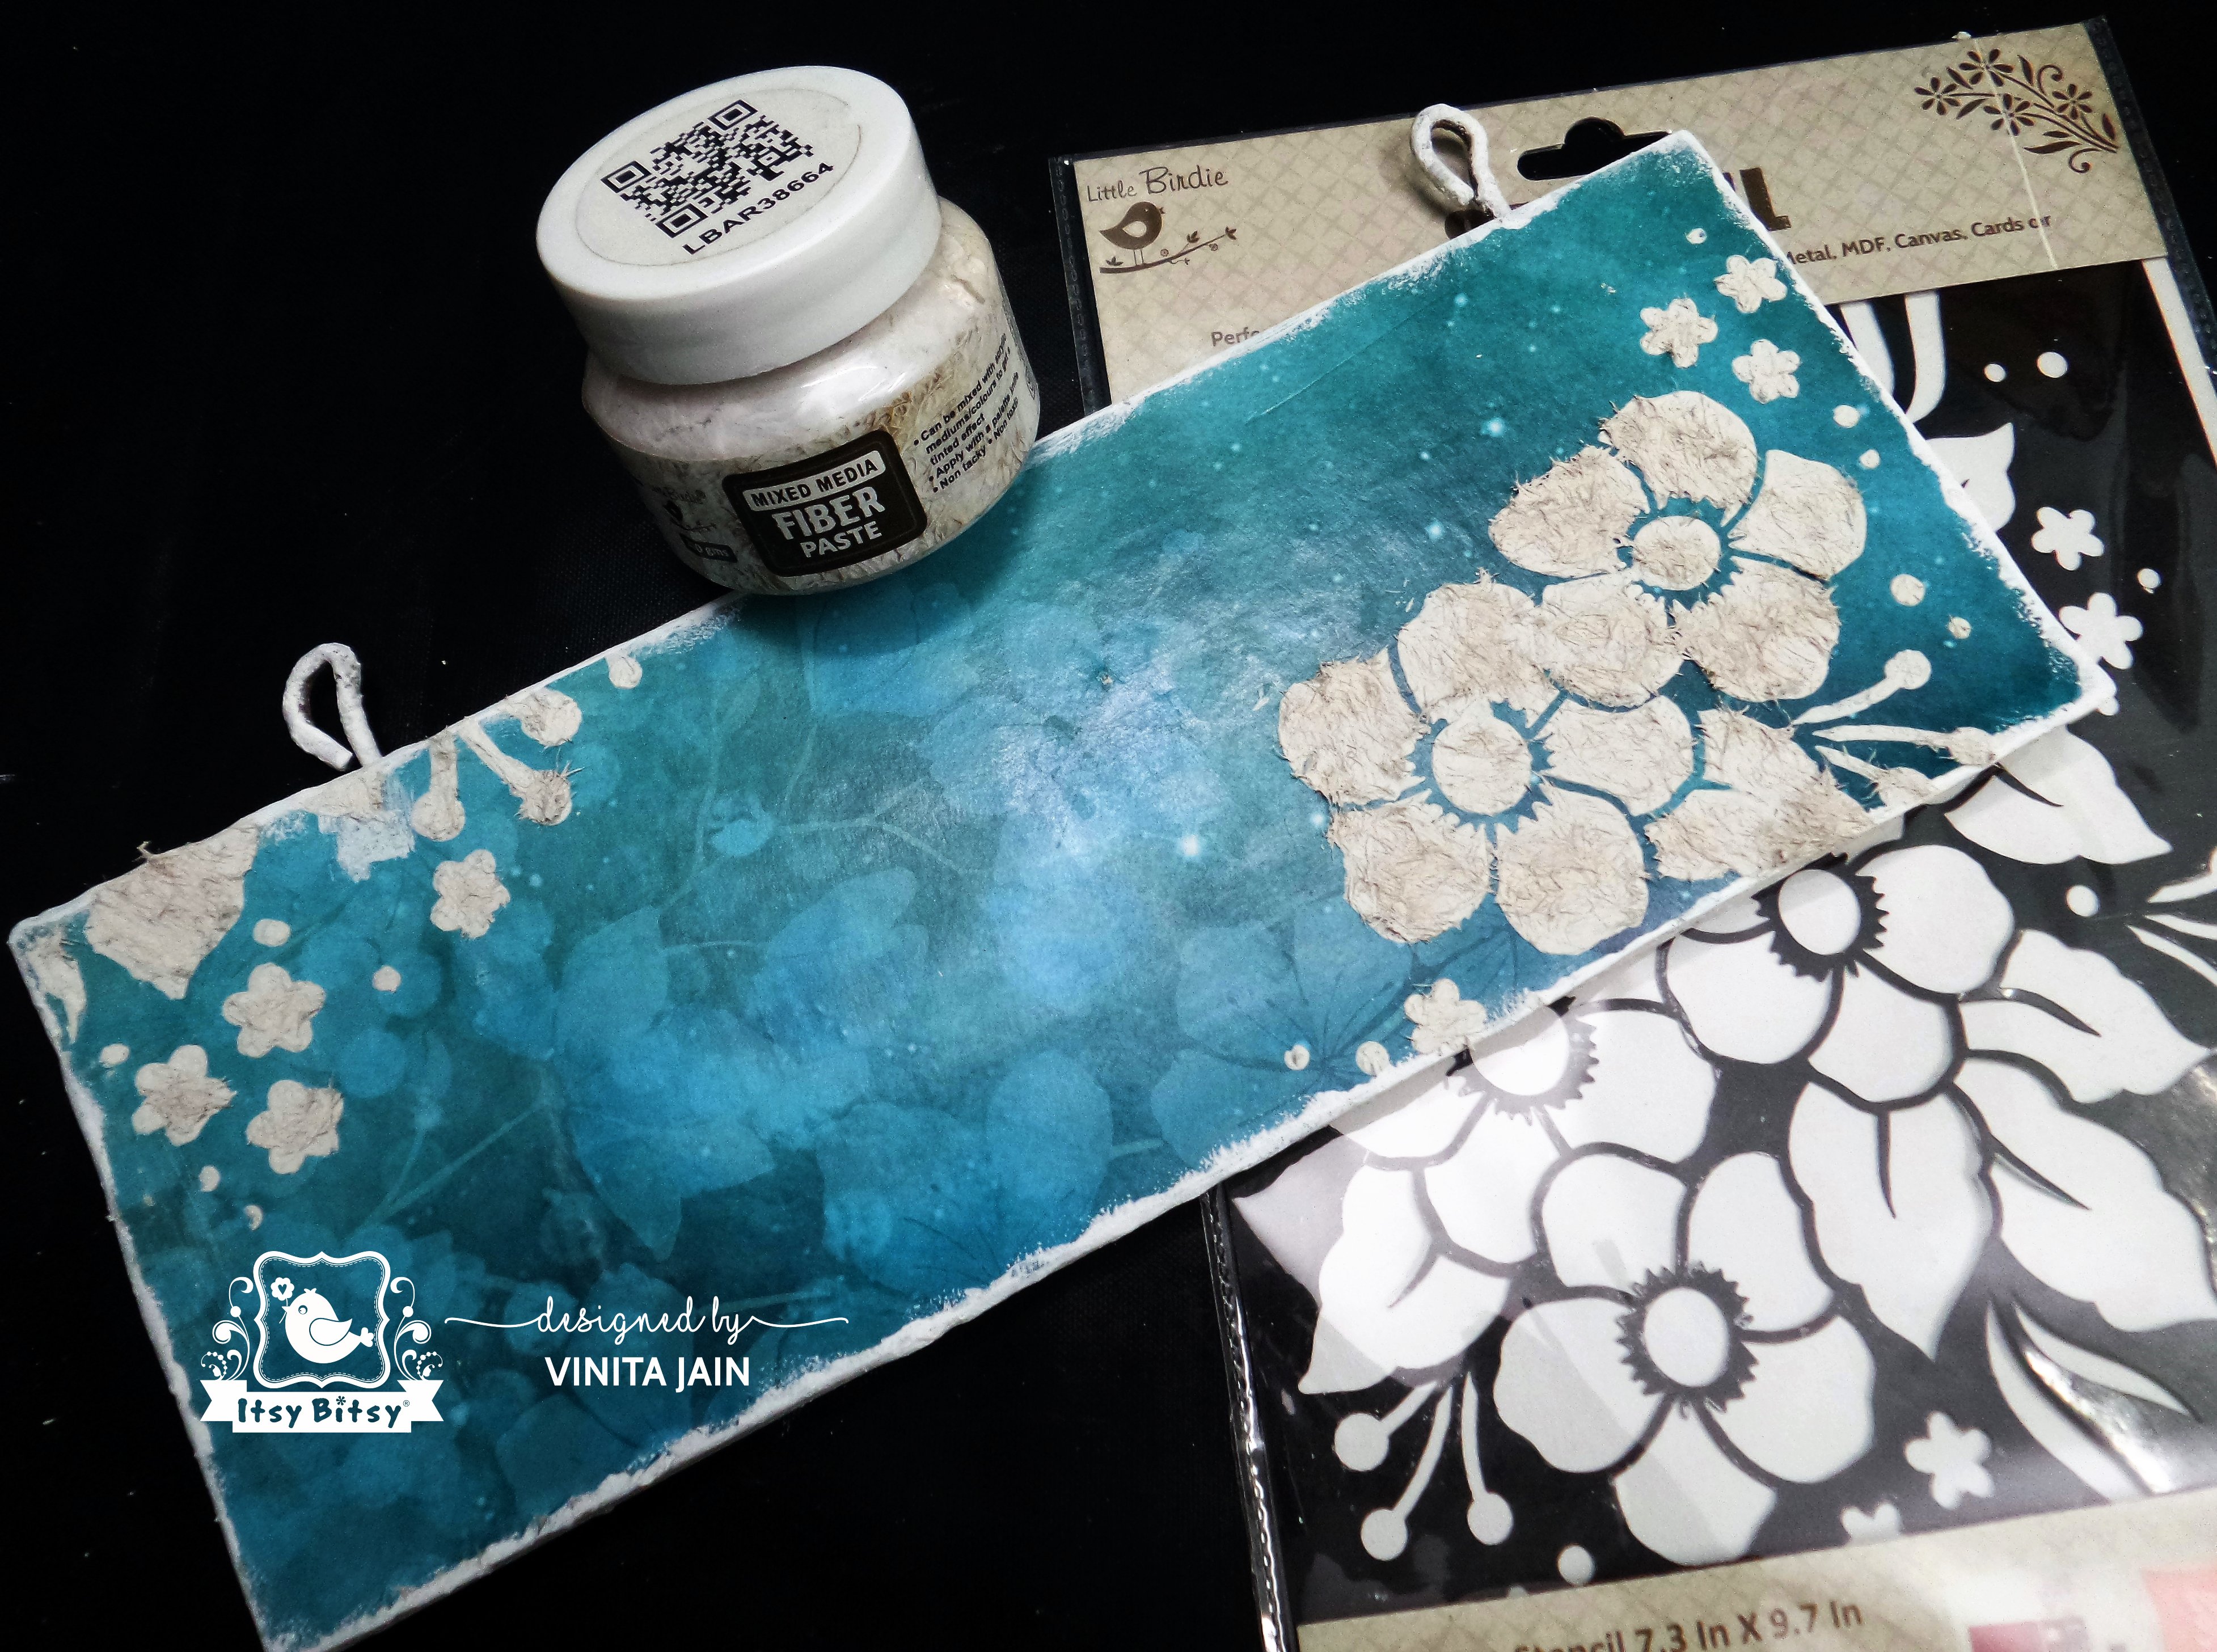
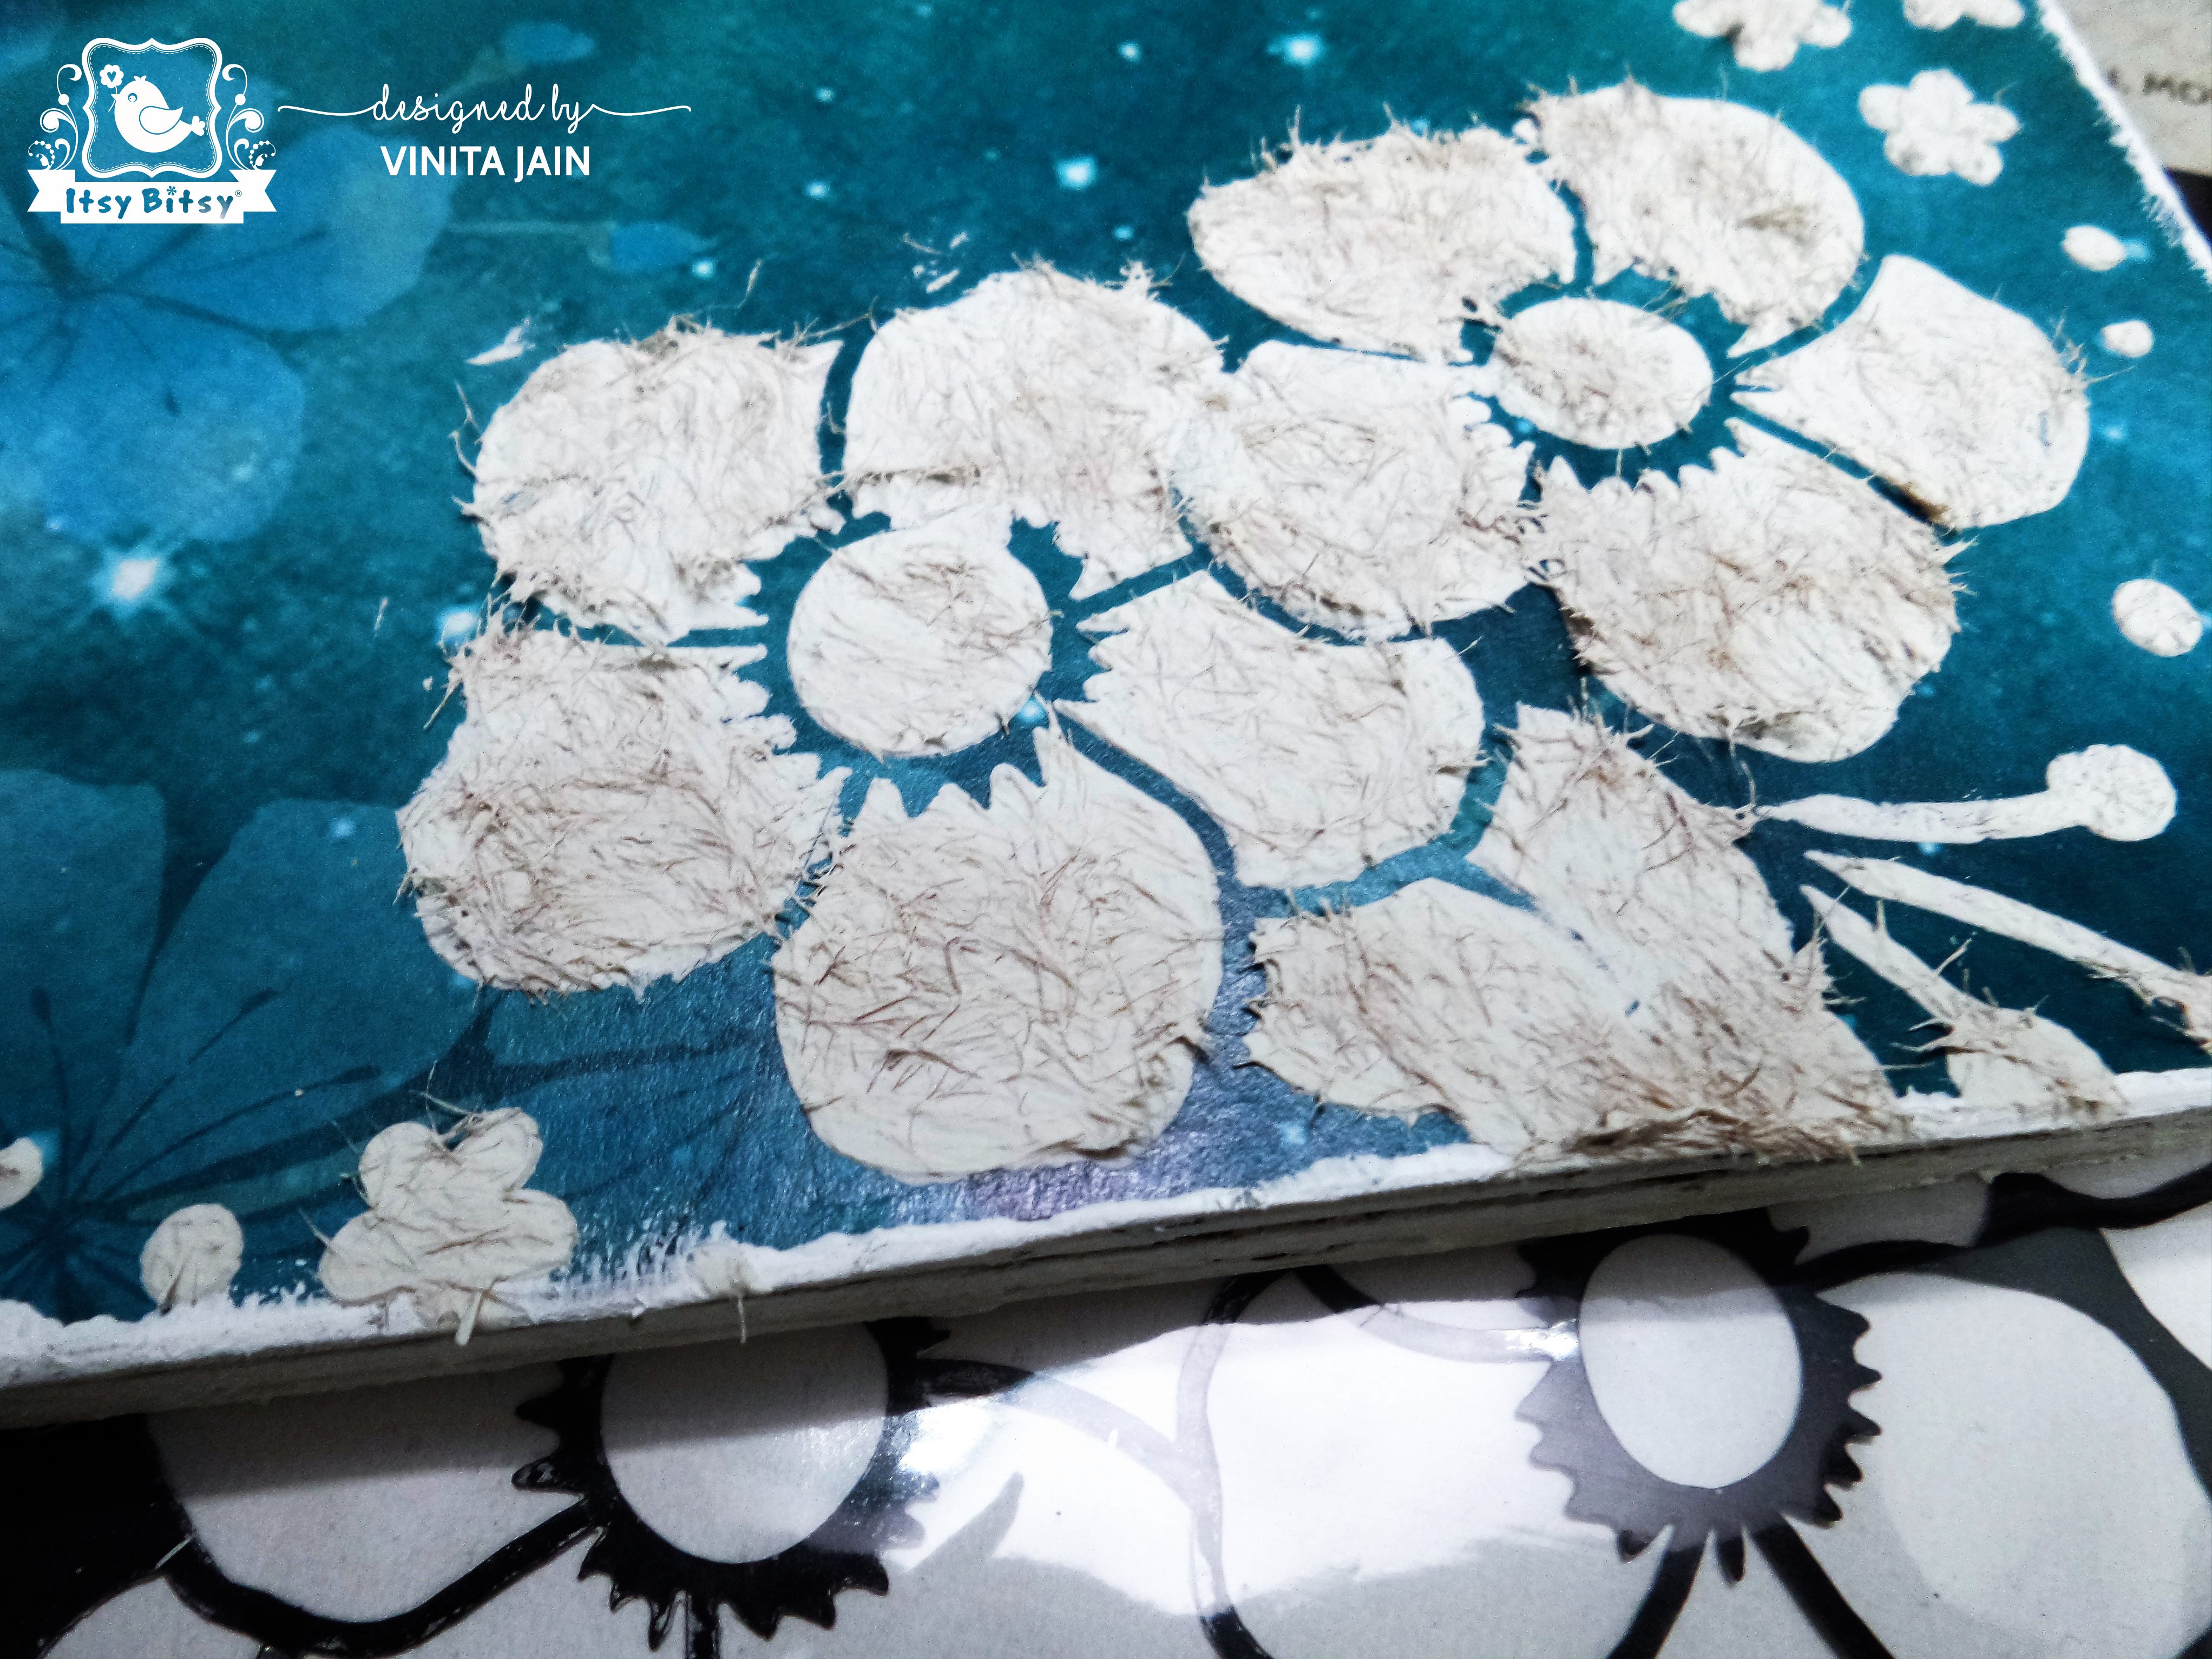
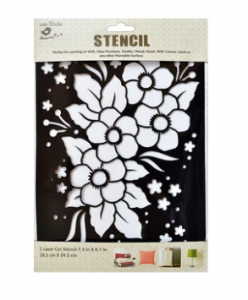
Applied Fibre Paste through the ‘Florence’ stencil. Can you see the fibre textures? They look so beautiful.
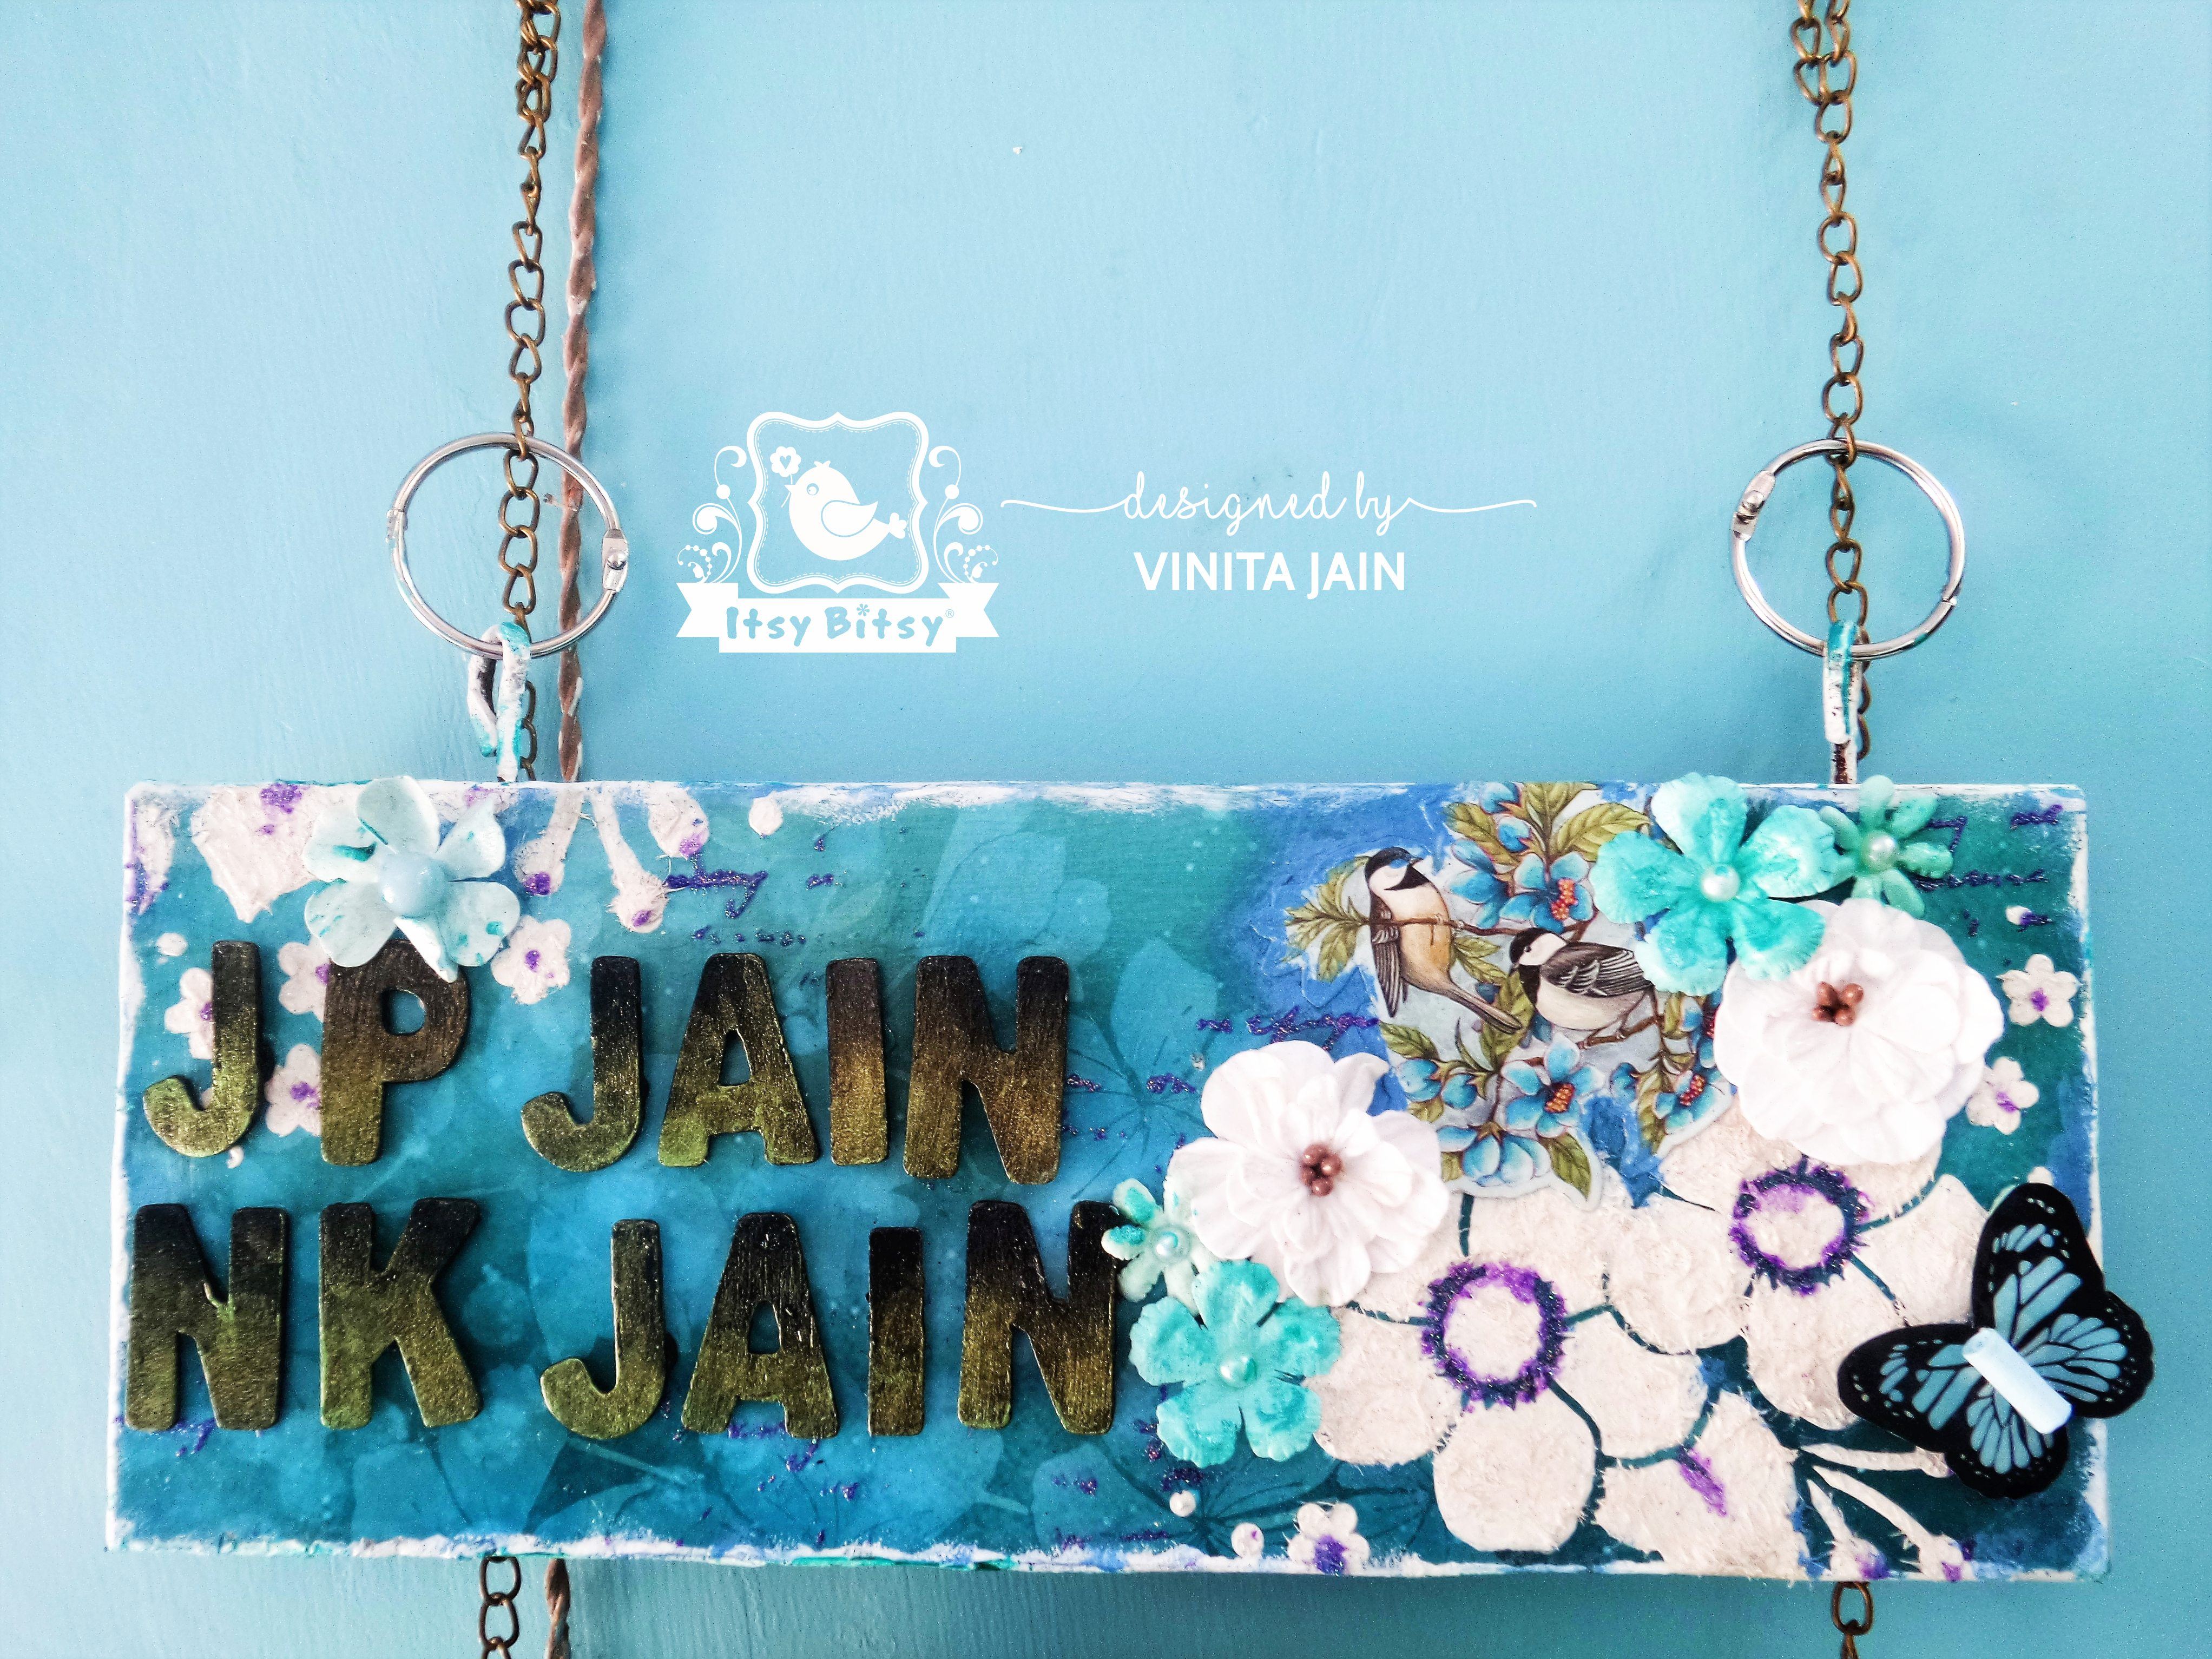
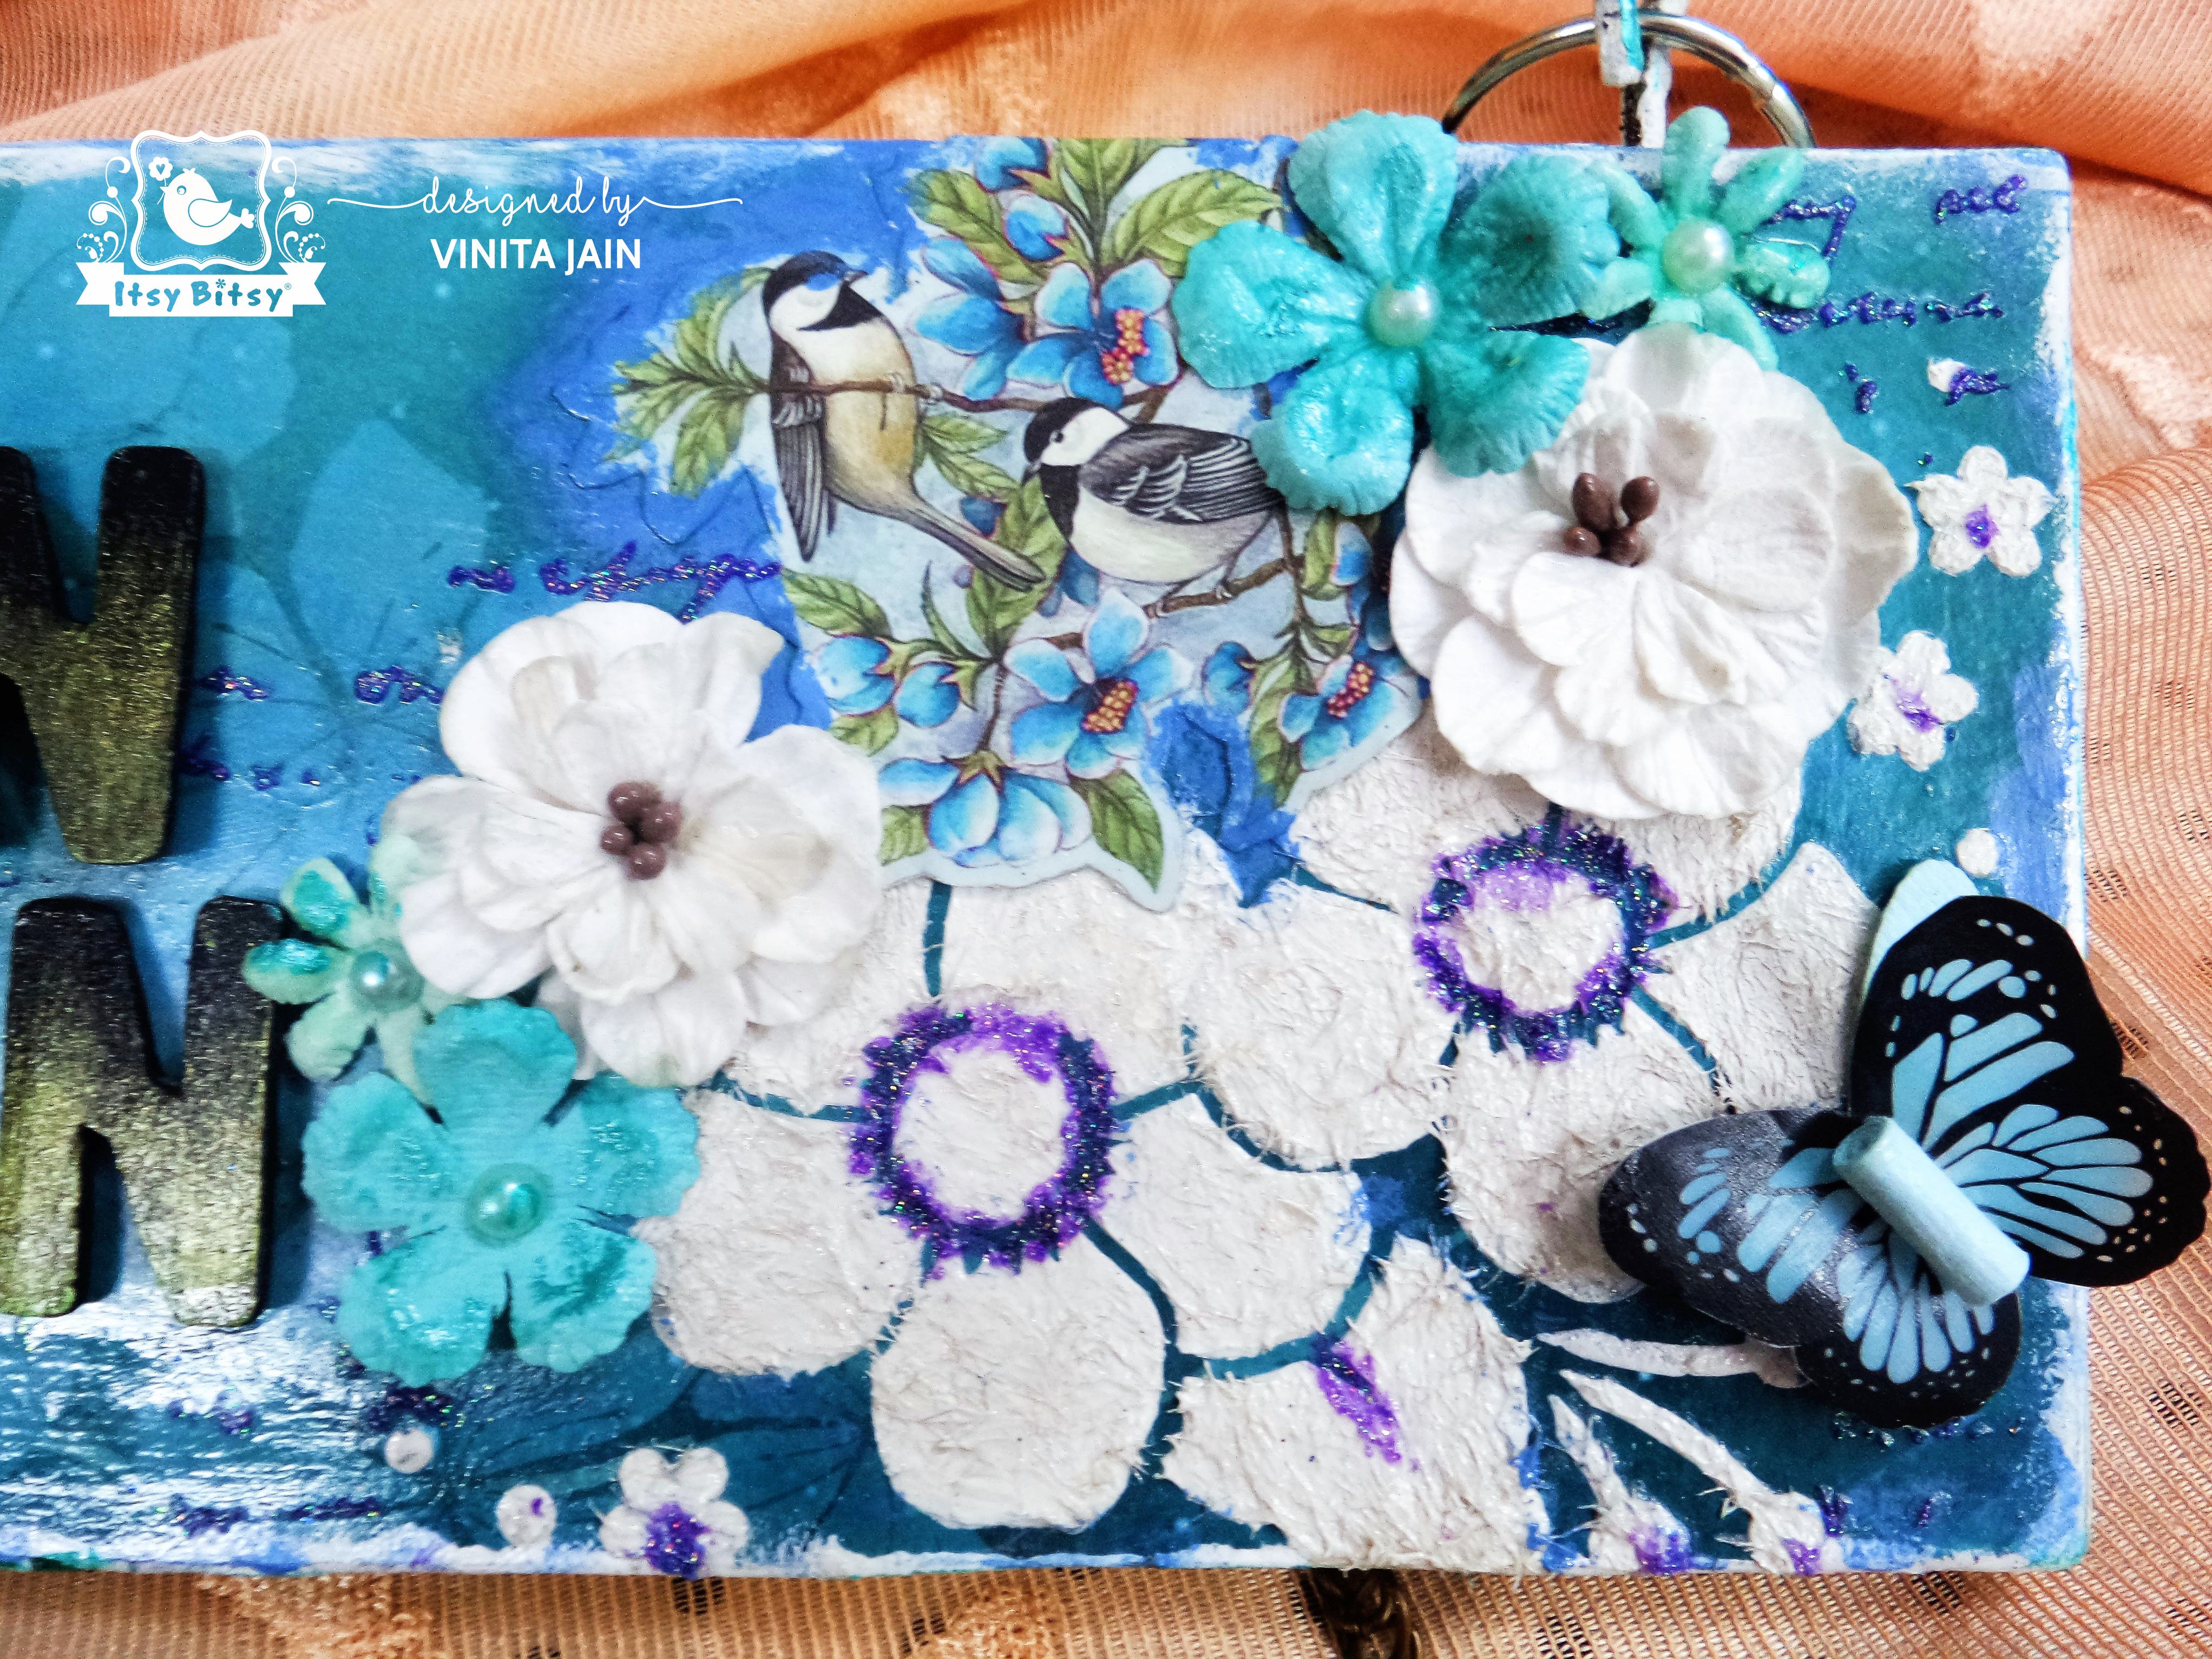
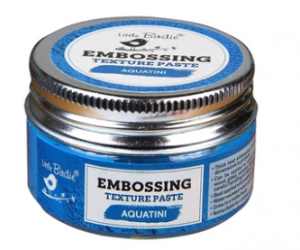
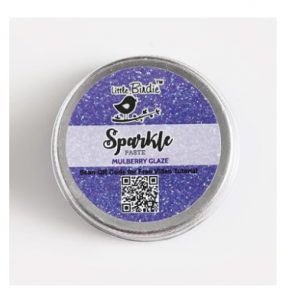
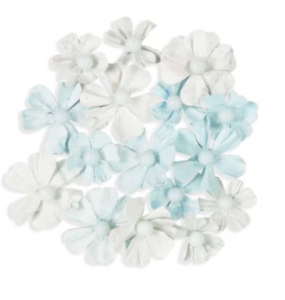
Now added an image of birds from the same paper pack along with stencilled flowers. Adhered the wooden letters which I gave a coat of black chalk paint with a hint of metallic paint. Embellished the whole name board with handmade flowers and a butterfly. In the end, applied sparkly Embossing Paste at the centre of the stencilled flowers and in the background gave a hint of scripted letters!
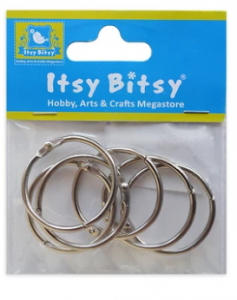
Don’t forget to varnish your finished and dried wooden plaque to save them from dust. I hung mine at the doorstep using rings and chain!
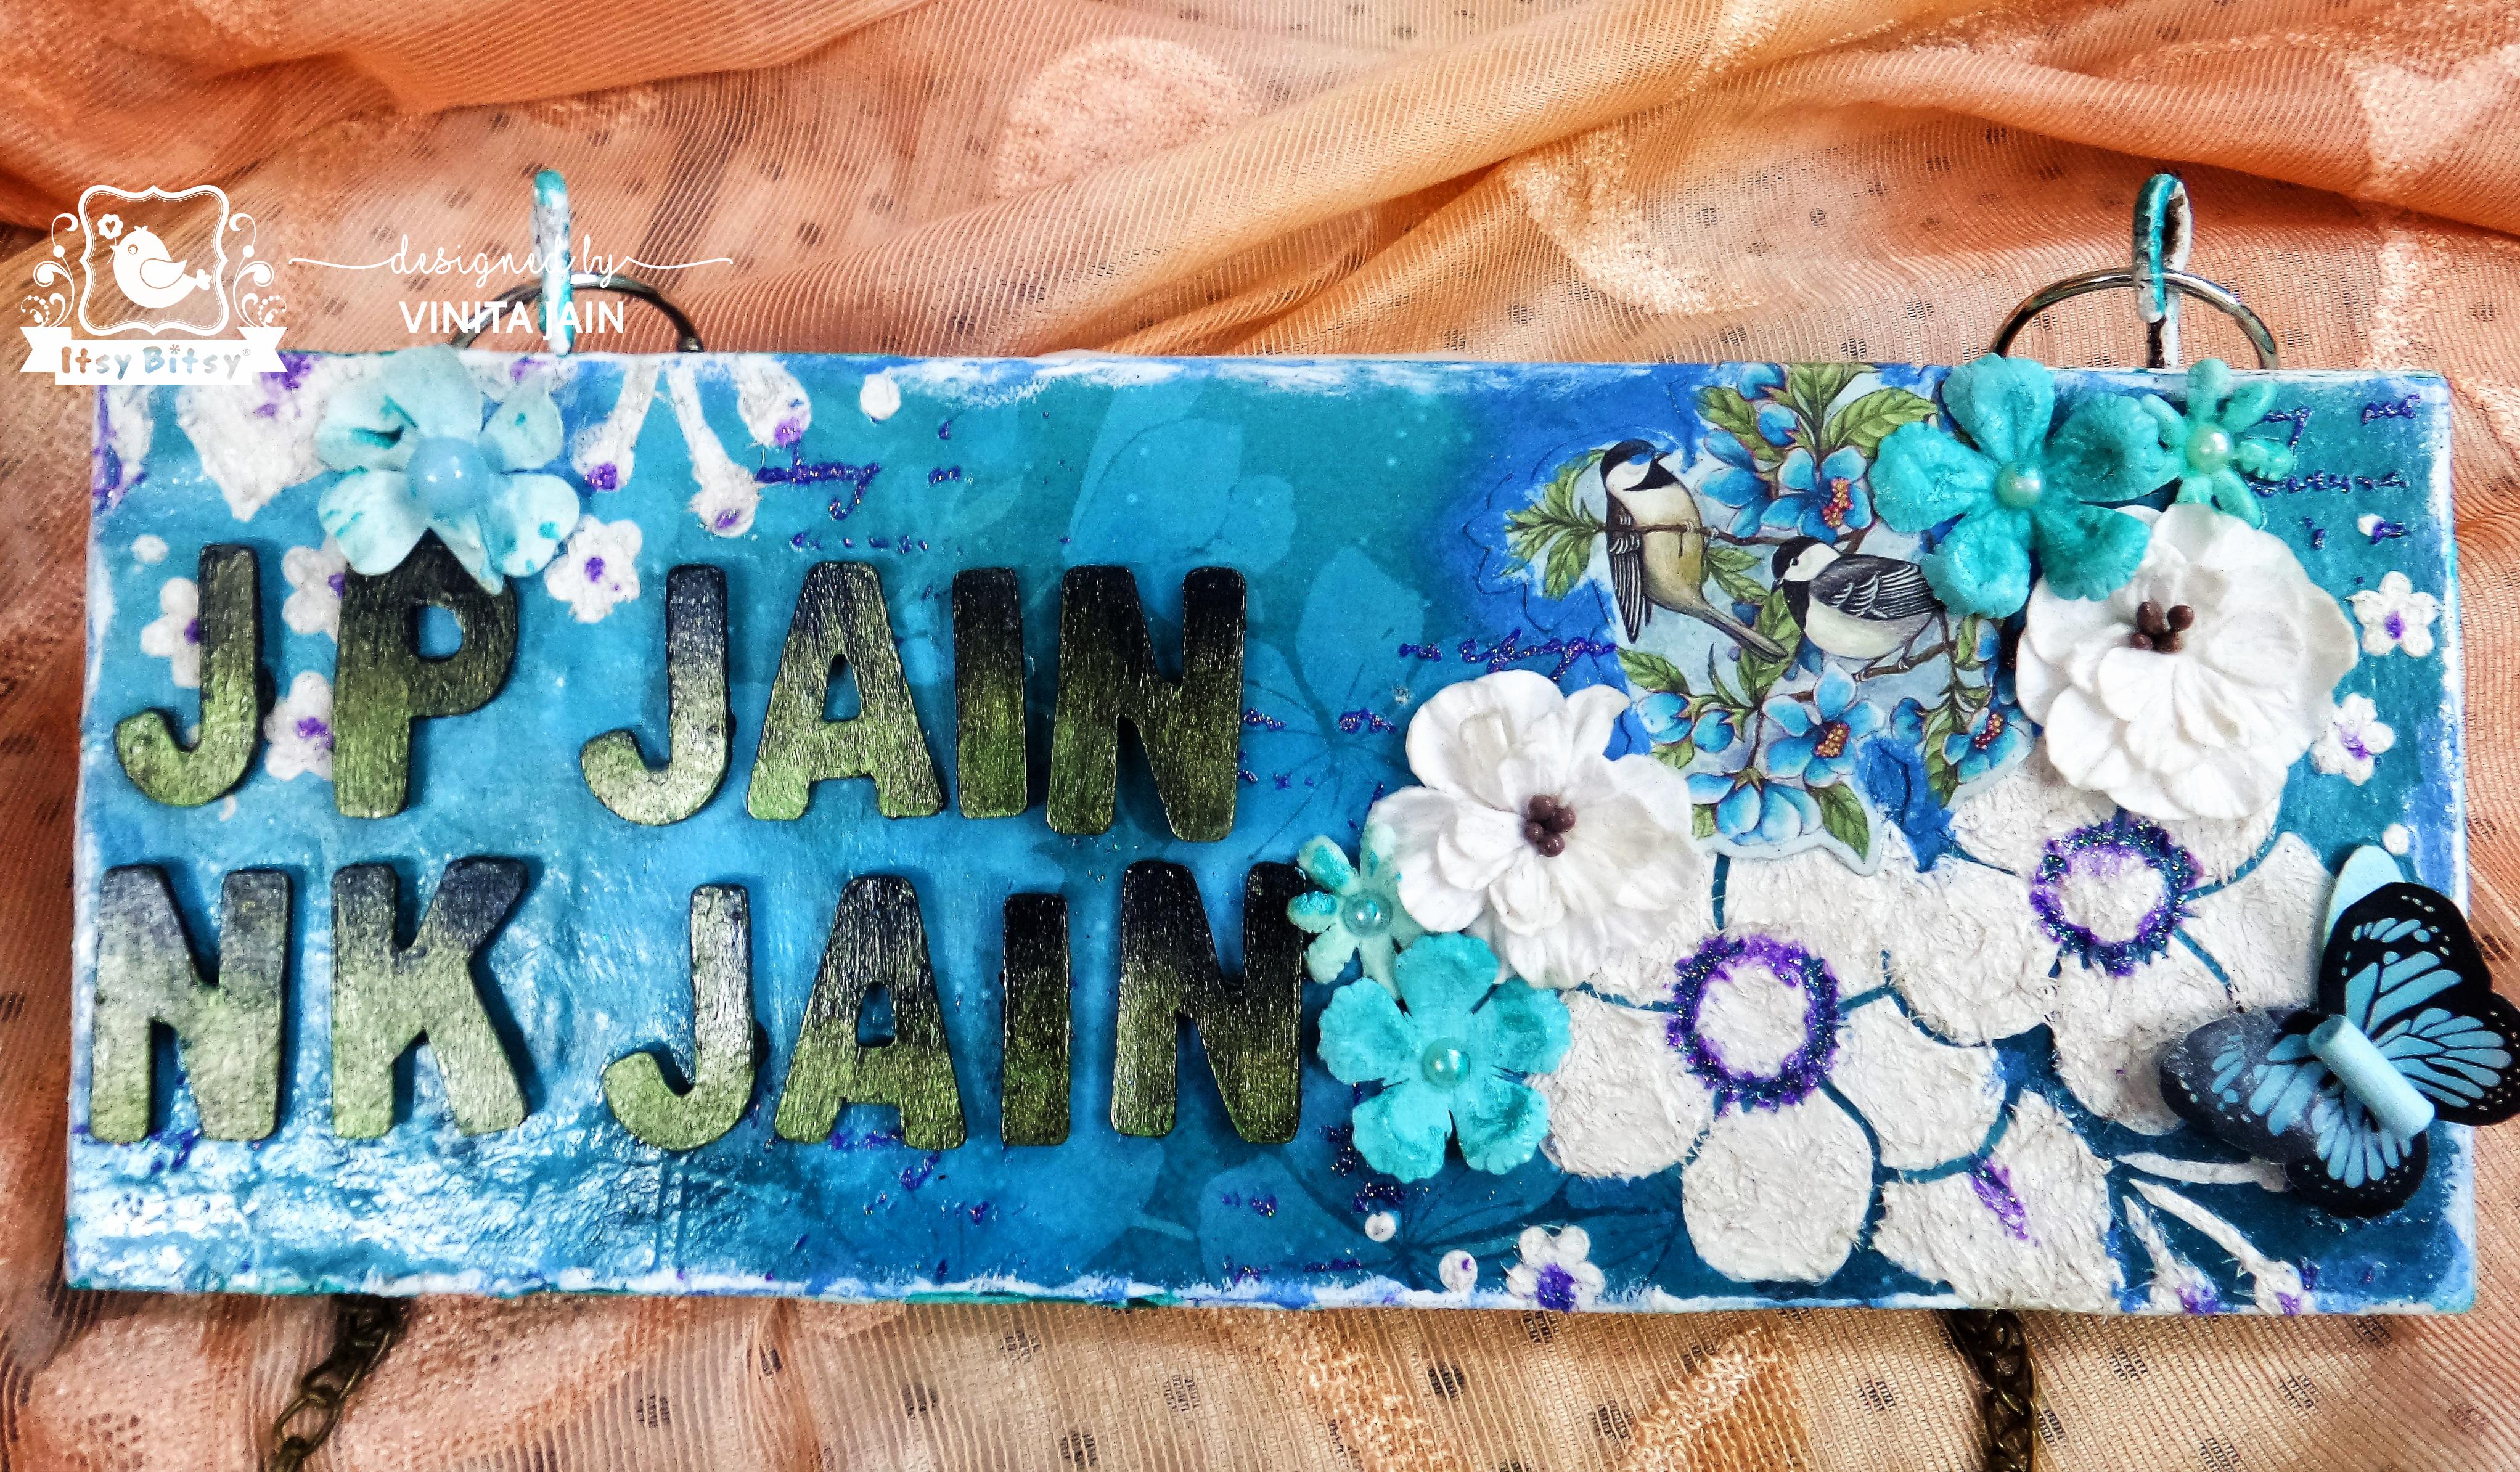
The finished project:
I hope this piece inspires you to create a home decor project with what you love! Waiting to see your home decor project in the ongoing blog challenge.
Happy crafting!
Vinita Jain
Items used from the store:


Marvelous project indeed !
Thanks for sharing such great details Vinita 🙂
Thanks a lot Hina Manik!