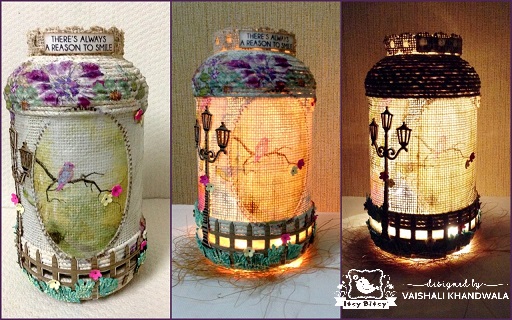
Hello friends….Hope all are doing great !!! Vaishali here, greeting everyone with a big smile ….and yes there is always a reason to smile !!! I choose to face whatever comes my way with a smile and be the reason to bring smiles as well on other’s faces……. ‘spreading brightness and happiness around’ ….my mason jar expresses exactly the same!!!

I had a mason jar lying at home with a broken lid and was no longer in use. It definitely had a second life though, with many makeover possibilities. I altered it to make a beautiful table lamp, using decoupage technique and the recently launched, Little Birdie new thin cut dies. Sharing a step wise picture tutorial for the same. Let’s get started …..
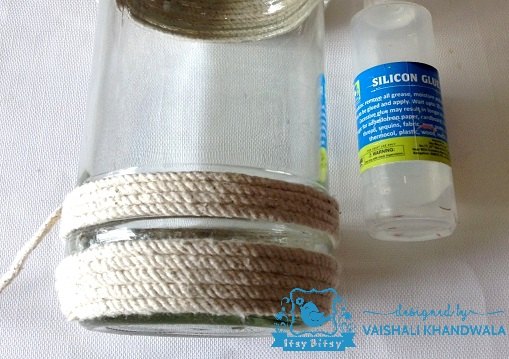
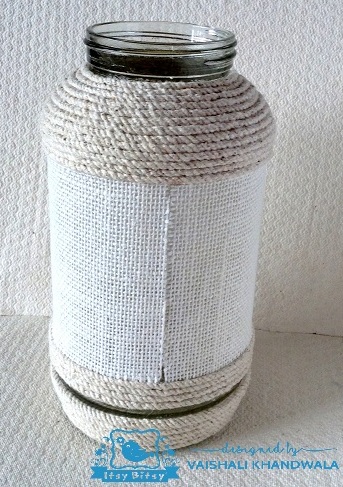
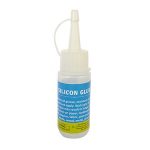
The basic materials required are— a glass mason jar, burlap sheet, thick cotton thread, decoupage napkin and thin cut dies. 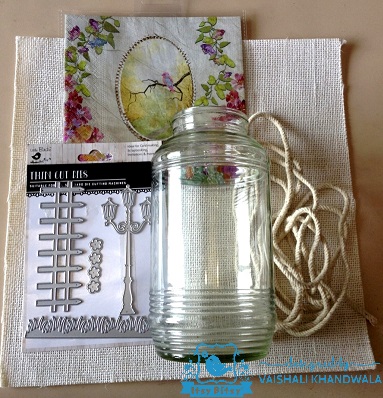 First step is to clean the mason jar for the alteration. Use warm water and soap to do so. I had this mason jar with groove design, you can use a plain one as well. Next I adhered a thick cotton thread on the upper and lower portions as shown in the picture below. I have used the silicon glue to do so. I simply love this product from Itsy Bitsy. It adheres fabric, metal and all types of materials with great ease. Safe and easy to handle for children as well. A must try glue!!
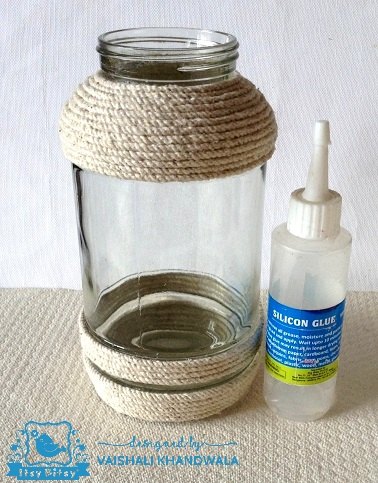
Just make sure, that you adhere the thread tightly. This type of white cotton thread is easily available in local stores. I have left a gap in between as you see in the picture below. Had some design in mind. You may or may not choose to do so.
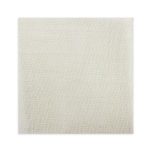
 After adhering the thread, I adhered a piece of plain burlap in cream shade, cut to size. The burlap sheet from the store comes with a backing, making it easy to cut and stick. It is 12 x 12 inch in size, and comes in various colours and designs. I chose a plain, cream one, as I had plans of decoupage on it. The sheet allows light to pass through it and gives a wonderful effect. Have adhered the burlap piece by applying silicon glue, only at the joint and not all over. The glue is strong to hold the sheet in place.
The surface was now ready to decoupage. Did not apply any gesso or chalk paint as both the burlap and thread were cream and that made a good base to decoupage a printed napkin.
Tip-Always have a white or light base when you decoupage with printed napkins as all prints including the darker ones look good on a light base.
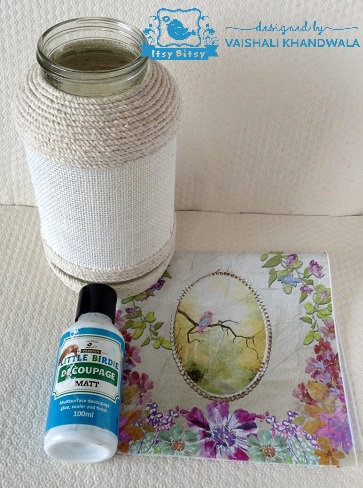
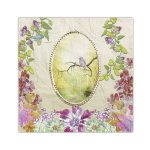
There are some beautiful napkins added to the decoupage napkins category at Itsy Bitsy. Do check them out. I have used one of the recently added designs, called the Vintage Garden. Have chosen a light print as I did not want the light effect to reduce.
I have not used the whole napkin as a single large piece, instead have cut it to parts to cover the jar. Cut the pieces before separating the plain layers, else it’s very difficult to tear a single thin layer.
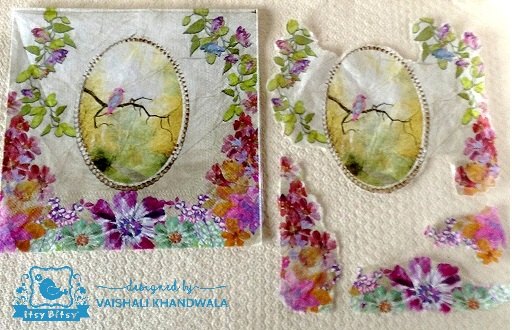
Tip- Do not use scissors to cut the napkin, as it gives sharp edges. Hand tear it to parts. As a result the napkin will blend naturally with the surface on which it is adhered.
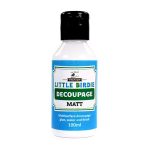
Adhere the napkin using Decoupage Glue – Matte from Itsy Bitsy’s own brand Little Birdie. The glue has good consistency and was able to adhere the napkin on both the burlap and the thread with ease. Work in parts and press well in the grooves of the thread, so that the grooved effect is seen through the napkin. You can use a paint brush to press. Decoupage on thread is referred to as threaded decoupage technique. Closer look in the picture below.
Tip- Only the top, printed layer or ply of the napkin is to be adhered. So always remember to separate and remove the plain layers before adhering.
Apply a top coat of decoupage glue over the napkin area, using synthetic hair flat brush. The decoupage glue works as a sealant, making the surface wipeable and does not let the paper/ napkin yellow over the period of time.
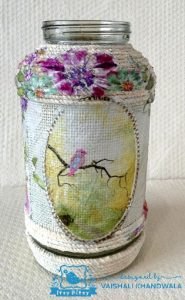
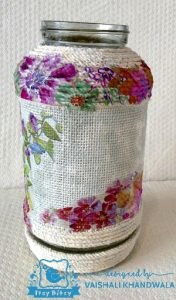
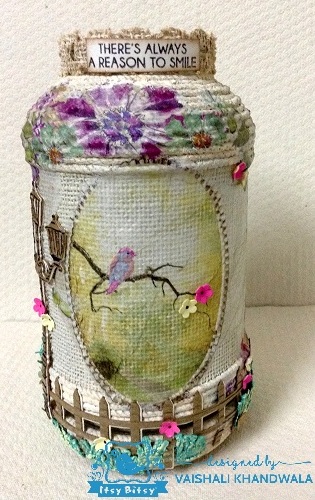
This is how the front and the rear side of the jar looked after decoupage. I have applied chalk paint – Tattered Lace on the bare areas on the thread. Also applied chalk paint – Misty Fog on the bare areas of the burlap sheet. This is for better blending the napkin with the background. However, I applied a diluted coat of chalk paint on the burlap randomly. A thick, overall coat can block the light.
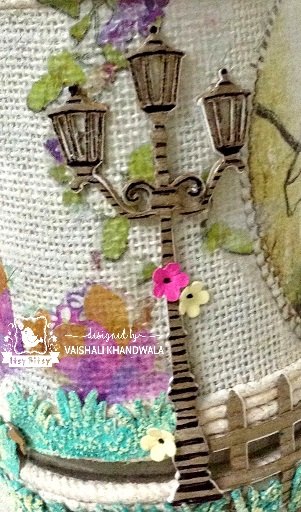
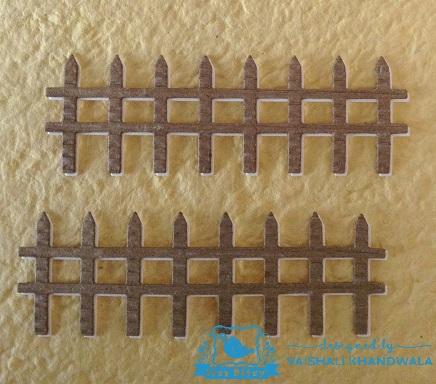
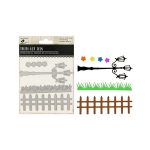
Next step was to use the recently launched thin cut dies. There are 15 new beautiful designs and each die set is complete by itself. All sets have well thought out elements, that will help you build a scene or use them separately as well. You can create lovely embellishments using them for you cards, scrapbooks, mix media and even decoupage projects. I have used one such well co-ordinated set called The Victorian Lamp Post. This die set has lamp post, fence, grass and flowers shape dies. All these elements helped me create a beautiful garden scene on my mason jar. 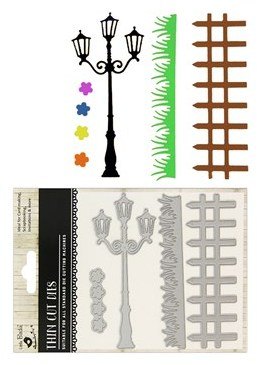 Have die cut the lamp post and the fence on a corrugated packaging sheet. The corrugations pressed a bit when passing through the die cut machine. However, I still like the effect.
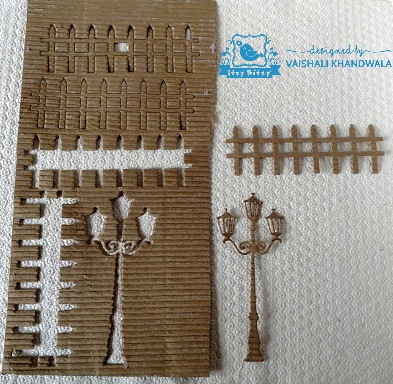
I have adhered the lamp post shape on the joint of the burlap sheet to hide the joint. Glued 4 pieces of lamp post shape die cuts, one on top of another. This gave it the desired dimensional effect, and made it look prominent on the jar. Also highlighted it with black permanent markers as seen below.
For the fence die, I cut two pieces, one on corrugated sheet and other on plain cream stock. Adhered the two pieces, with a slight misalignment, so that the cream is seen as well like a shadow.
Remember I had left a gap, while threading on the lower side of jar!!! The idea was to adhere the fence shape in a way that the gap left between the threaded areas, matches the gap of the fence. I was sure, this would create a beautiful effect when lighted and I simply love the way it turned out !! Have a look.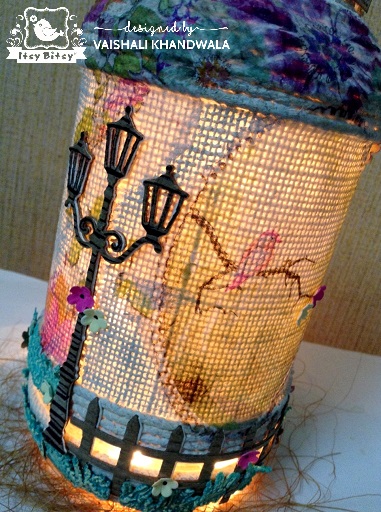
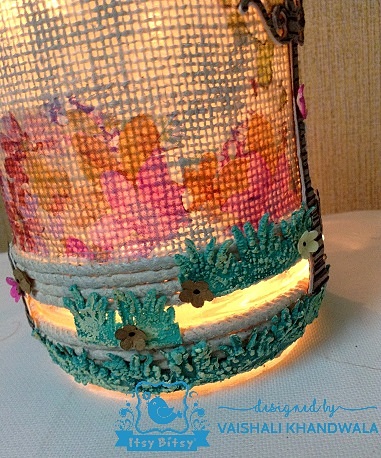
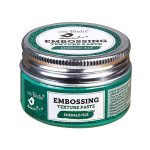
Now was the time to grow some grass. Have applied embossing texture paste Emerald Isle on the grass die cut. (cut on plain card stock ). Embossing texture paste gives a wonderful puffy effect when heat set and the colour of the paste lightens as well. Its a must have product for creating amazing textures in a jiffy. You can see the paste before and after heat setting in the picture below.

Adhered the grass die cuts, on the lower side of mason jar and highlighted the raised , puffy areas with light yellow chalk paint. The Victorian Lamp Post die set comes with tiny flowers die as well. Have coloured the flower die cuts in pink , yellow and brown, shaped them with ball tool and added them to add beauty to the lamp. The grass with embossing texture paste and the flowers look so pretty together !!!
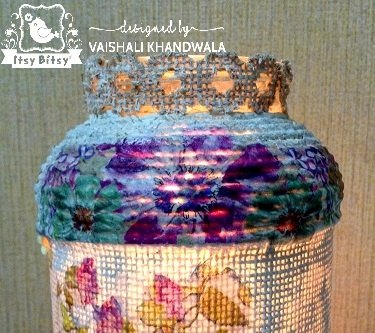
Finally adhered a burlap border towards the rim of jar and added the stamped sentiment, ‘There’s always a reason to smile’. Smiles spread brightness !!!
Here’s the final look without light.
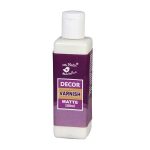
To protect the work done, I have varnished the entire creation with Decor Varnish- Matte. The varnish from the store is fast drying and very effective. It is available in both matte and gloss finish.
To light up the lamp, you can use a strip or string led light , that can be inserted through the mouth of the jar. Some interesting pictures of the mason jar lamp!!!
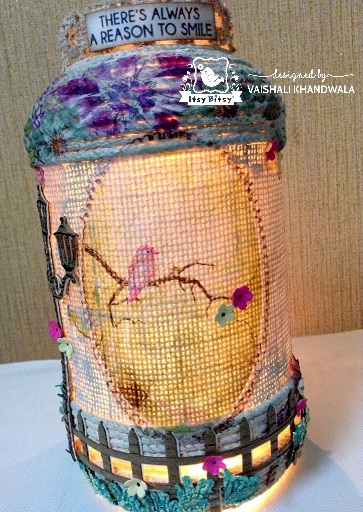 A happy bird chirping with joy in the beautiful garden.
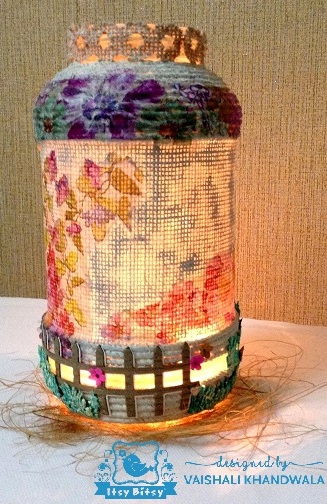 The rear view
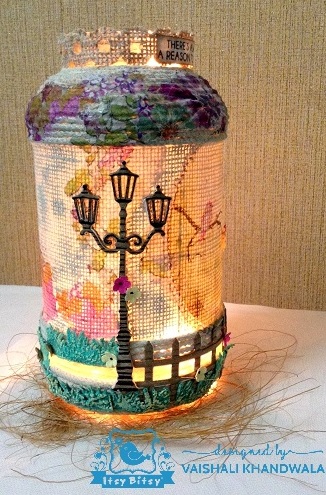 The Victorian Lamp Post

The altered mason jar lamp adds warmth to the decor, bringing in elements of nature and creating a cosy corner in the home. The die cuts have added so much depth and interest to the decoupage work. Had never thought about them in this way before…..They help me build a beautiful garden scene on the mason jar. Do check out the recently launched thin cut dies sets and use them in your own unique style to play along the current monthly Blog Challenge, with anything made with the new thin cut dies.
Hope I have inspired you to work with different techniques and craft materials. Looking forward to your amazing creations !!!
Keep Smiling and take care till we meet again.
Create, Express, Enjoy !!!
Vaishali Khandwala.
List of materials used:


Beautiful lamp..thank you for sharing the tutorial
Thank you for sharing this beautiful project. x
Ohh..it literally spreads smiles.. cute