Hello creatives,
Roopashree here! It’s always been an immense pleasure to be associated with Itsy Bitsy and am super excited to start the journey with my first DT post.
This month;s blog challenge is all about creating and sharing “Home decor” projects. It’s such a theme where creative possibilities are endless using products from the store.
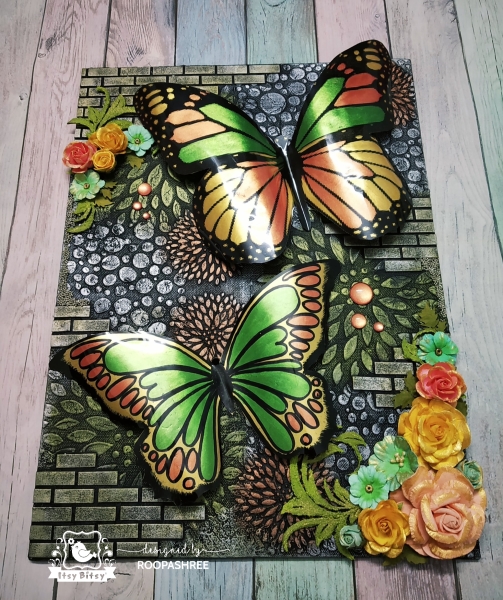
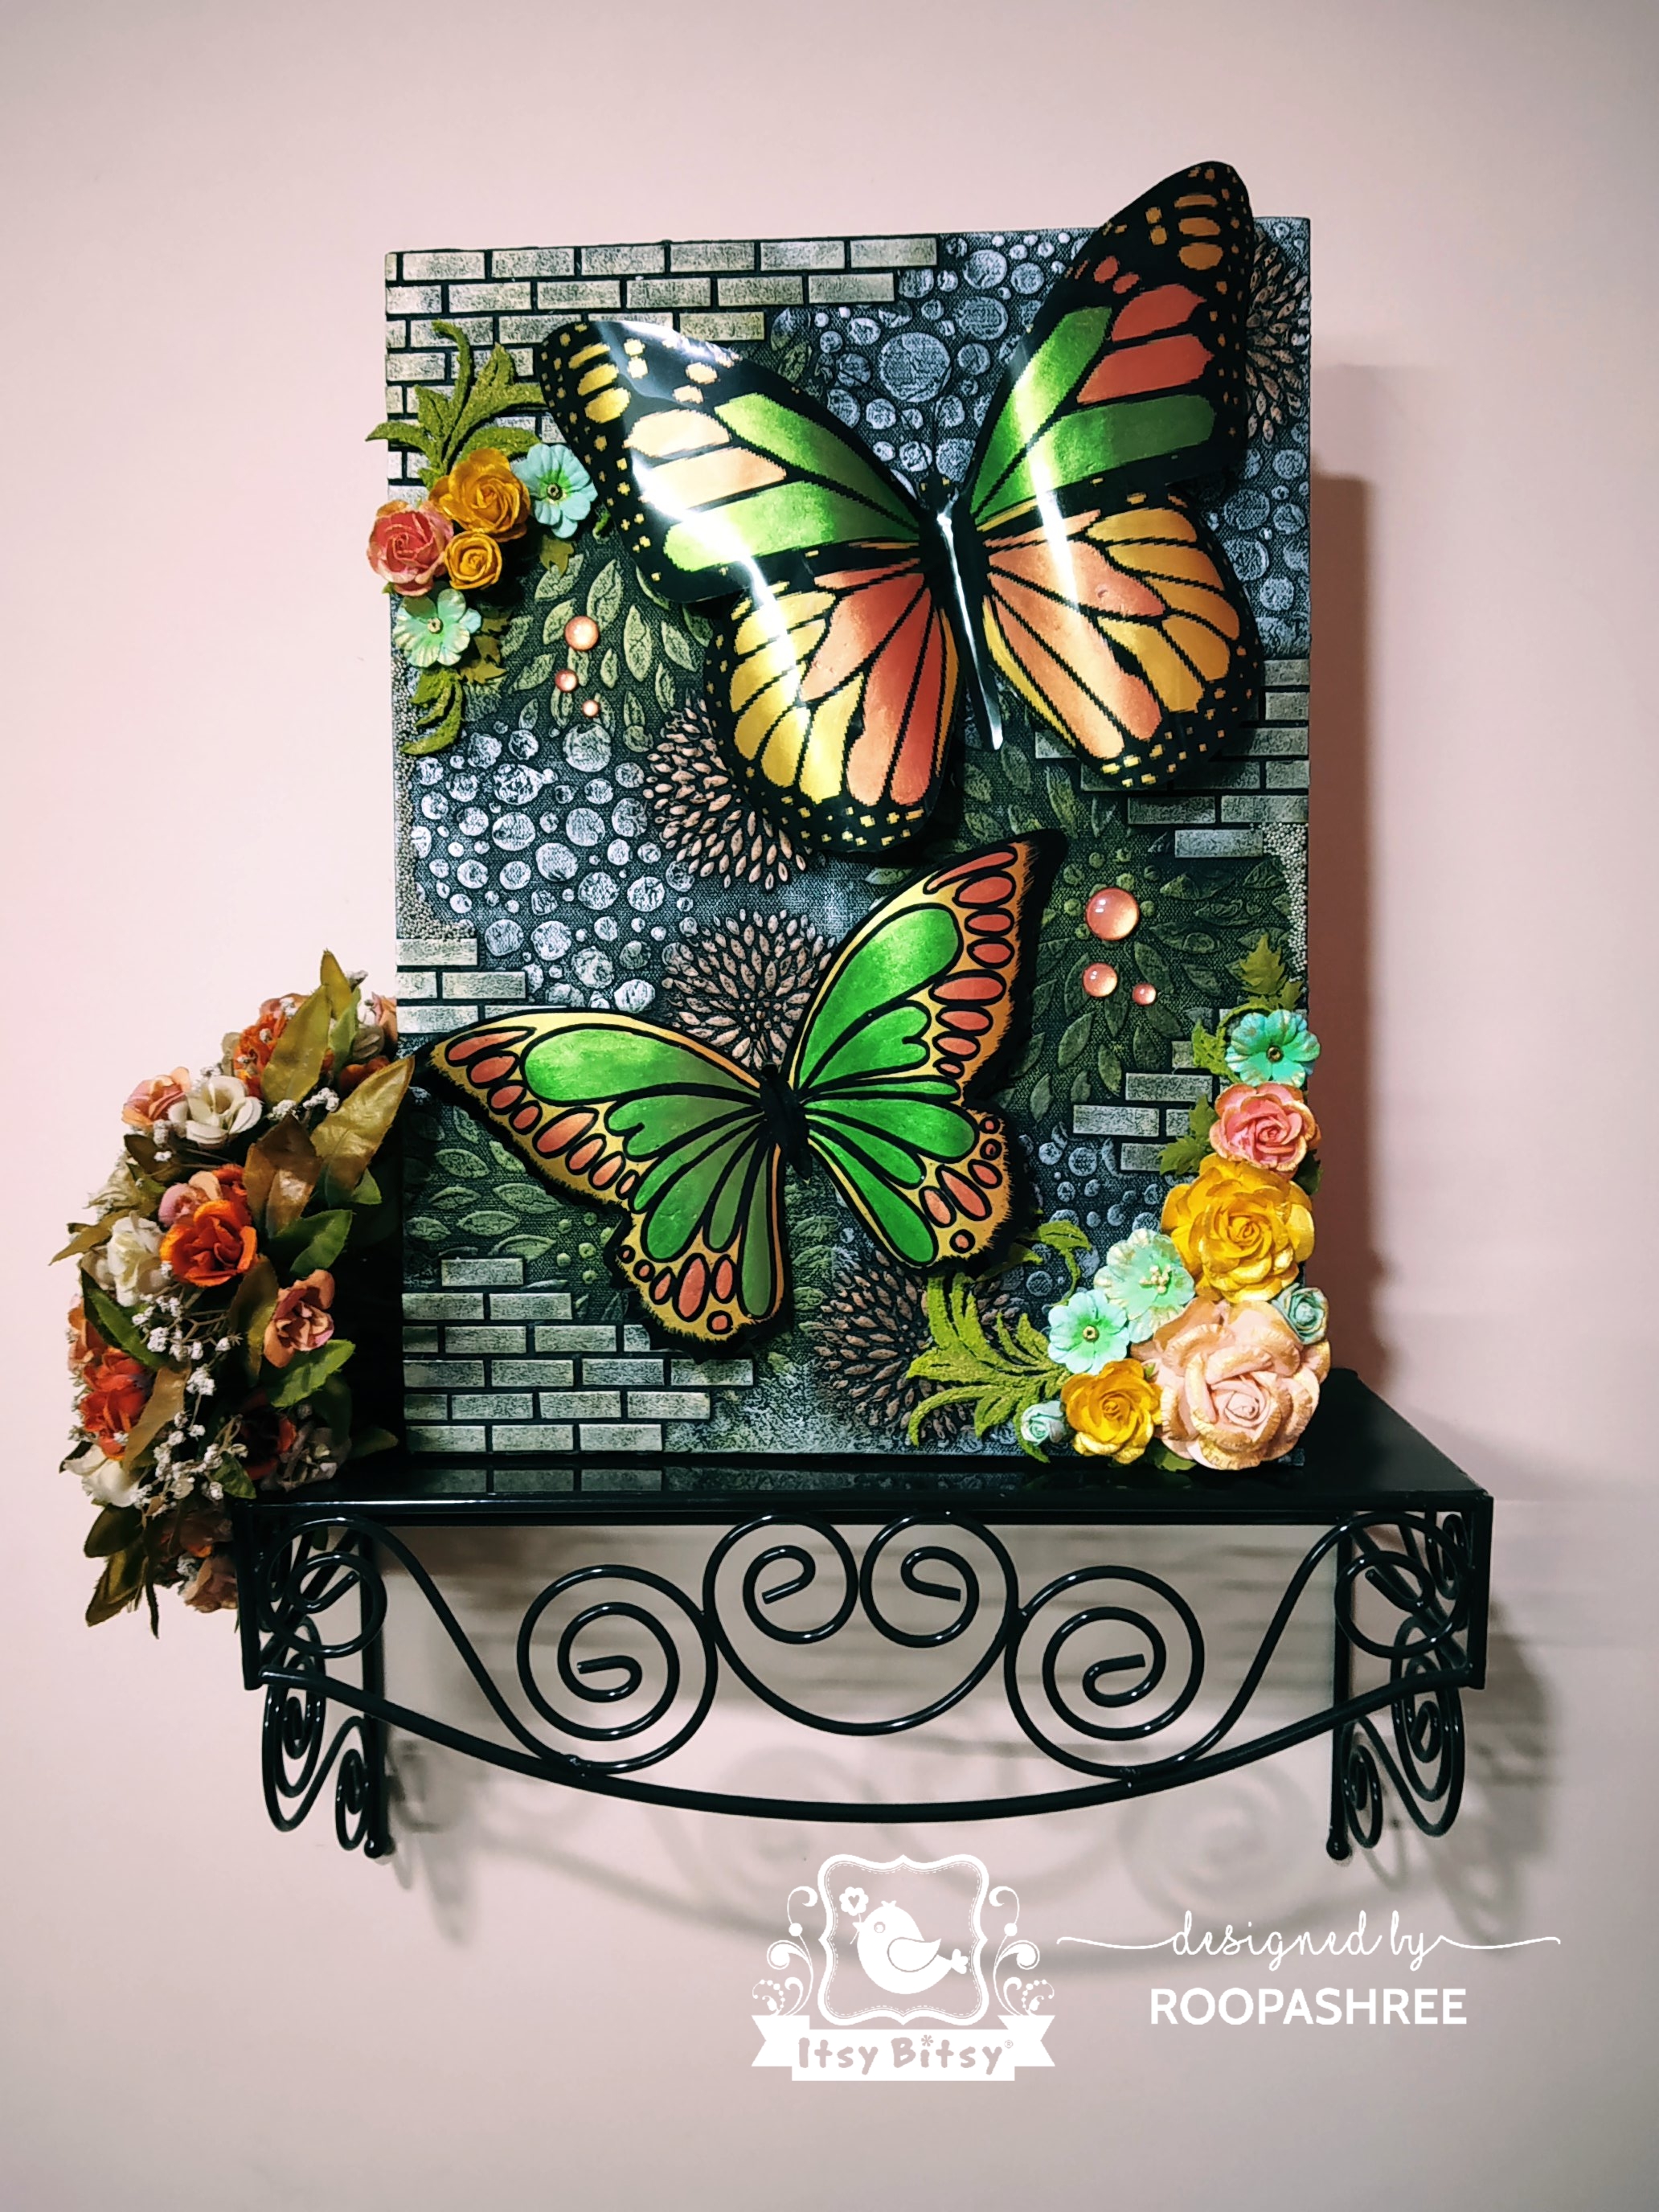
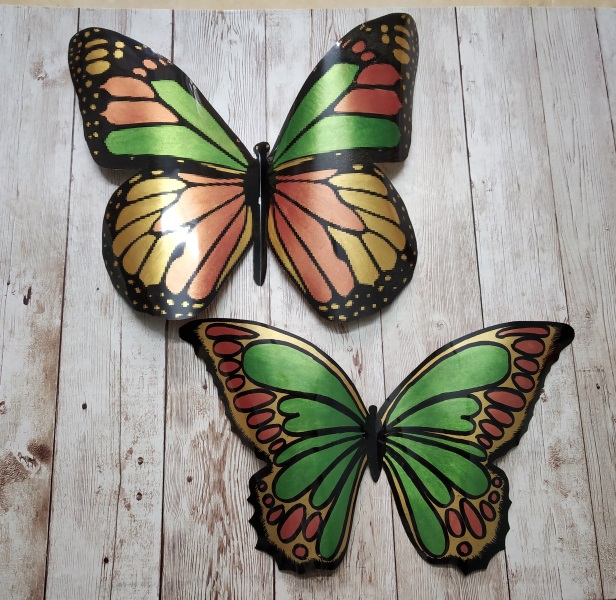
On that note let’s start creating a beautiful “Butterfly Wall Panel” with a metallic effect.
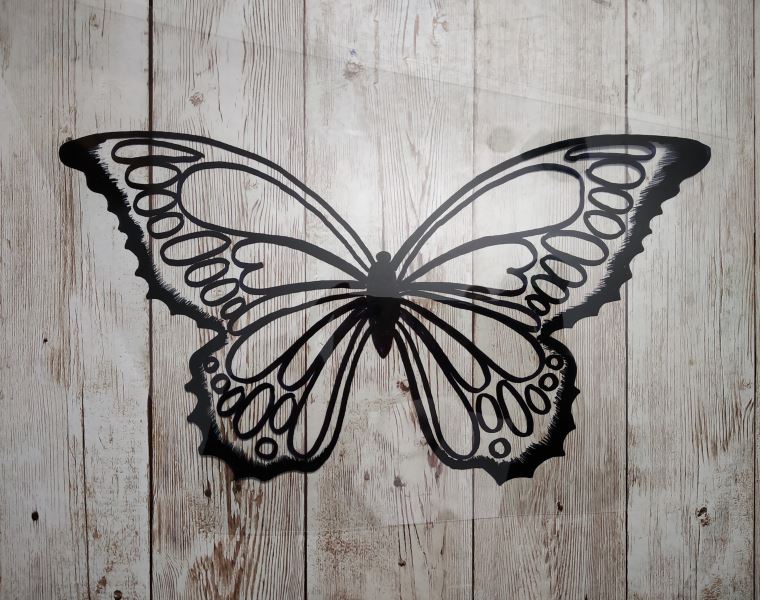
Step 1:
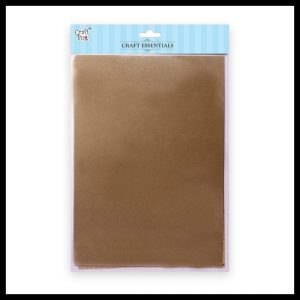
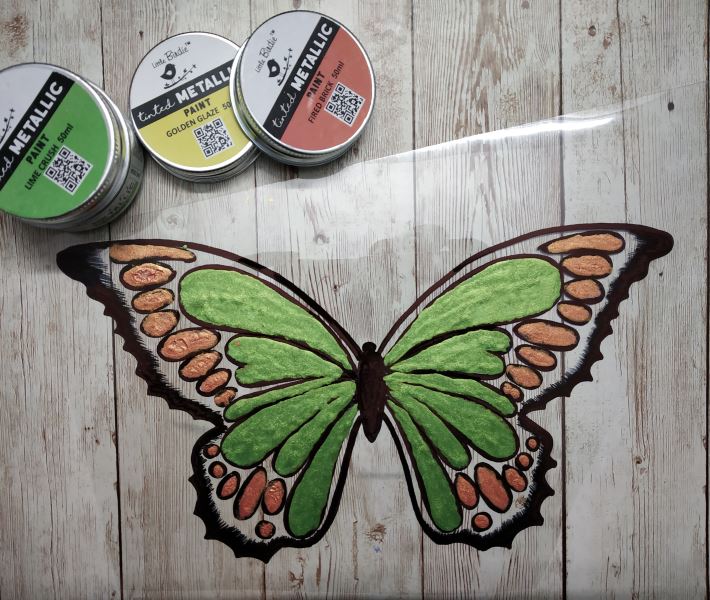
Take A4 size OHP sheet, draw a butterfly using a permanent marker as shown in the image. Paint the butterfly with a thick coat of metallic paints on the reverse side (the side where the butterfly is drawn has to be considered as the reverse). Allow it to dry.
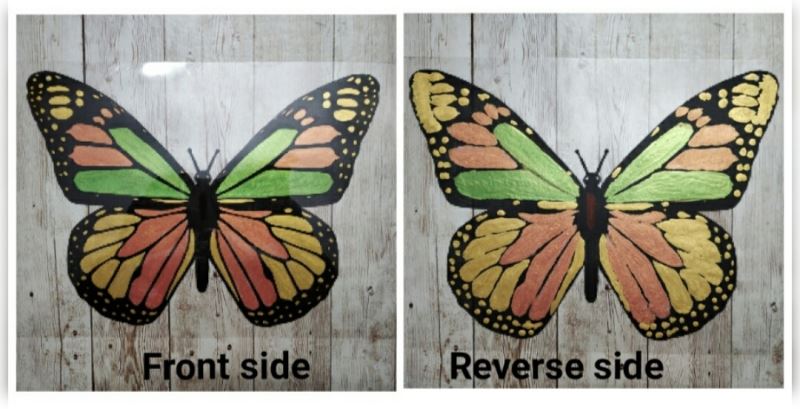
Step 2:
Using a sponge, cover the reverse side with a single coat of metallic color to give a neat & finished look.

Step 3:
After it dries completely, apply a layer of clear gesso to seal the paint and avoid peeling.

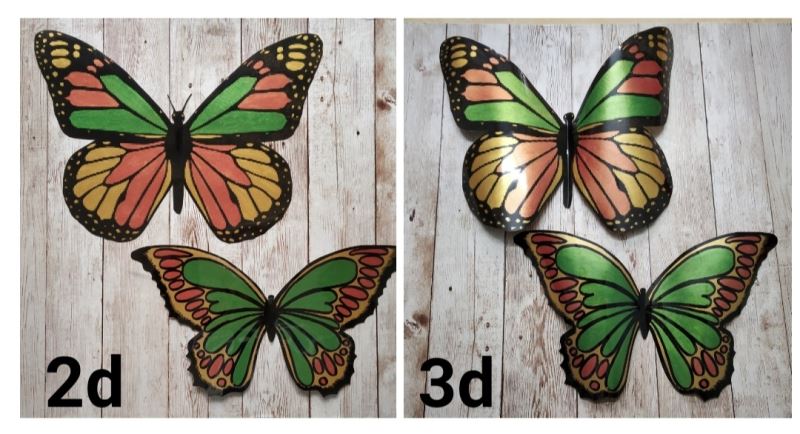
Step 4:
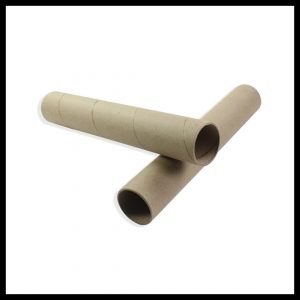
Cut the butterfly? along the outline (these are in 2D). Now take a paper craft cylinder, roll the butterfly & carefully heat the surface to give curves & volume to the butterfly, now it looks 3D with curved surface. This will be the focal point of our project.


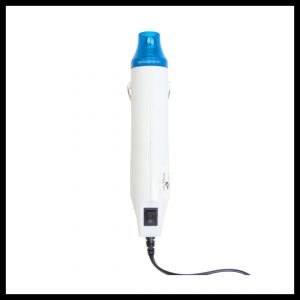
Hold the butterfly tight & use Little Birdie heating tool to heat the surface. It forms curve by itself after heating.
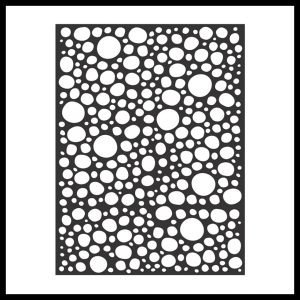
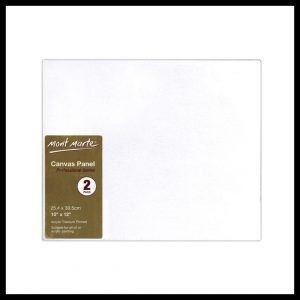
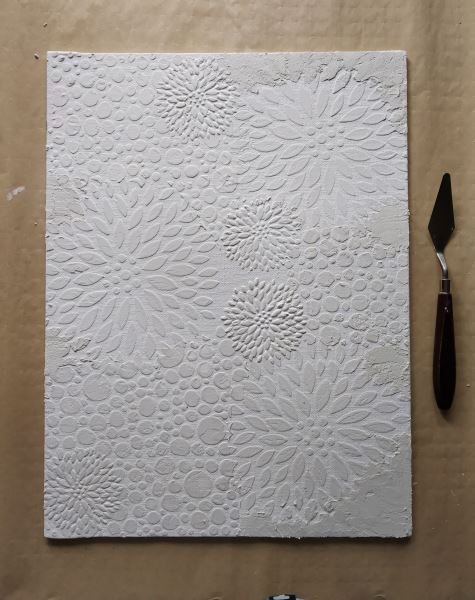
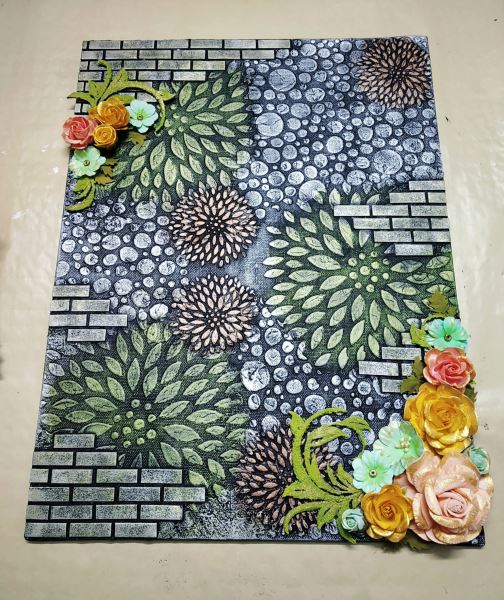
Now we shall prepare the base. Take a canvas of size 10″X12″. Using stencil & 2 in 1 Mixed Media Paste create some random patterns. I have also used Grainy Texture Paste to add a bit of texture to the background.
Step 6:
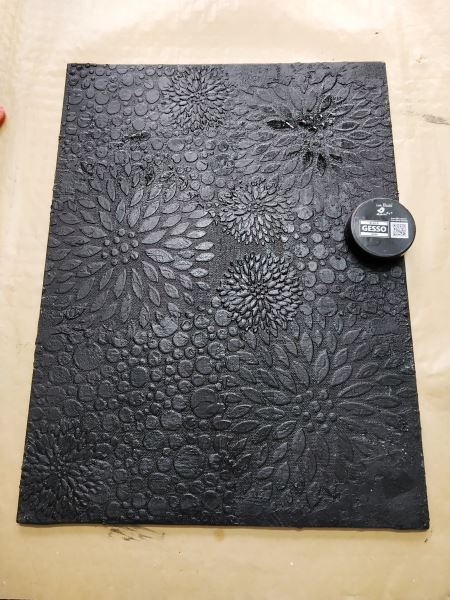
Apply a coat of black gesso which acts as the base coat as well as a primer.
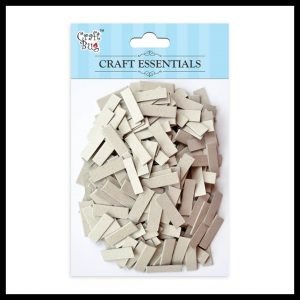
To create more interest & texture to background, I have added pre-cut brick shape chipboard. After it dries apply gesso & let it dry.
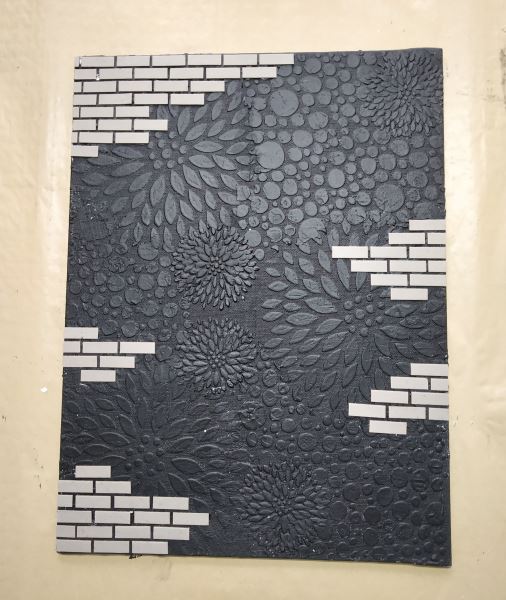
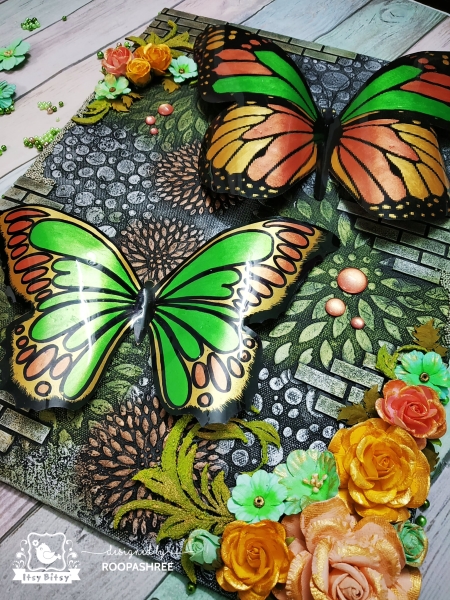
To highlight the background & to match the butterflies which I have made earlier, I have applied Metallic Wax on the surface with my index finger. This way you will have more control over the application and the wax will get applied only on the surface.

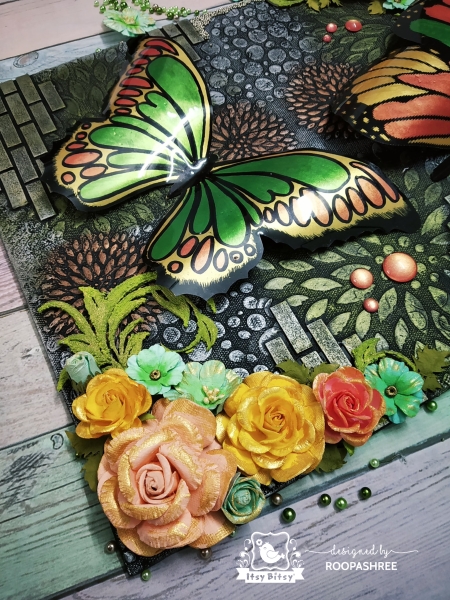
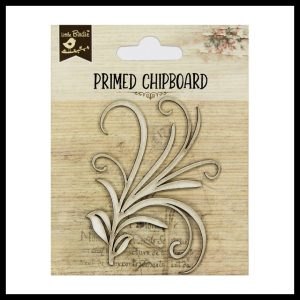
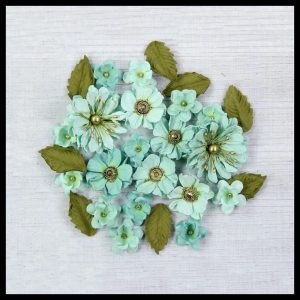
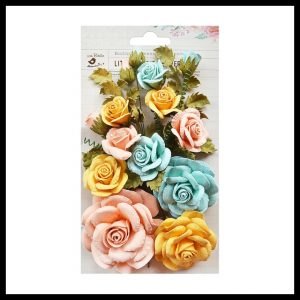
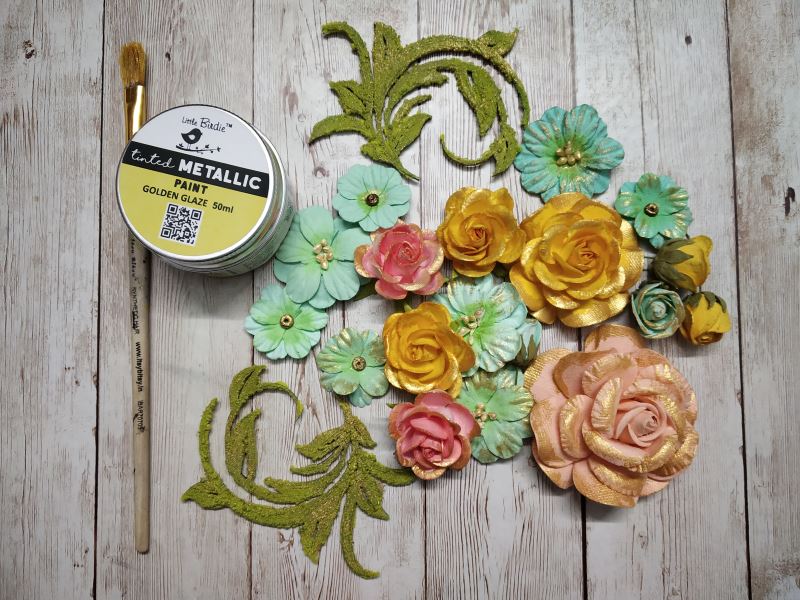
I have decorated the panel with some beautiful Little Birdie handmade flowers and some design chipboard.
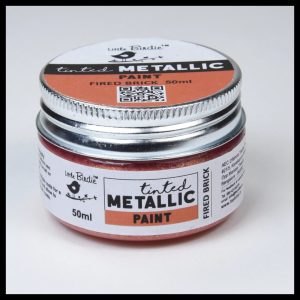
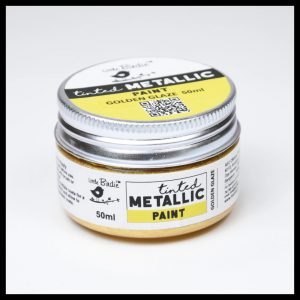
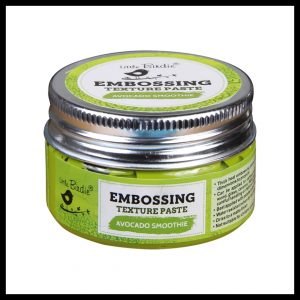
Again to match the metallic look, I have painted the edge of the flowers with Tinted Metallic Paint color Golden Glaze. For the chipboard I have applied Embossing Texture Paste – color Avocado Smoothie. Using the dry brush technique I applied Tinted Metallic Paint Golden Glaze on the chipboard too.
Lastly, I have adhered the butterflies to the panel using heavy gel medium with thermocol underneath, to give support to the elevated wings.