Hi Crafties! This is DT Priyanka Kantak.
This is my last project as a DT member for Itsy Bitsy 2019. I would like to thank Rashmi, Harish and the Itsy Bitsy team along with Anitha for giving me this awesome opportunity.
And also a big thanks to you all lovely people for appreciating me with your encouraging comments.
Now let’s move on to today’s project…
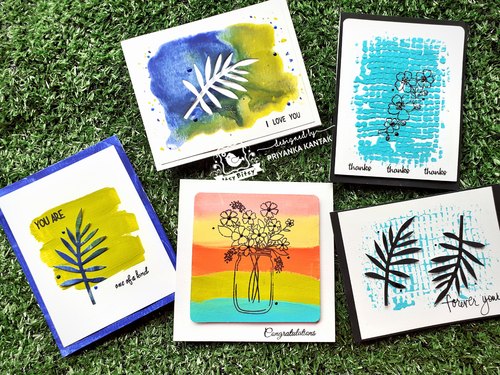
CAS stands for Clean and Simple cards. You can make all of these cards in a short time!
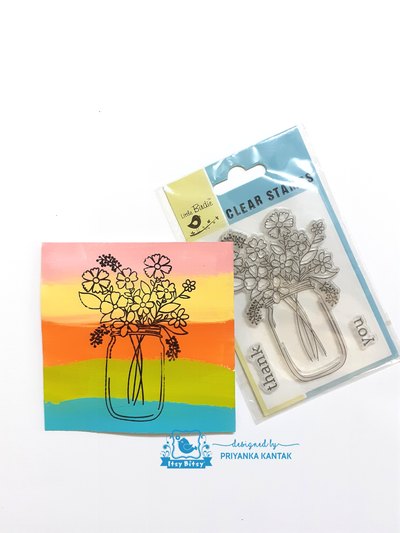
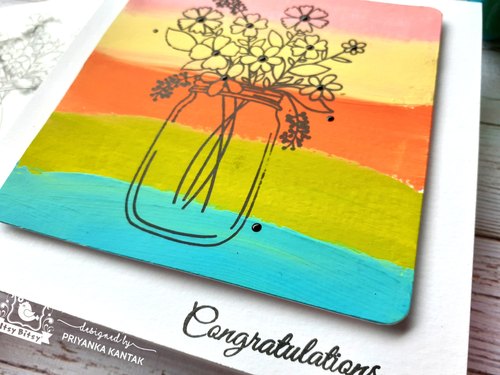
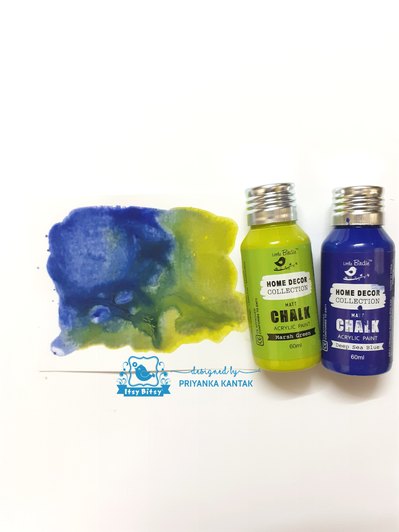
For the 1st card :
Step 1:
I used the paints with a flat brush in a swiping motion and then let them dry.
Step 2:
Step 3:
Then I foam mounted the panel on a white card base and stamped a sentiment. I also gave a round shape to the corners for added interest. It’s that simple…. my card is complete!
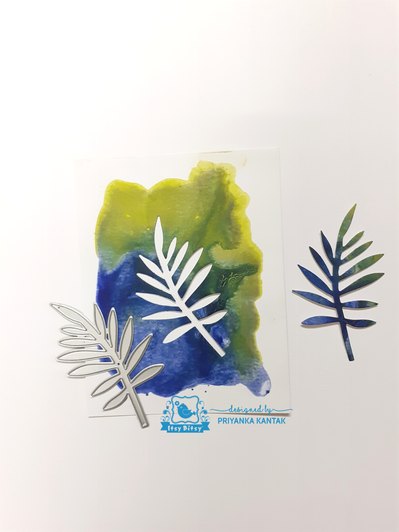
Now lets move to the next cards –
Both the cards are created from a single panel.
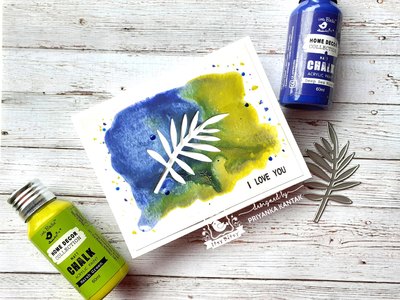
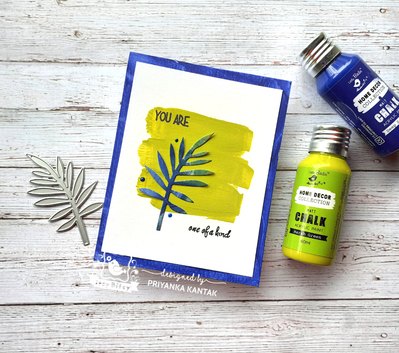
Step 1:
I let the colour flow on their own.
Step 2:
After drying the panel completely, I die cut the leaf from Fern Forest dieset by Little Birdie.
Step 3:
I also created some splatters and added Little Birdie Pearl Drops.
Step 4:
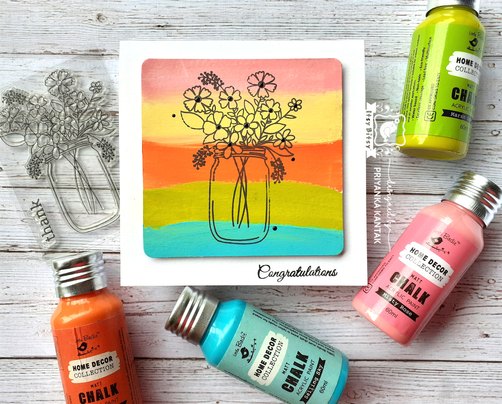
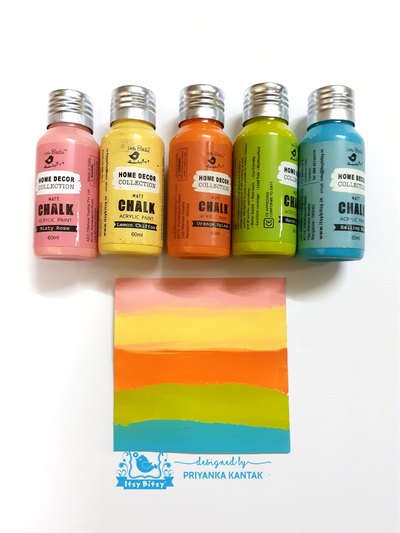
I then swiped three stripes of chalk paint Marsh Green on a white card panel. Then I glued the positive leaf die cut on it and stamped the sentiment.
*To match the colour of the die cut, I painted the borders of the card base with same Deep Sea Blue chalk paint*
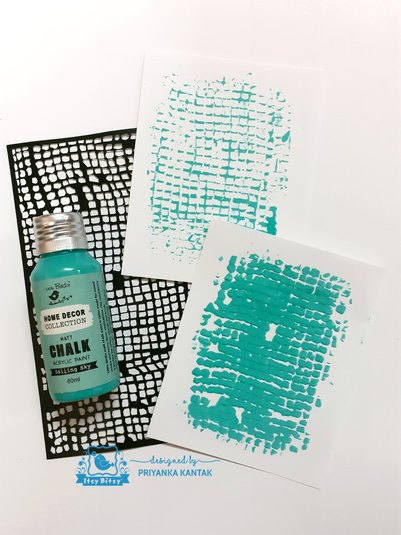
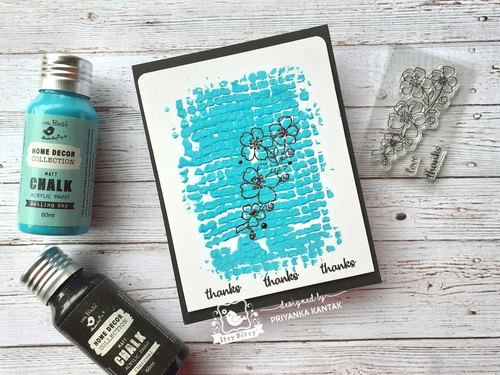
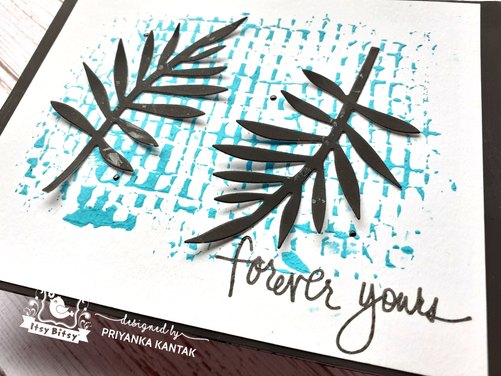
Step 1:
So you get 2 cards out of this one too!
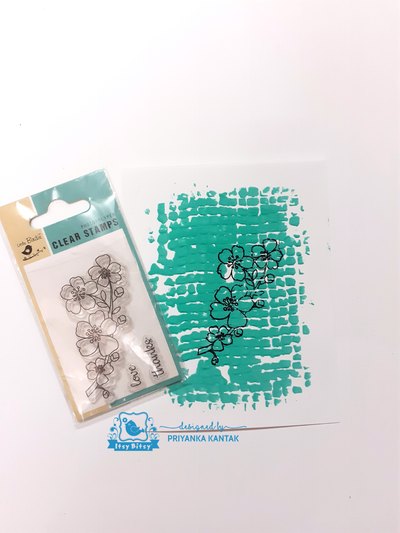
Step 2:
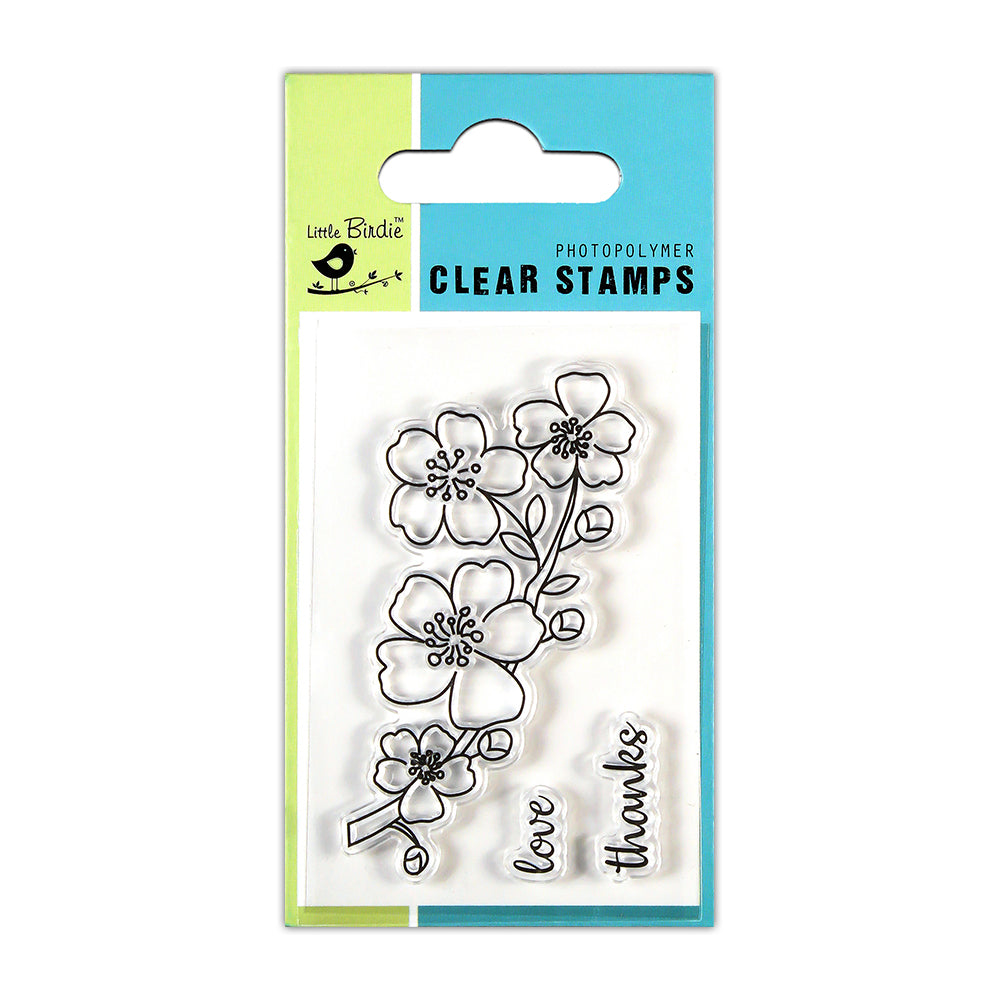
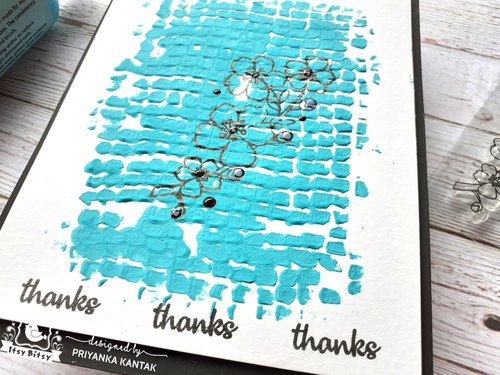
I stamped the ‘Flowery Wishes’ stamp on the stenciled image.
Step 3 :
After repeatedly stamping the sentiment, I glued the panel on a black A2 card base.
Step 4 :
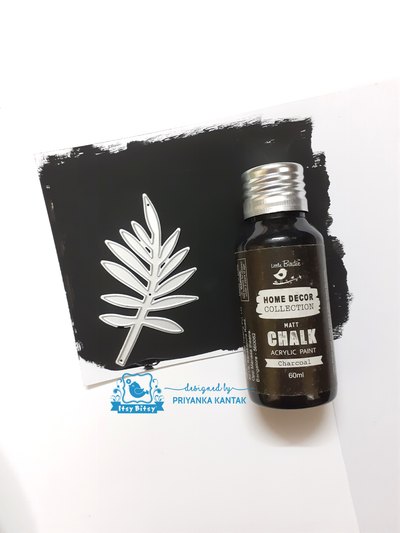
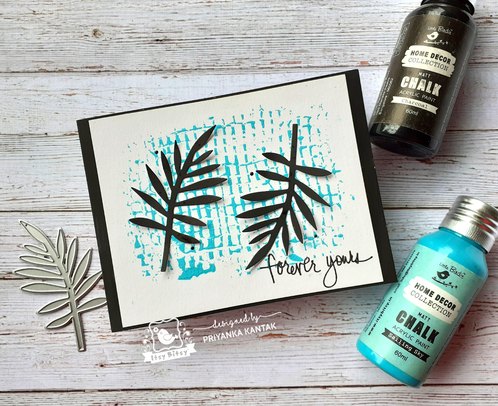
I colored another white card panel with Charcoal chalk paint. Next, I die cut that panel twice with the same leaf die.
Step 5:
I adhered these 2 die-cuts on the faded stenciled image panel. After stamping the sentiment and adding the Pearl Drops, both the cards were complete.
I hope you liked my projects.
I had an awesome time being a DT for Itsy Bitsy. Thank you once again for your love & support in my journey as a DT member.
Which project did you like the most?
Do let me know in the comments below.
Have a great day ahead!
Priyanka Kantak

List of Supplies Used