Hello friends,
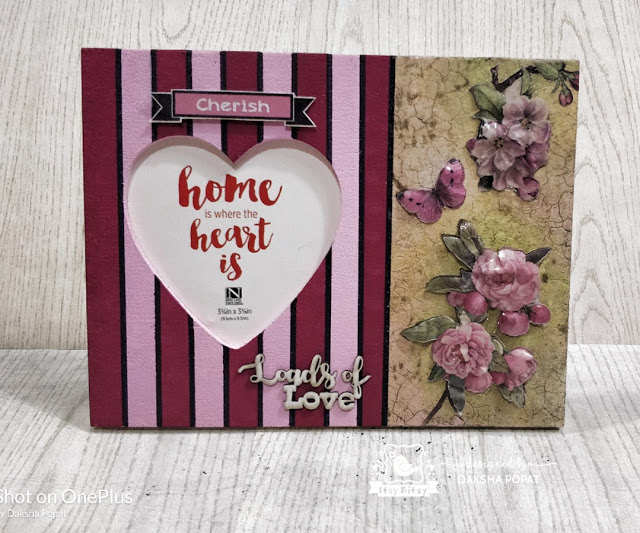
Daksha here on the blog! My project is a beautiful photo frame where I have combined decoupage technique with the newly launched chalk paint shades. I also created a stripped background and 3D volume decoupage on the pinewood photo frame which I picked up at the store.
For this project, I have used the newly launched chalk paint colours and decoupage papers from the store. Here is my project with all the details..

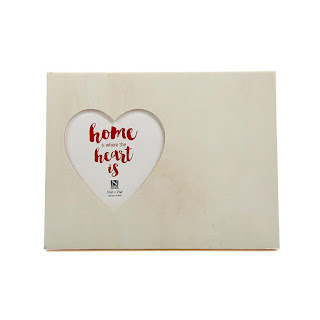
Here you can see my collection of new chalk paints and the photo frame.

Here’s the decoupage paper design I have used for my project.

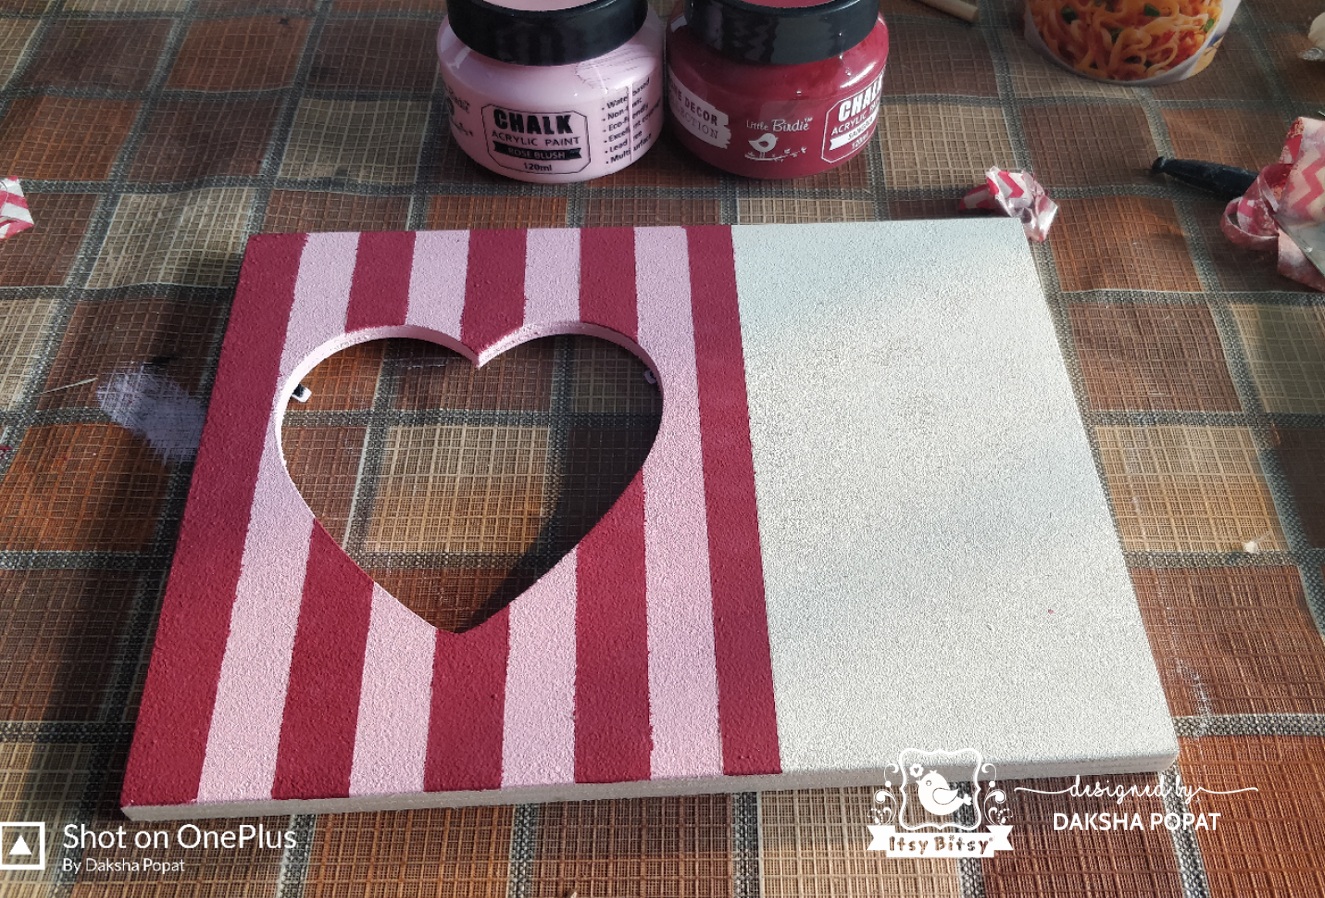
First I marked with a pencil leaving equal distance from both the sides of the heart window.

Then applied a coat of white chalk paint using sponge.

Then I have used washi tape on the pencil marked line to cover the left side and applied rose pink chalk paint on the left side using sponge.

After drying, I used washi tape in alternate arrangement on the pink chalk paint area and applied wine color chalk paint in the areas in between…See the picture below.

You can also use a heat tool to speed up the drying process.

Once the paints were dry, I removed the washi tapes, leaving the last one. I did this, as there was still work left to do on the right white area. Now you can see the beautiful stripped background clearly on the left side of the frame.

Then, I did fussy cutting of the selected design from the decoupage prints.


Before sticking my image, I did little background painting with green, yellow, and brown chalk paints.

Then applied decoupage images using decoupage glue.

Here you can see lovely decoupage work on the left with the background done with little shading work.

Then I used 2 step crackle medium on the decoupage area.

Here you can see the beautiful crackle effect. Then, I used metallic gold wax on the crackled area to fill and highlight the cracks.

Next, I removed the washi tape. I drew black lines with a permanent marker.

Then used sticker and sentiment chipboard embellishments.

I liked the decoupage work on the left but I really wanted to highlight the area more so I did volume decoupage using sospeso sheet and the same image from the decoupage print.


After doing volume decoupage on the fussy cut images.

Then using hot glue gun applied the design on the same places. To decorate it more, I used sticker sentiment and MDF sentiment chippies from the store. Finally gave a coat of matte varnish.

Here is the final look of my project. Hope you have liked it as much as I enjoyed making it.
Thank you for stopping by. See you soon with another project. Till then stay healthy and keep crafting.
Love &hugs
Daksha
Supplies used:
 https://itsybitsy.in/collections/all/products/home-decor-chalk-paint450mlsnow
 https://itsybitsy.in/collections/all/products/home-decor-chalk-paint450mldrift-wood
 https://itsybitsy.in/collections/all/products/home-decor-chalk-paint-120ml-pineapple-lolly
 https://itsybitsy.in/collections/all/products/home-decor-chalk-paint-120ml-sangria
 https://itsybitsy.in/collections/all/products/home-decor-chalk-paint-120ml-rose-blush
 https://itsybitsy.in/collections/decoupage-glue/products/deco-magic-glue-matte-100ml
 https://itsybitsy.in/collections/all/products/decor-varnish-matte100-ml
 https://itsybitsy.in/collections/all/products/wooden-decorable-heart-frame-l21-3-x-w16-3-cm-1pc
 https://itsybitsy.in/collections/all/products/decoupage-paper-a4size-4sheets-pretty

Dual Tip Alcohol Marker – Black, 1pc
 https://itsybitsy.in/collections/all/products/washi-tape-cocktail-15mmx10mtr