Hello arty-crafty friends,
Vidhu Thareja on the blog today with a new project inspiration for this month. I hope all of you are safe and trying to keep your spirits high with some crafting.
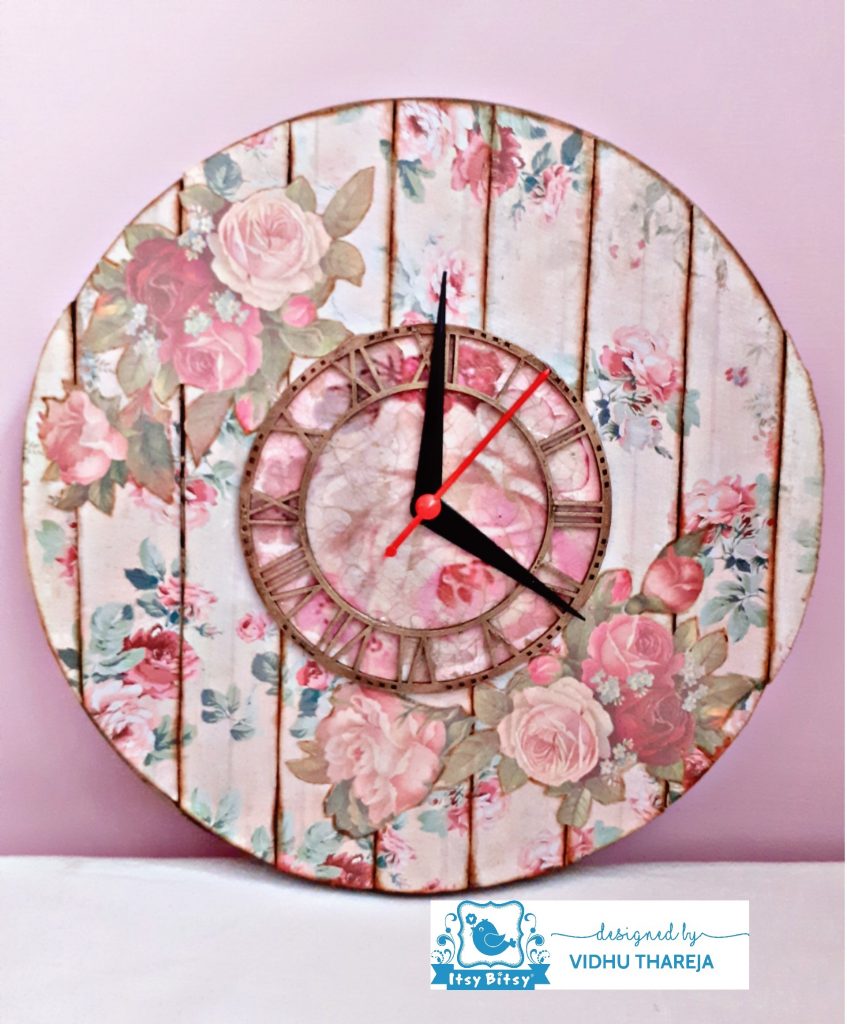
My today’s project is a Decoupage Vintage Wall Clock. Wall clock in not only a necessity but it is considered an important part of an interior and nothing can take place of a handmade clock. I love doing decoupage, so in this project I have used beautiful decoupage papers from the store. So without any further delay let’s start the project.
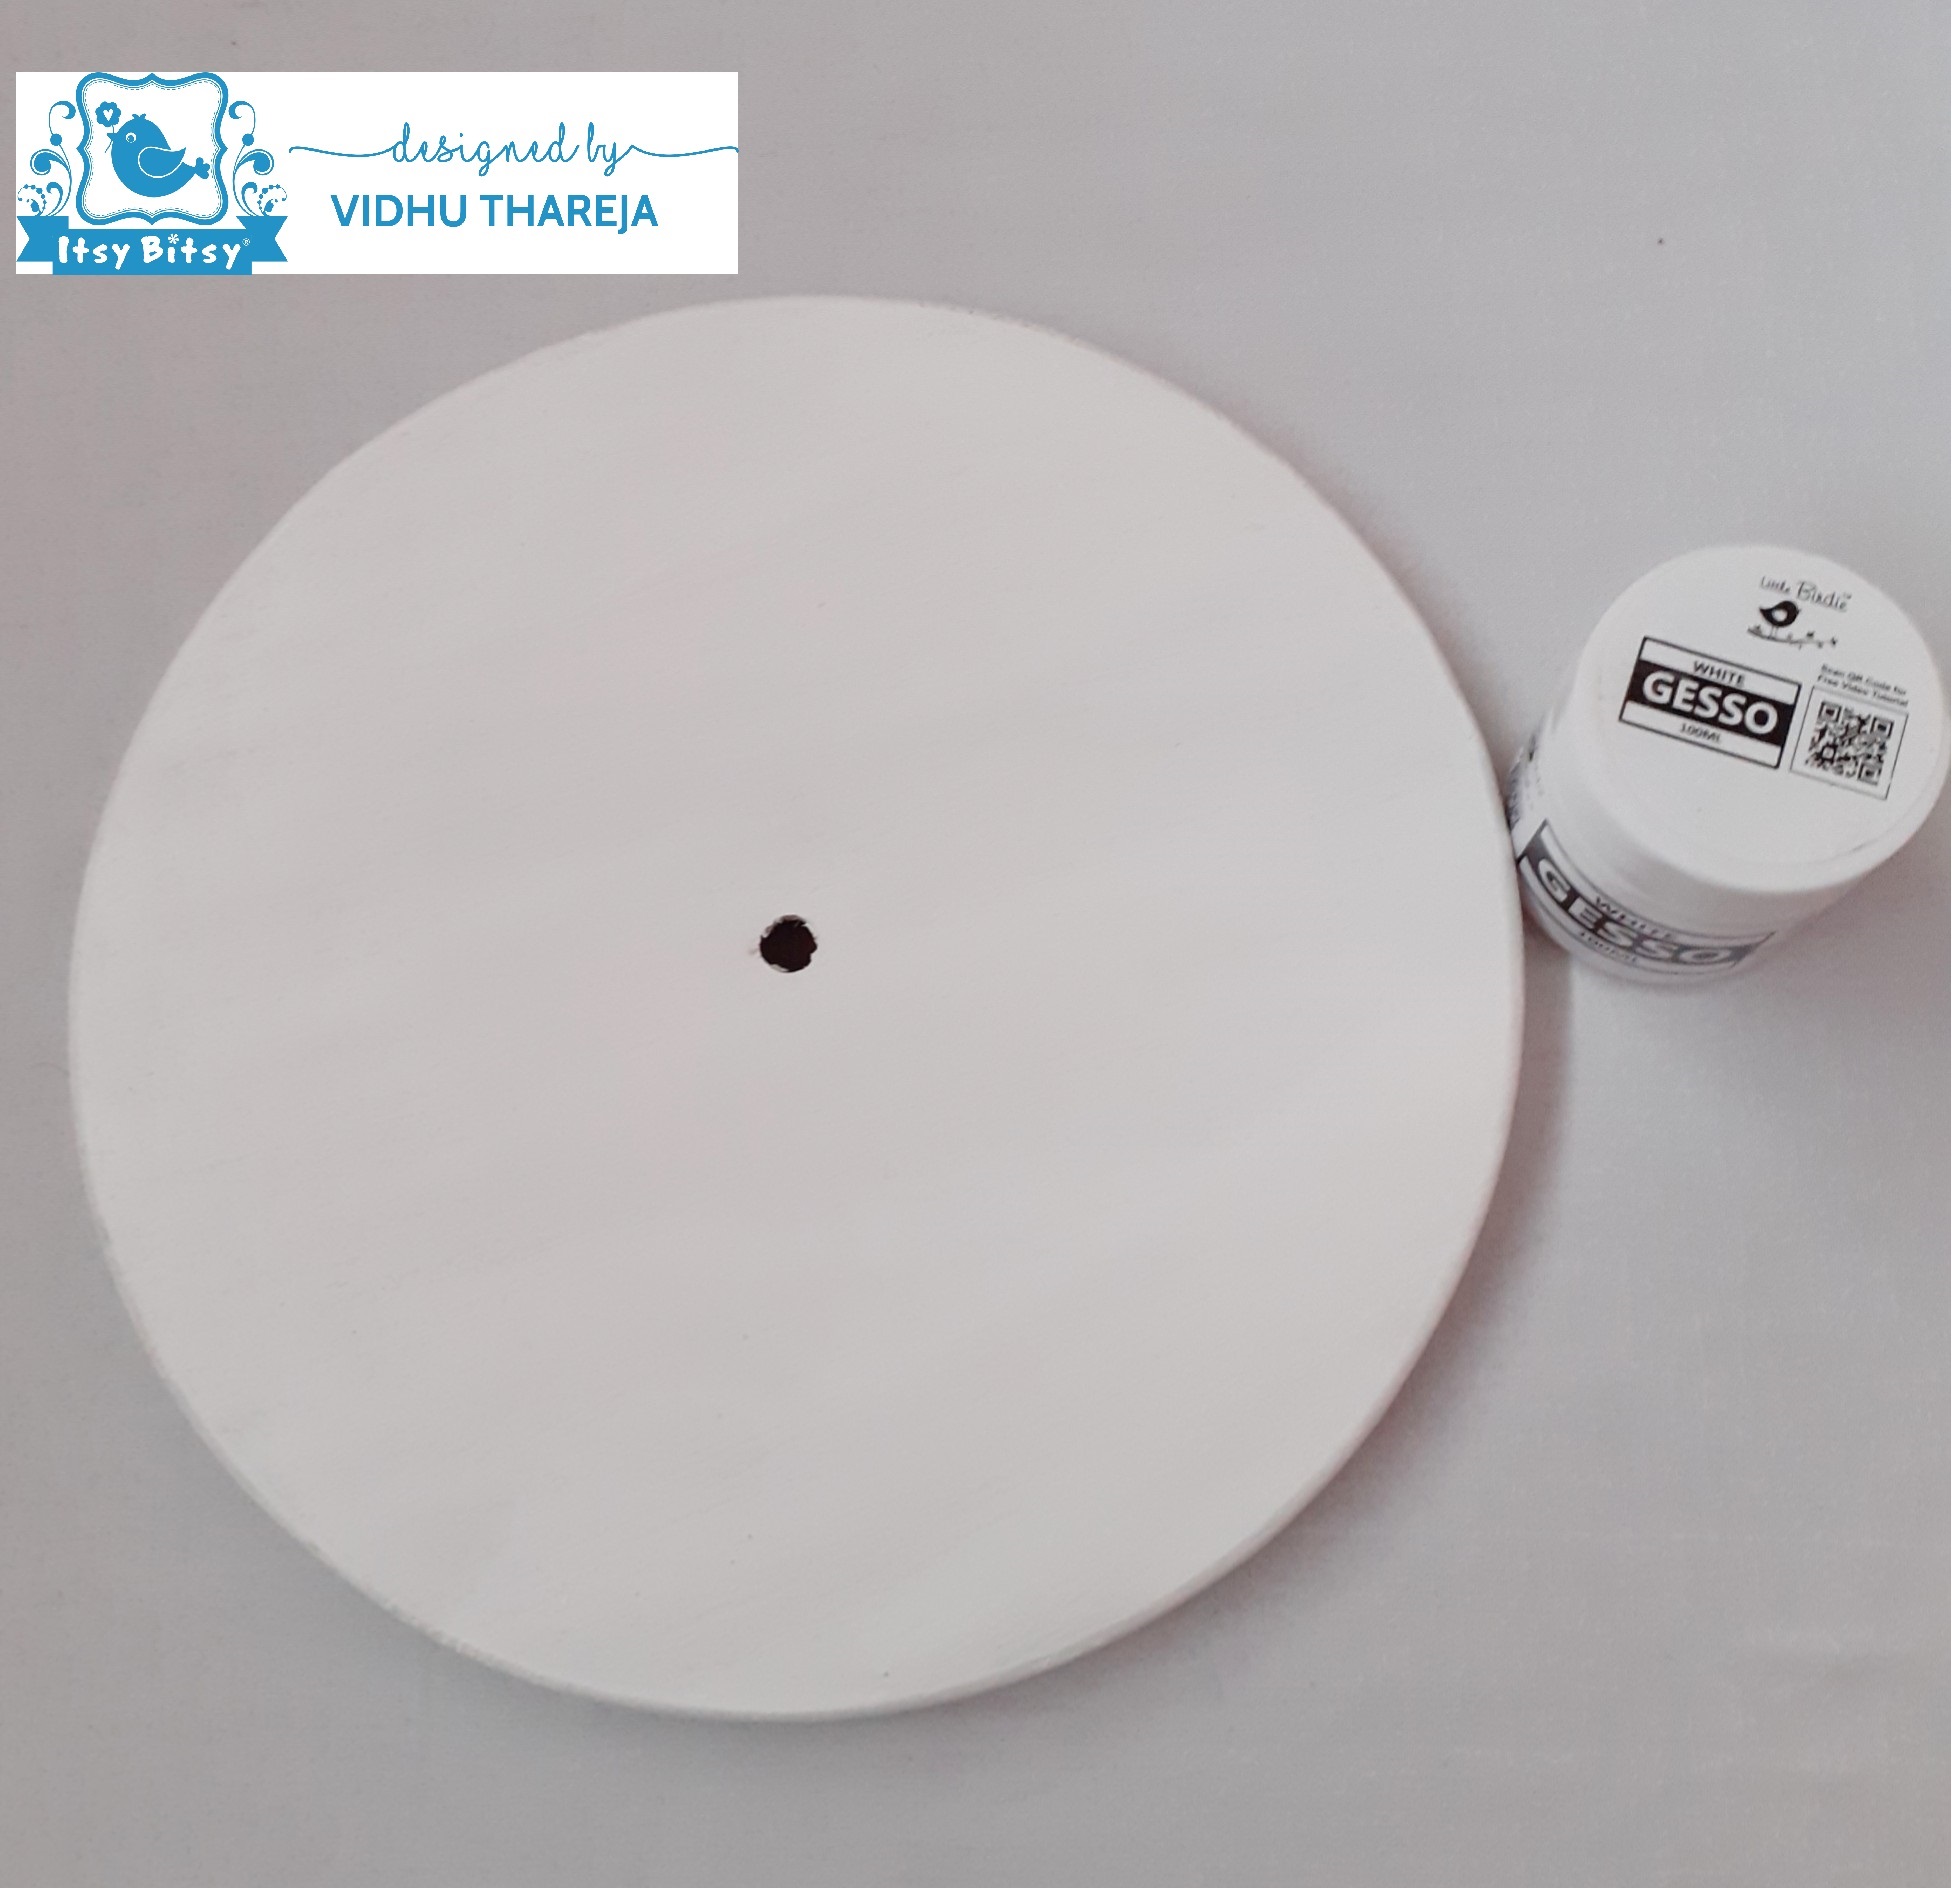

I wanted to give little dimension to my project, so instead of adhering the paper directly on the base, I decided to adhere the paper on a chipboard. I placed the base on the chipboard, traced the circle and divided it in equal sections. Always mark the centre to make sure that one section comes in the centre. Then I cut the drawn circle and marked the sections. In the same way I marked the paper and cut that also. Before adhering the paper on the chipboard, make a hole on that piece, which would come in the centre. Now using brown acrylic color, I have distressed the edges of each chipboard piece from all the sides. Then using Little Birdie Deco Magic Glue- matte, I adhered each piece of paper on chipboard pieces and let it dry.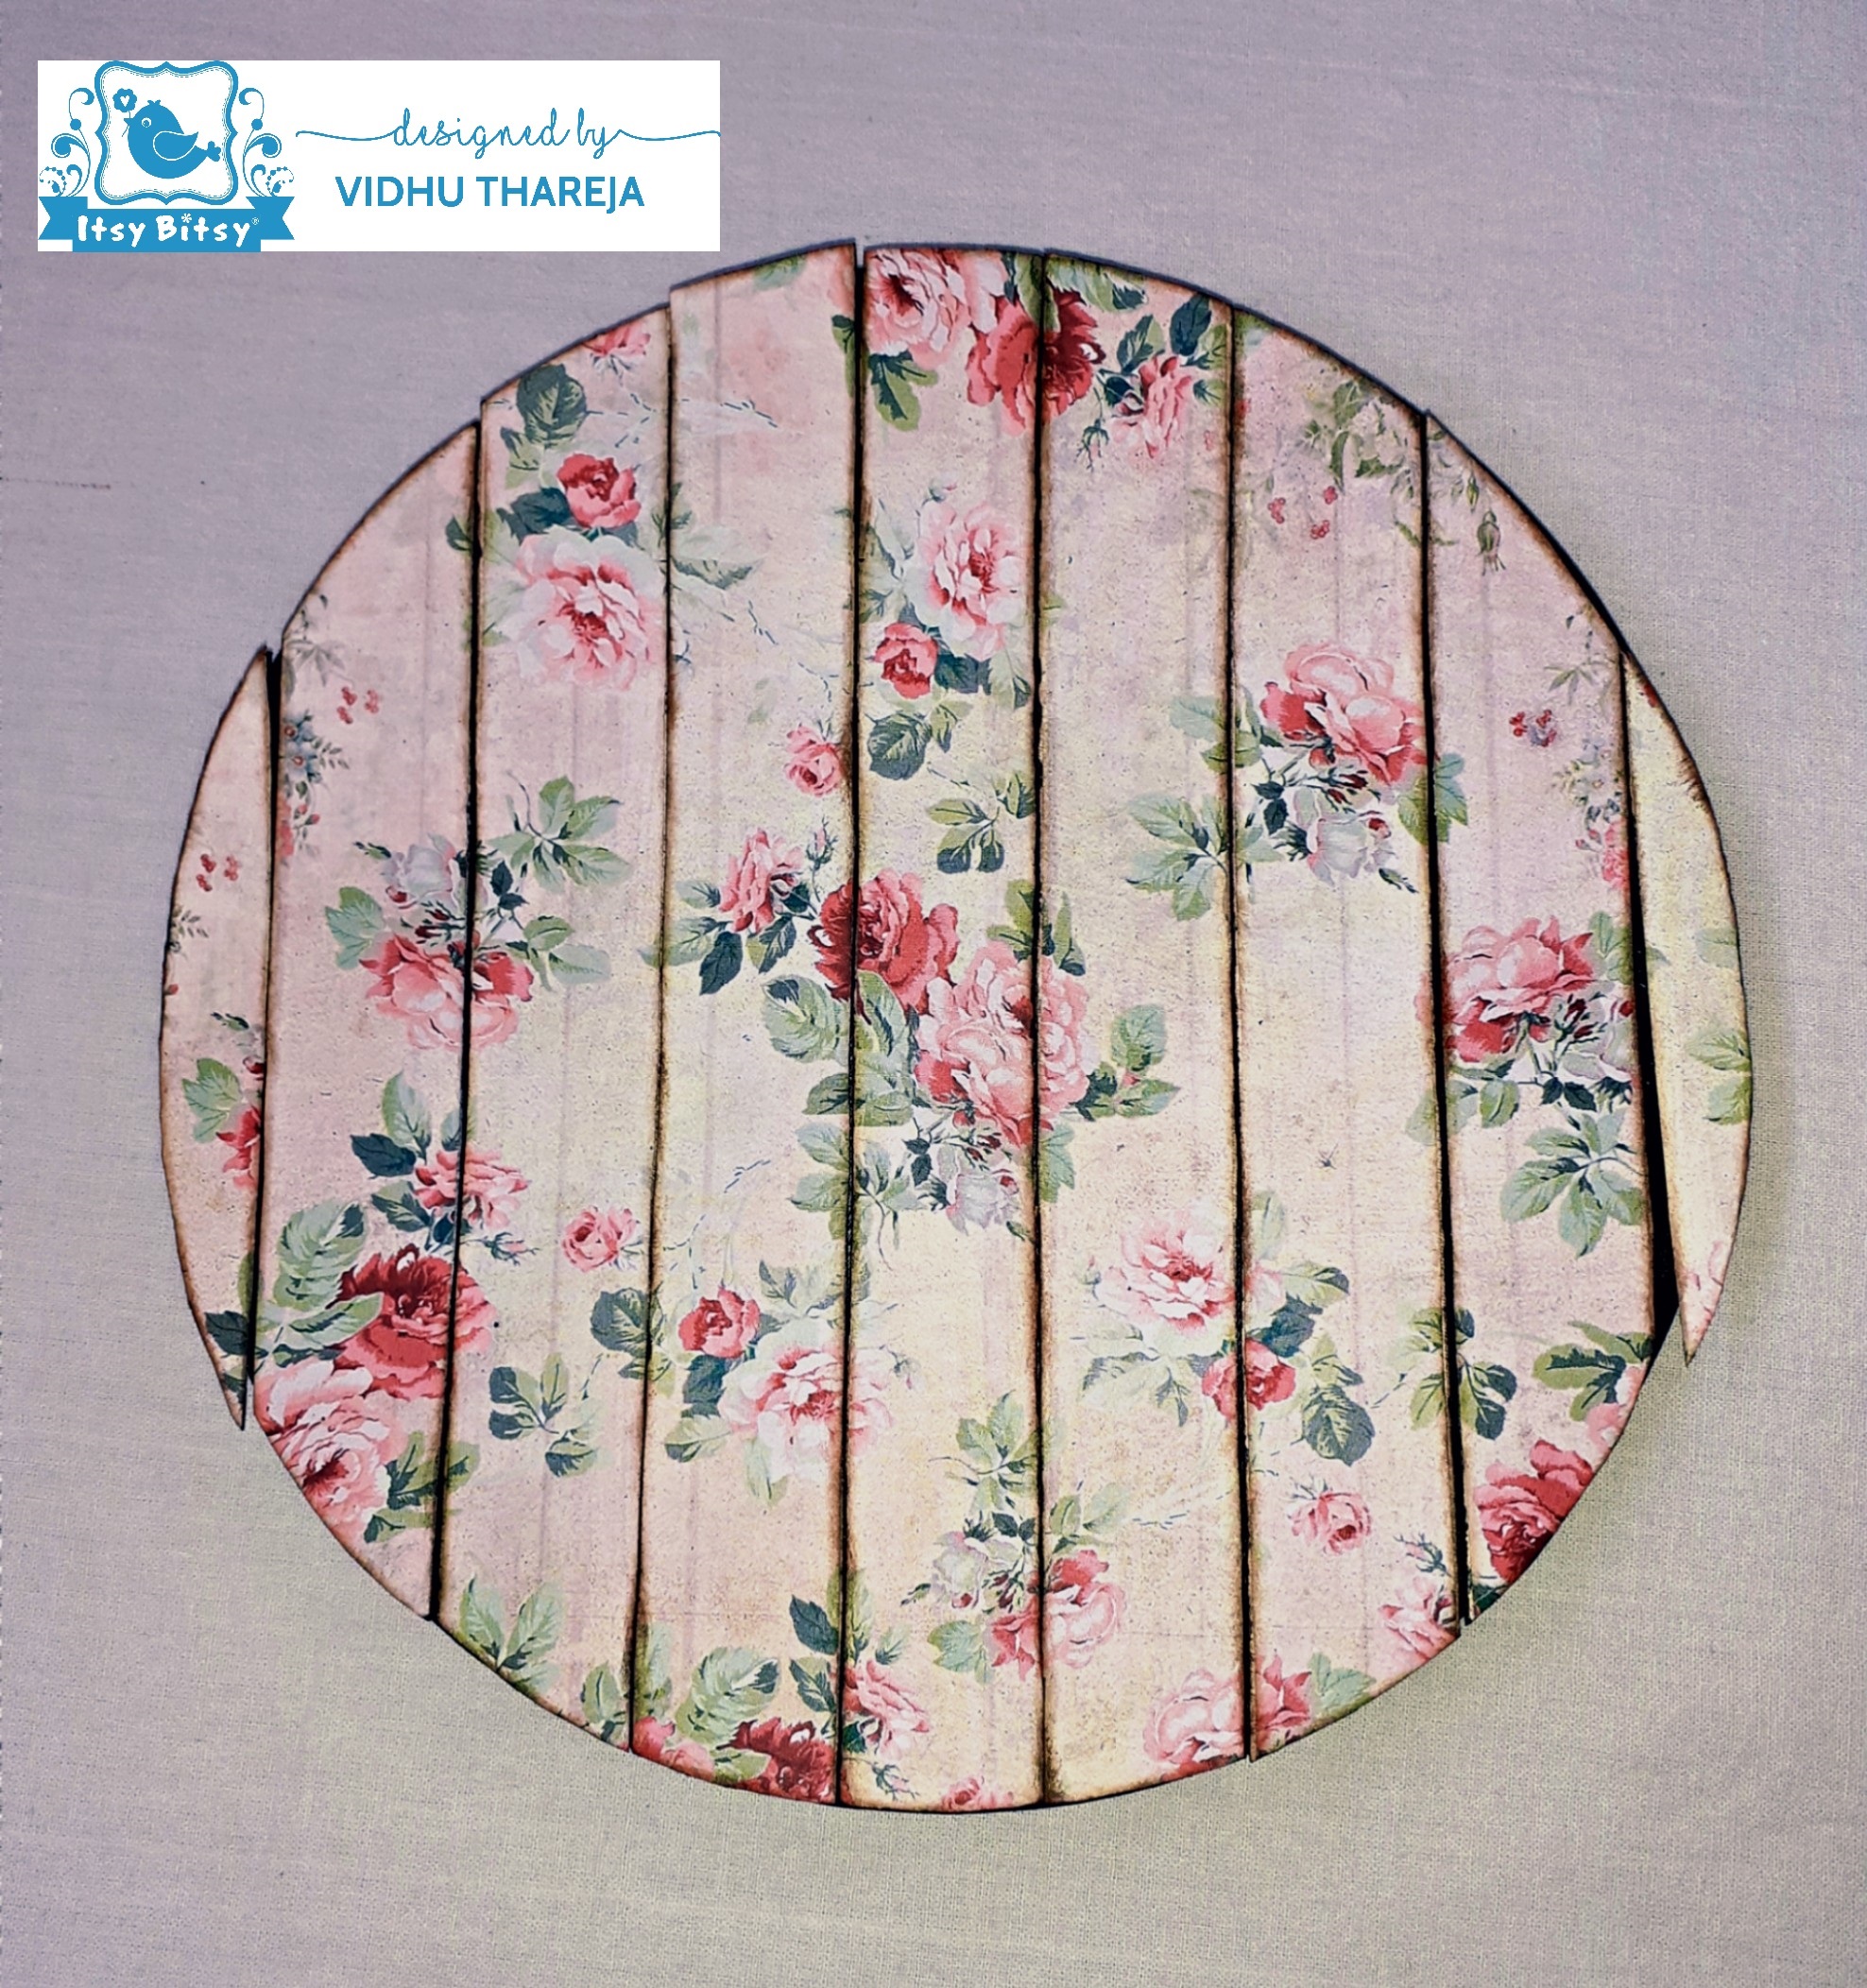
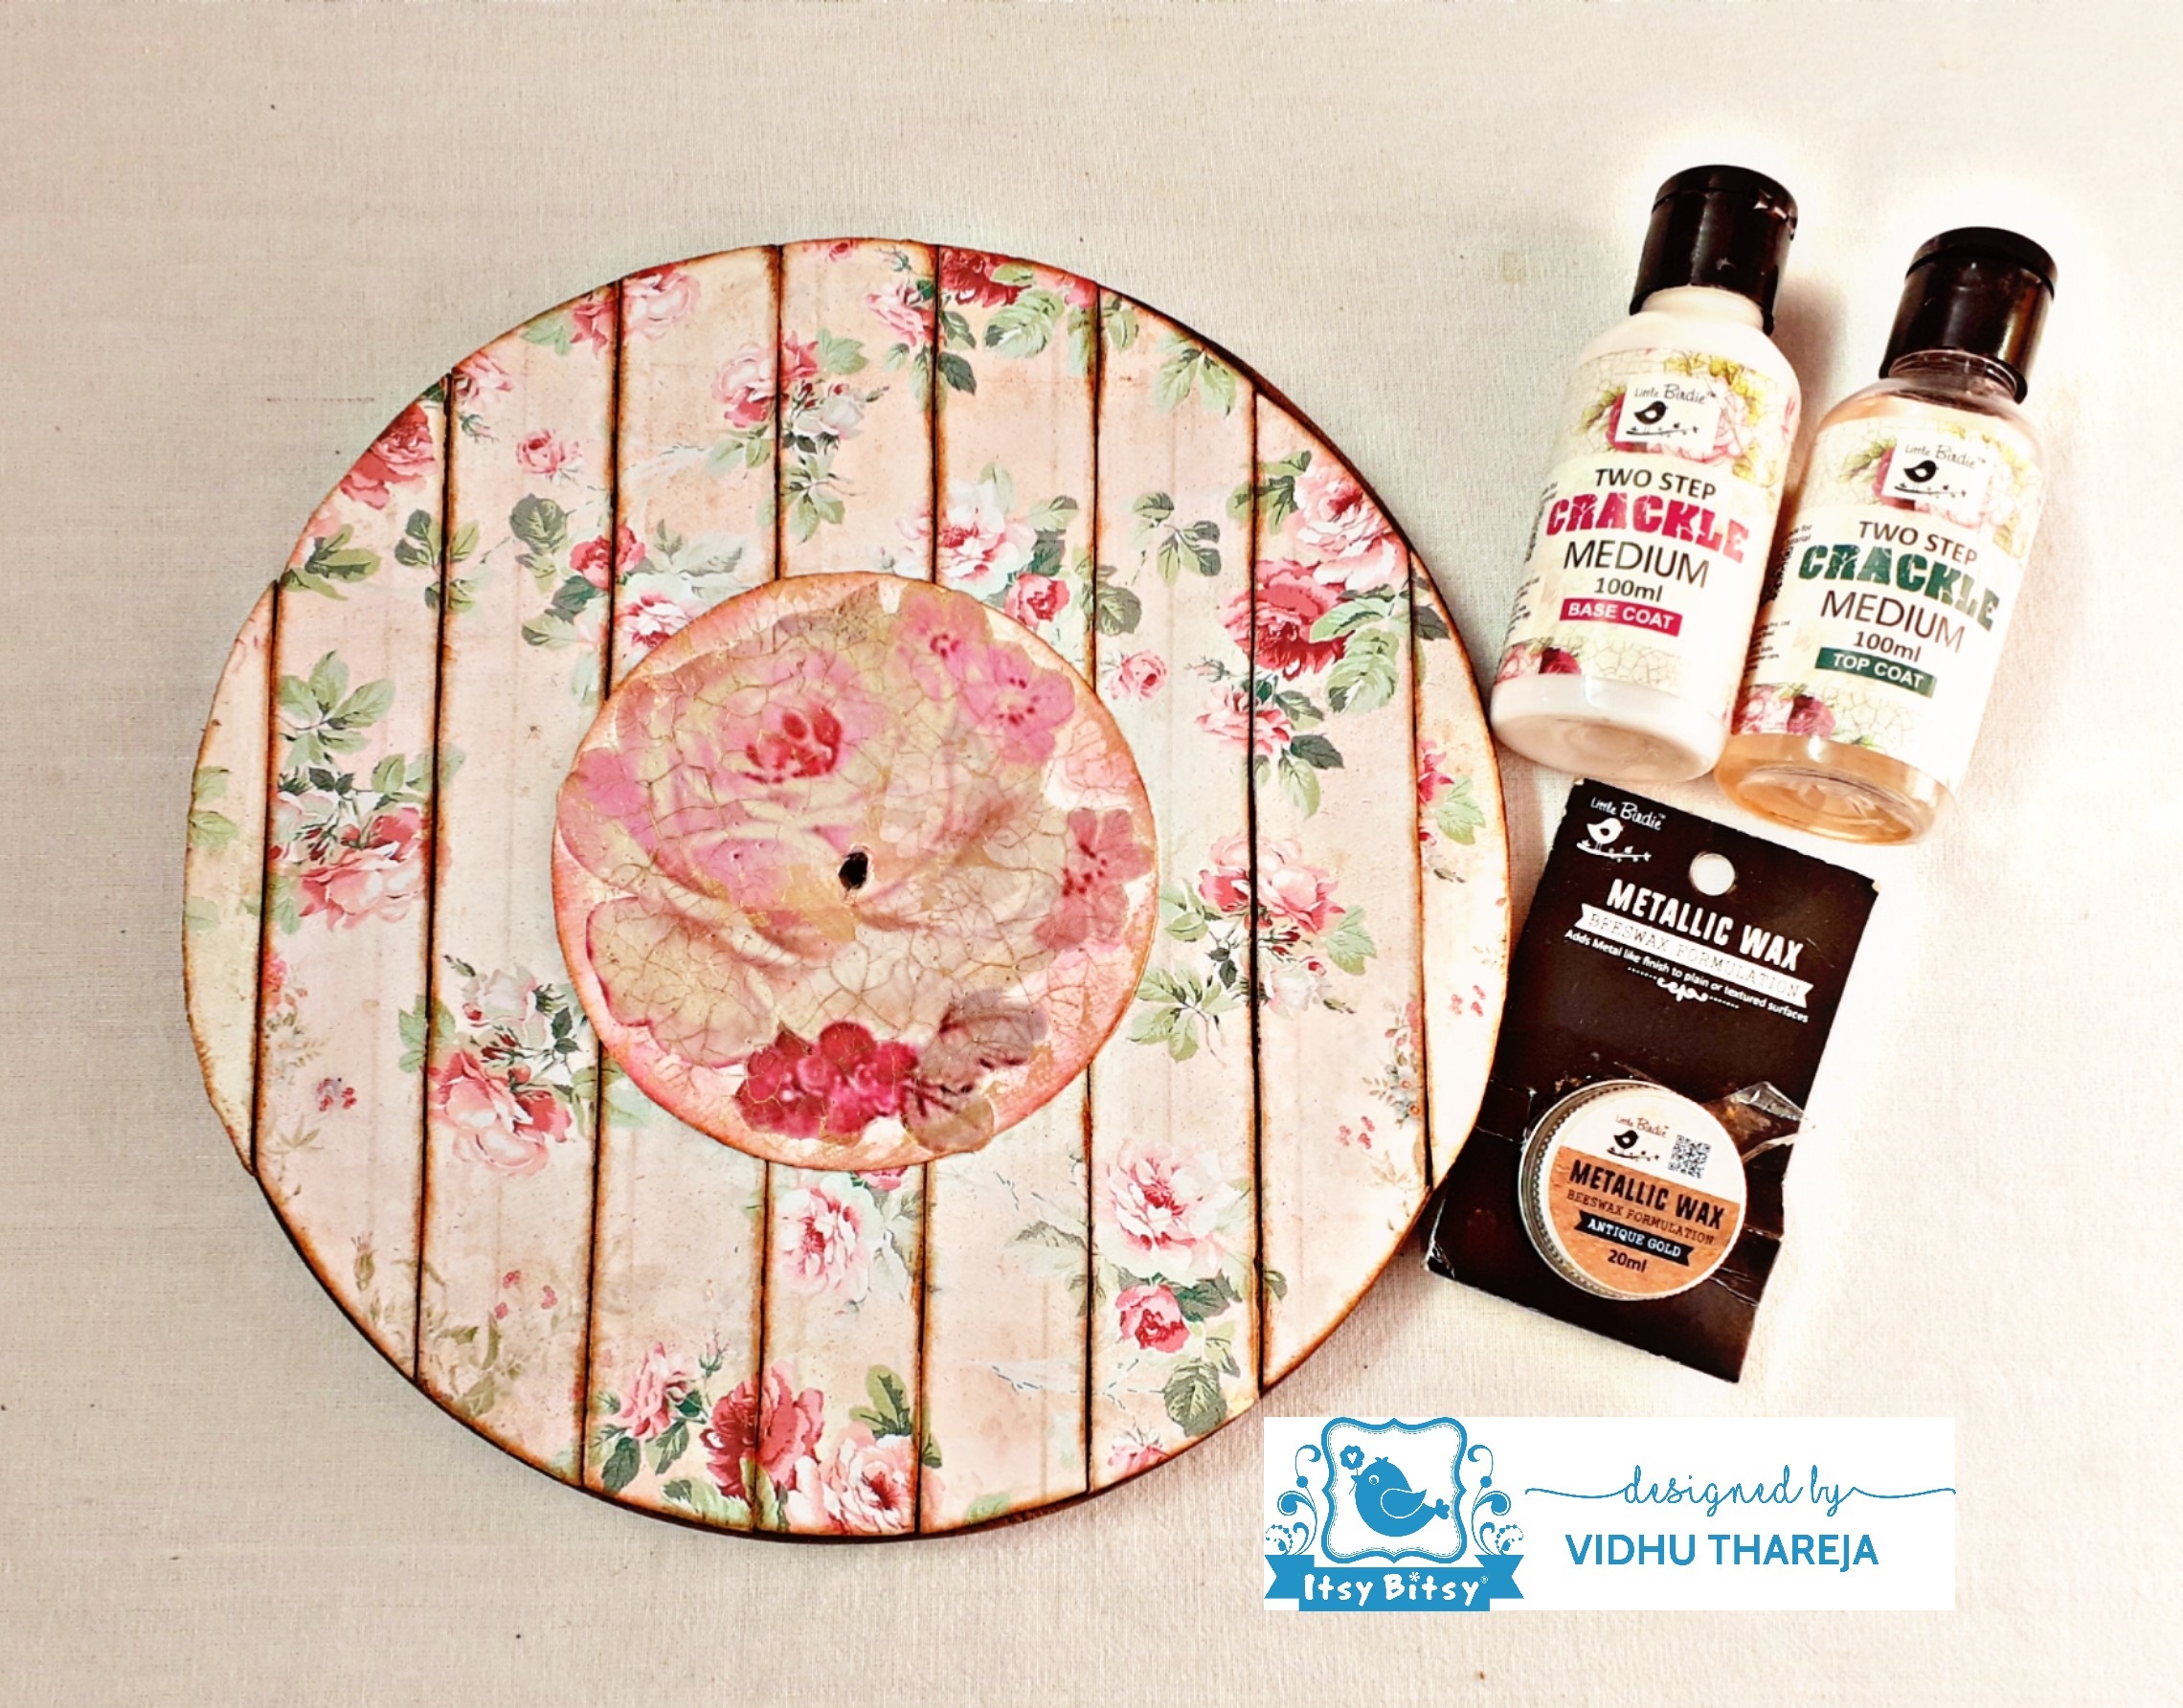
To add interest, I have distressed the edges of all the ready chipboard pieces using Vintage Photo distress ink. Before sticking the decoupaged chipboard I have painted the sides of the clock with brown acrylic color and rubbed Metallic Wax – Antique Gold on top of that. I arrange the chipboards on the base and stuck them one by one. To cover the empty area on both the sides, I have added one small chipboard piece on both the sides. After a few hours I have sealed it with Little Birdie Deco Magic Glue – Glossy.
Tip – Whenever you are using distress inks on your decoupage projects, do not seal the project, immediately after the distressing. Since these are water-based inks, they reacts when they come into contact of water-based mediums such as decoupage glue or varnish. Leave the project for few hours and then heat-set it and then only seal your project. To add some interest in the centre I have used other sheet from the same Floral Excellence decoupage paper. I fussy cut the flower and adhered it on that circular piece of canvas and adhere it with Deco Magic Glue and did some blending with distress ink around the image and distressed the edges also. I have cut the circular piece according the dimension of the clock face. Now, I pasted the decoupaged circular piece on my ready clock base using Deco Magic glue – matte. I let it dry and seal it with one coat of Deco Magic Glue- glossy and one coat of Little Birdie Decor varnish- glossy.
At this stage, my project was looking incomplete. I could have used handmade flowers but I wanted to give a different look to my project. So I have used another design of Decoupage Paper- Timeless Beauty.

The thickness of these papers is 70 gsm, perfect for decoupage and as well as for fussy cutting and it blends easily with the background when adhered. I fussy cut the flowers and placed the flowers around the centre image and adhered them using Deco Magic Glue- matte. Here I forgot to distress the edges of the fussy cut flowers so I dabbed some distress ink on my craft sheet and sprinkled a few drops of water on it. Then I took a zero number round brush and highlighted the outline of fussy cut flowers and leaves. If you do not have distress ink, no need to worry. You can use diluted chalk paint also for the purpose. I left it to dry and then heat-set it. Then using Deco Magic Glue – glossy and Decor Varnish – glossy. I have sealed the entire project, except the centre image as there is no need to apply varnish on top of the 2 step crackle effect. Since this will be used as a wall decor, I would recommend to apply at least 3 coats of varnish.Now it is turned to fix the clock face. I had a MDF clock face in my stash. I have dabbed some brown acrylic color on it and let it dry. Then I rubbed Metallic Wax – Antique Gold on it and fixed the clock face in the centre using Little Birdie Silicon Glue.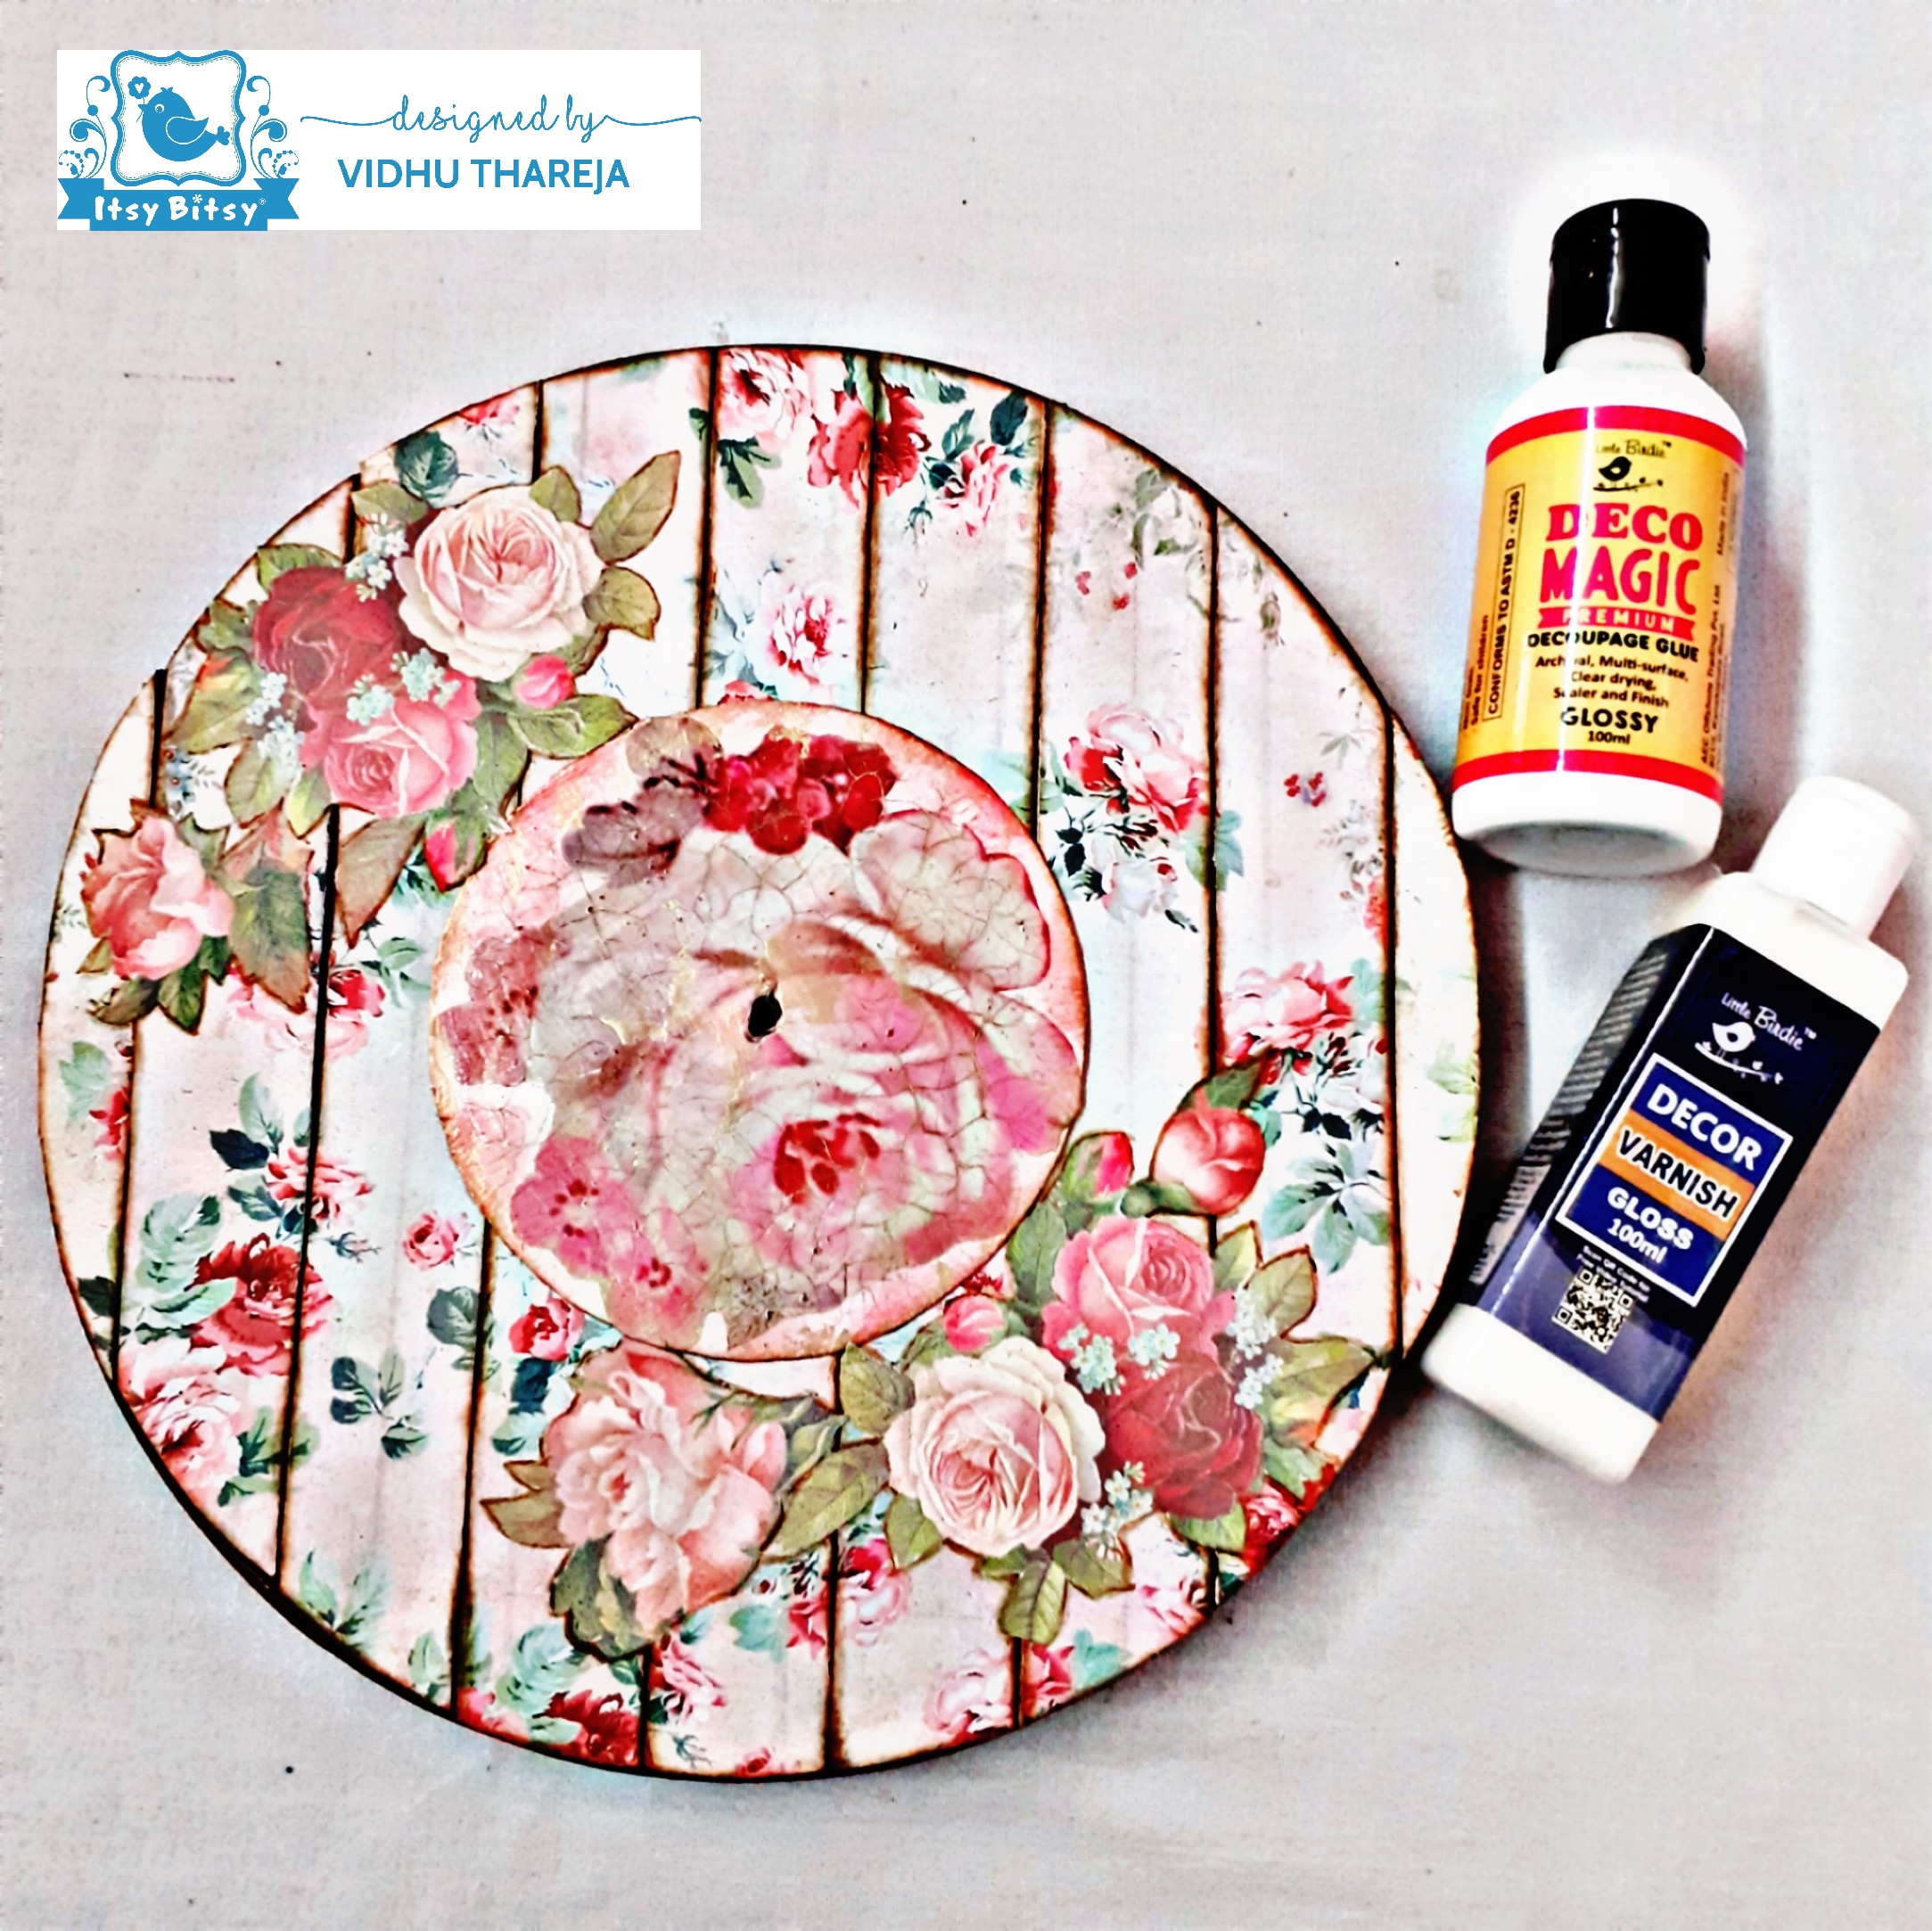 In the end I have fixed the clock mechanism. A beautiful Vintage Wall Clock is ready. Generally when the time is good we wish that time should stop but with the present scenario we are all wishing that this time should pass at the earliest. So let’s wish, pray and hope for the best. I hope you like my creation.
Be Positive, Be Creative!!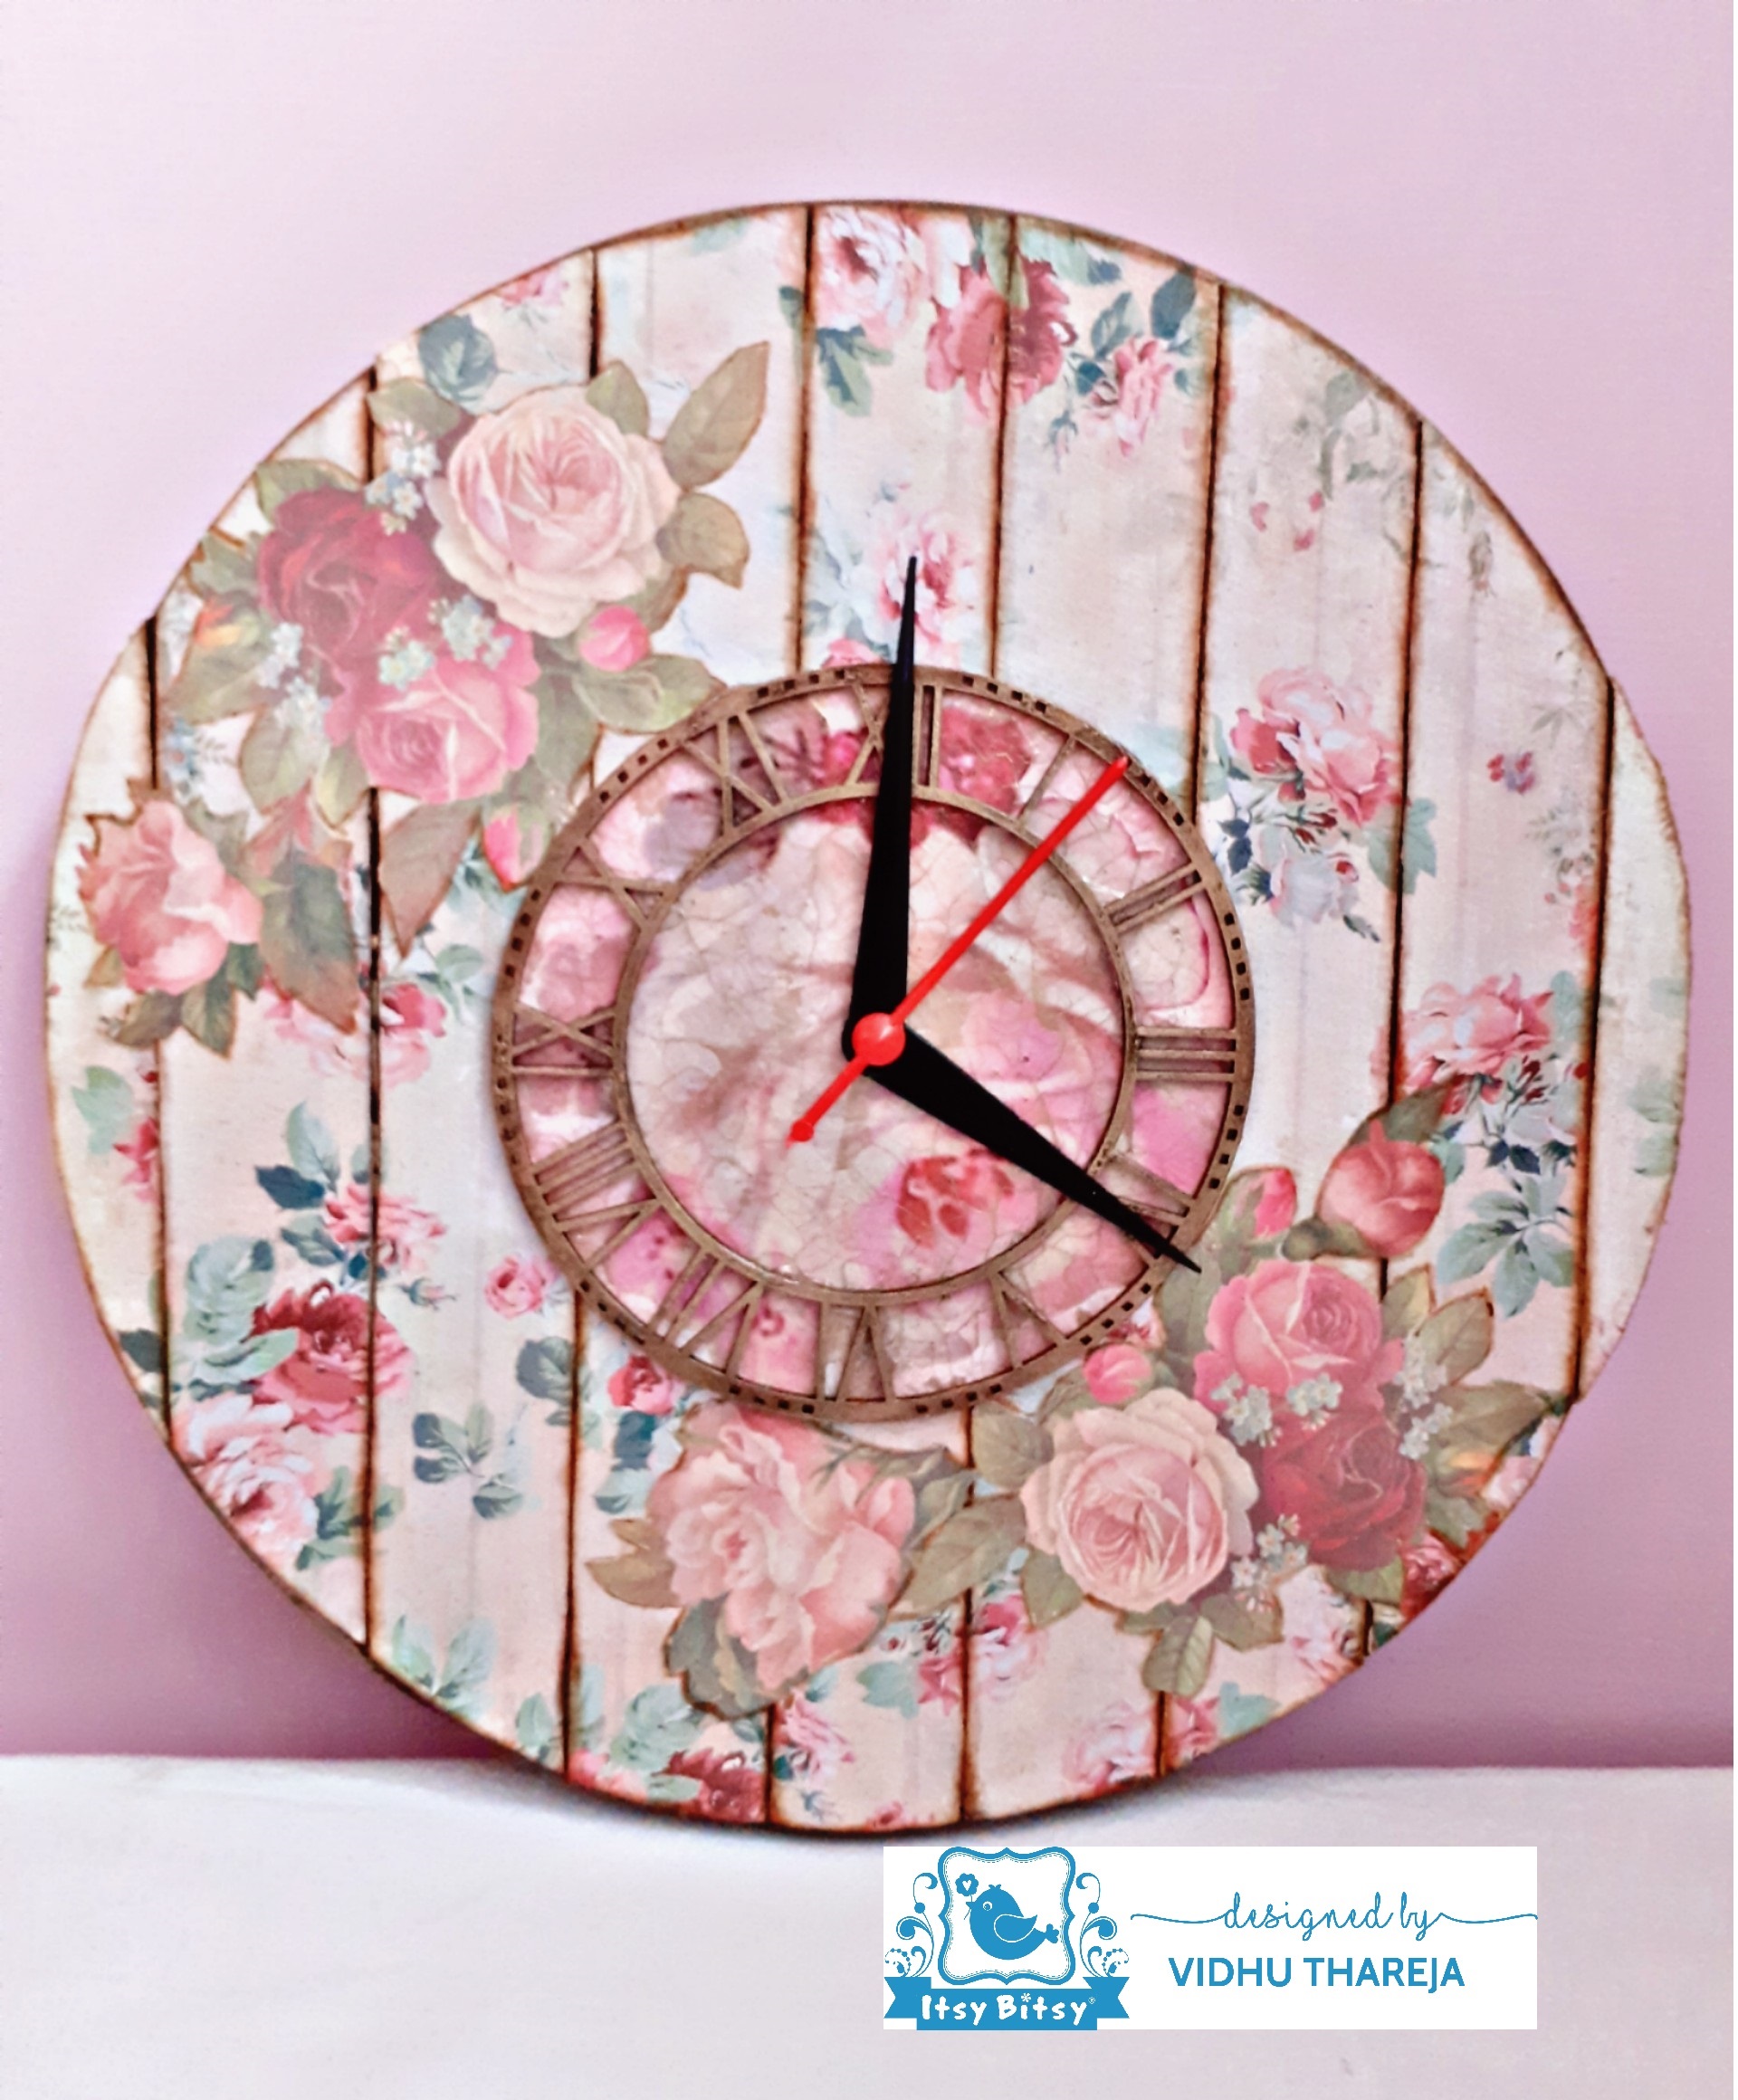
Vidhu Thareja.


