Hello everyone.
Vaishali here. Hope you all are crafting great!
This is my last post for the ongoing term. My creation says, ‘Thank You’ and it is a big Thanks to Rashmi and Harish for always trusting my work and providing me this wonderful platform to share my creations with everyone. Appreciate Anitha and the entire Itsy Bitsy team for always being so supportive. Thanks a bunch to all the readers, who have stopped by to visit my post and always showered so much love and appreciation.
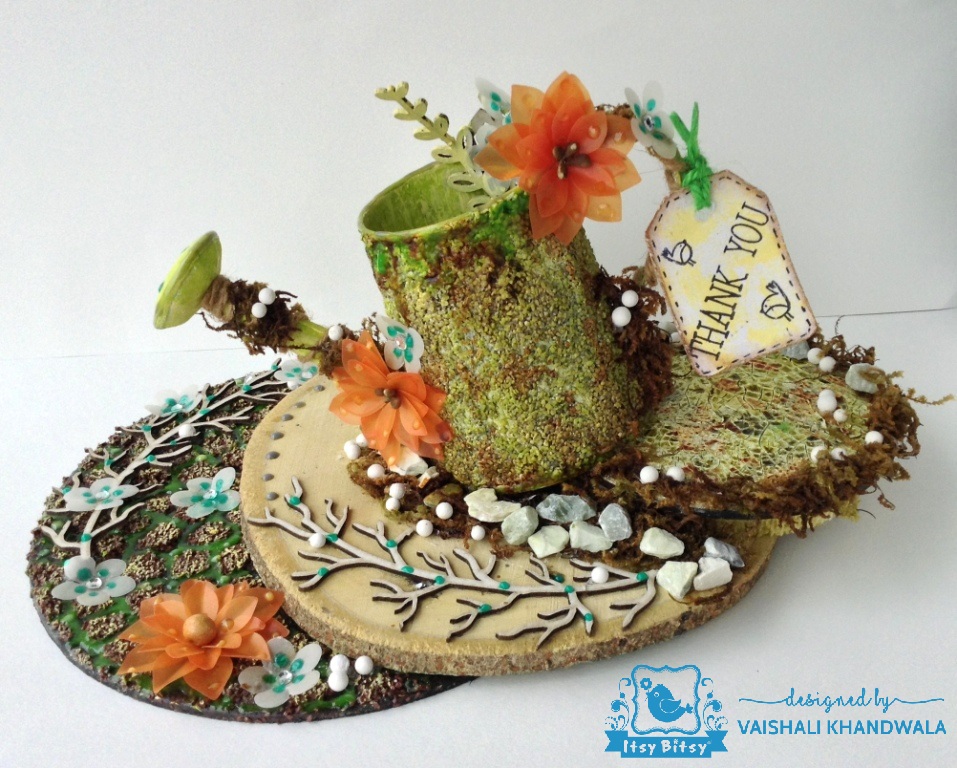
Coming to the project, I have crafted a home decor piece, using my favourite Little Birdie Stone Texture Paste and Pearl Drops. Have a look.
Let’s get started with a step wise procedure for the decor piece, that can work as a platter as well.
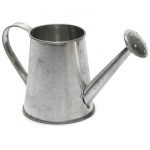
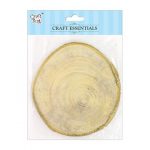
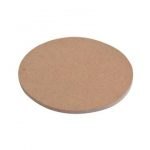
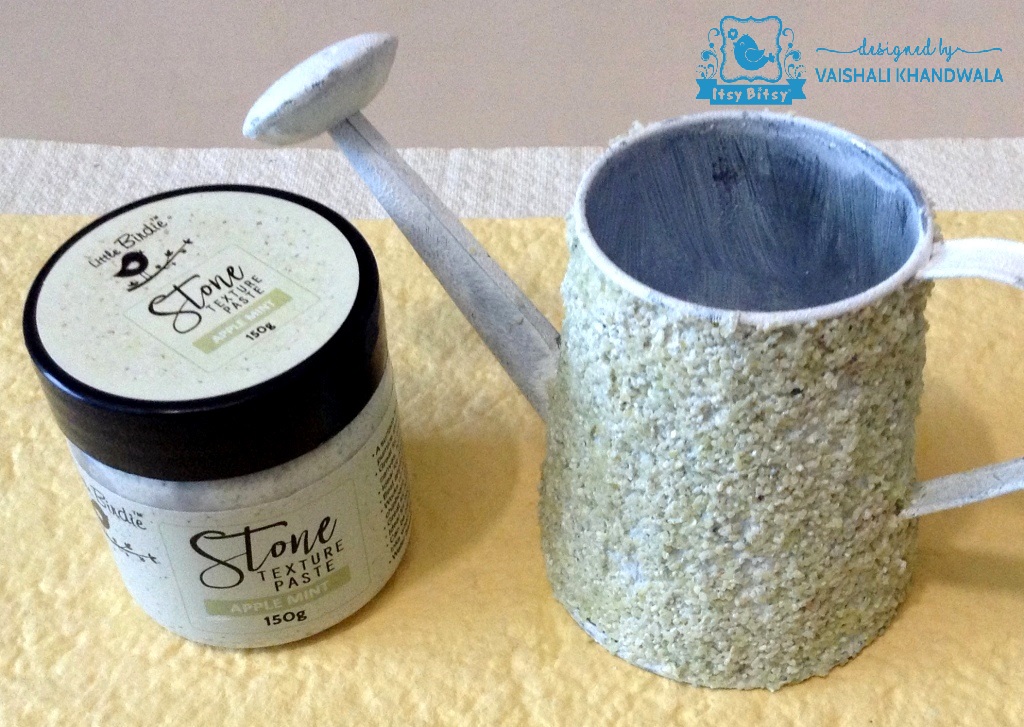
Following are the base materials used for the creation- a cute mini metal watering can…Oh I love this so much!! Natural large wooden disc- a very versatile product, cardboard cake base, empty tape roll and a round MDF coaster size cut out.
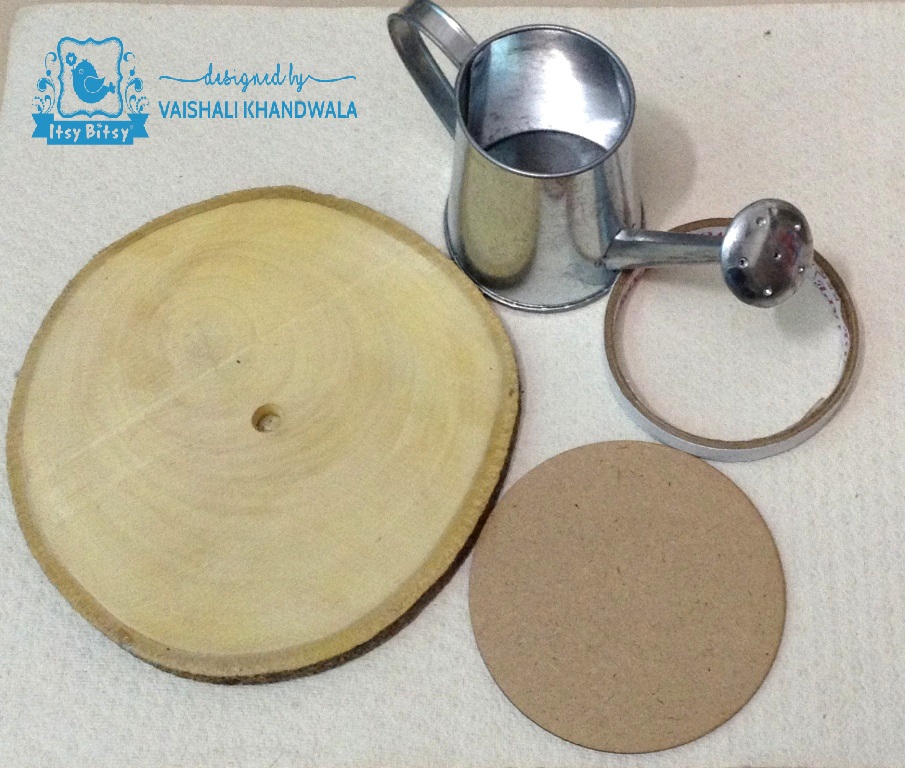
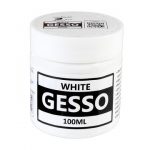
The cake base is not included in the picture above as decided to add it later for dimension. Having the base elements in place, the next step was to cover the metal watering can with white gesso. Gesso works a primer for further work to be done. 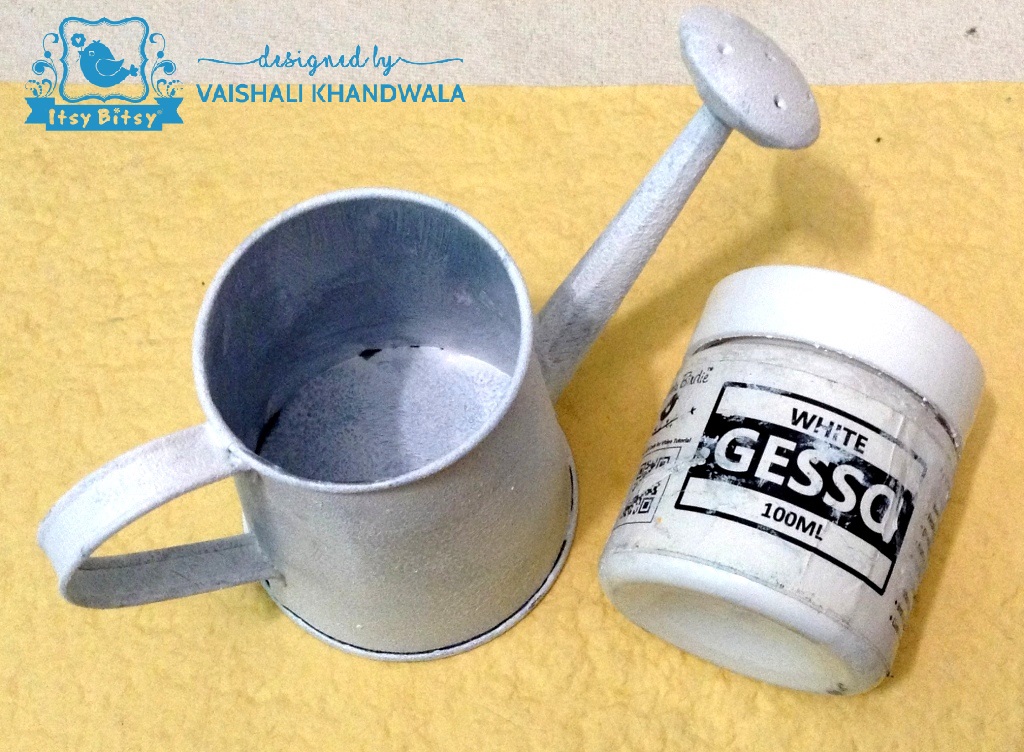
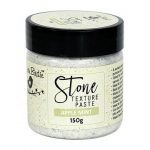
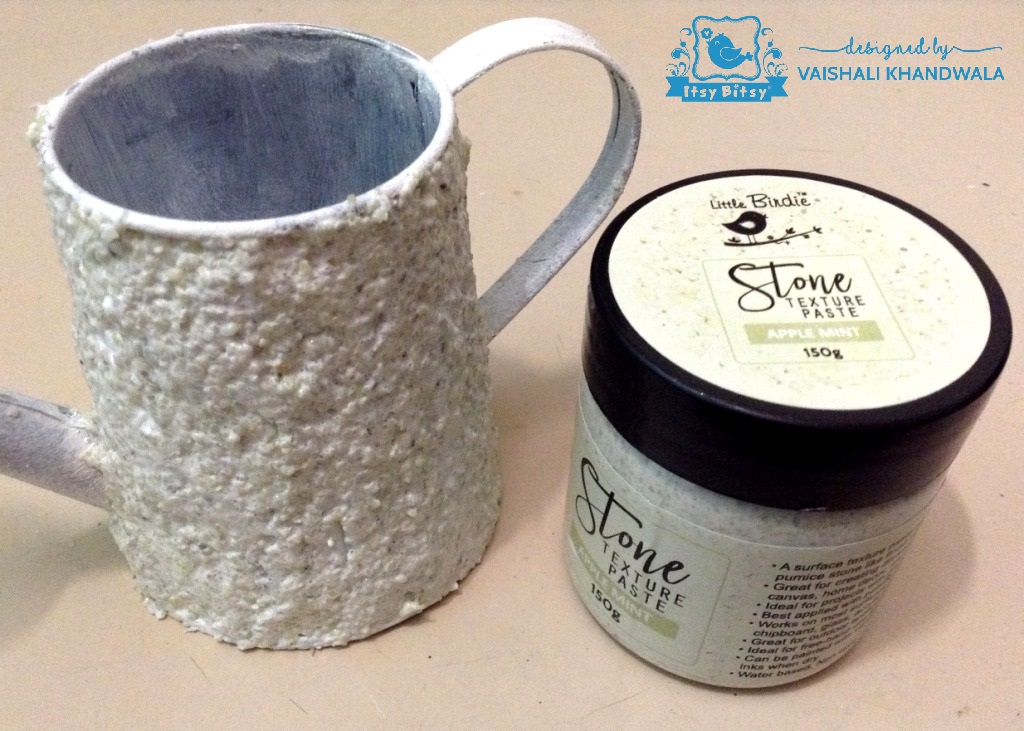
Once the gesso dried. I covered the entire outer side of the watering can, ( leaving the handle and spout) with Stone Texture Paste – Apple Mint. Stone Texture Paste has natural stone chips in it which adhere to the surface as the paste dries. The paste can be applied on any surface, has water resistance and can be coloured with any colouring medium, once it dries. The natural effect is super amazing and gives a natural stone look. In the picture below, the applied Stone Texture Paste is still wet. I have applied it with a palette knife.
The natural, wonderful look appears once the paste dries. In the picture below, you can see how the granules get highlighted and the colour darkens a little.
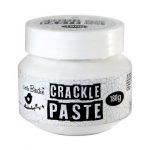
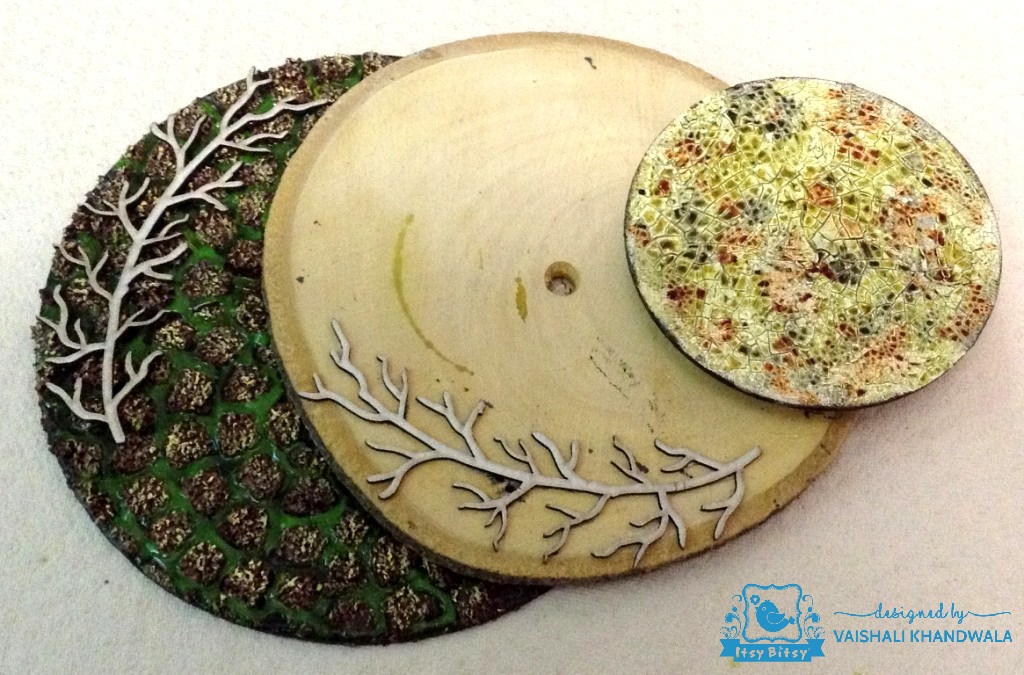
Next, I applied Crackle Paste on the MDF coaster size cut out, using a palette knife. The Crackle Paste is a white coloured paste that develops cracks as it dries naturally. Do not speed dry it. A thicker layer will give bigger cracks and a thinner layer will give smaller cracks. 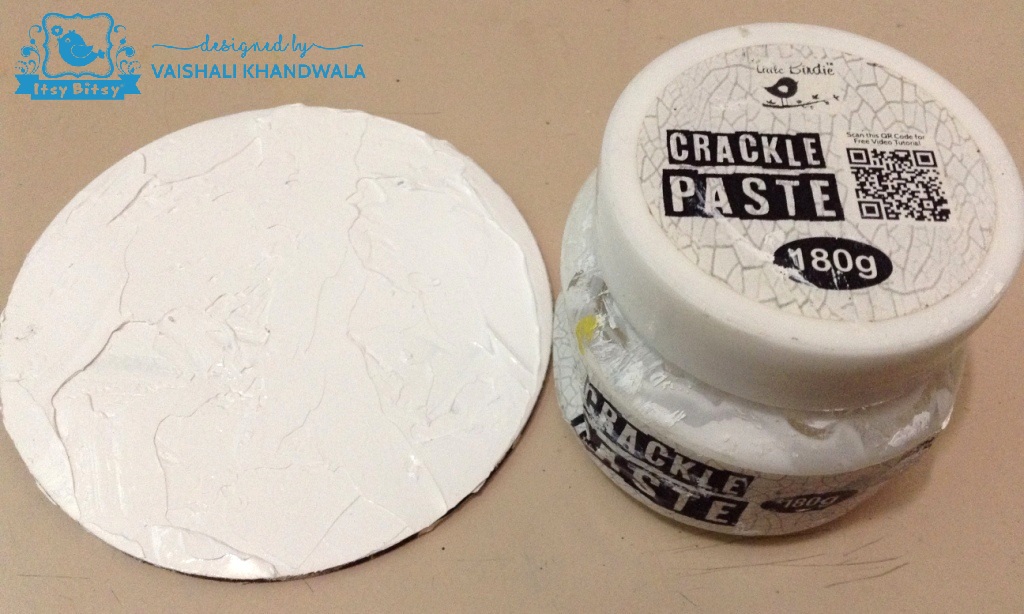
You can see the beautiful crackle effect formed after drying in the picture below. The Little Birdie Crackle Paste can be mixed with any colouring medium before applying, at the same time it can be coloured later once it dries and cracks are formed. Its great to colour it with mixed media colour sprays as the liquid colours beautifully seep into the cracks, highlighting them. I have used some Alcohol Splash and Colour Splash to give a dried, barren look. 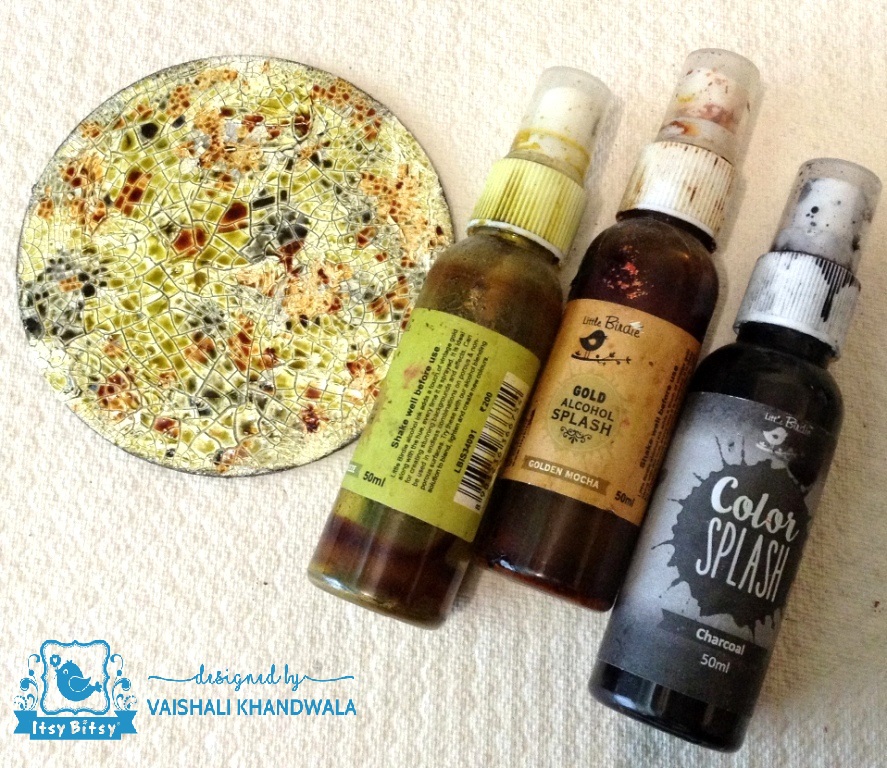
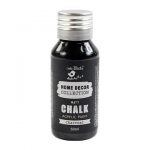
Next, I started working on the cake base. The cardboard cake base was golden. So first I covered it with black chalk paint – Charcoal. 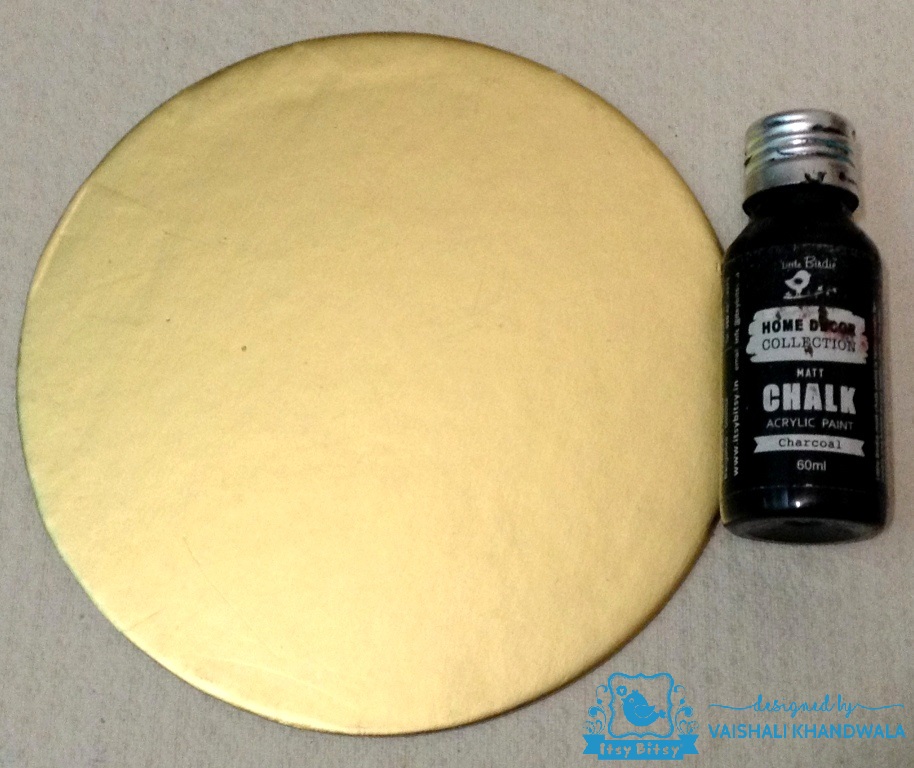
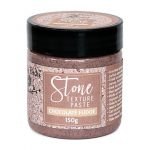
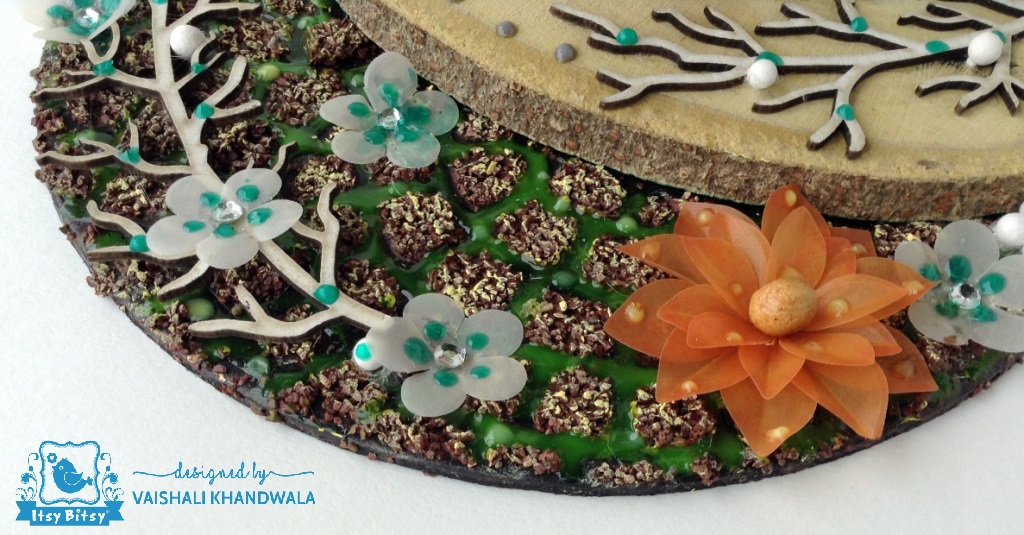
Once the chalk paint dried, I gave a stone paving effect using Stone Texture Paste – Chocolate Fudge with the stencil – Cobble Circle. Have done the stenciling only partially, as you can see below. 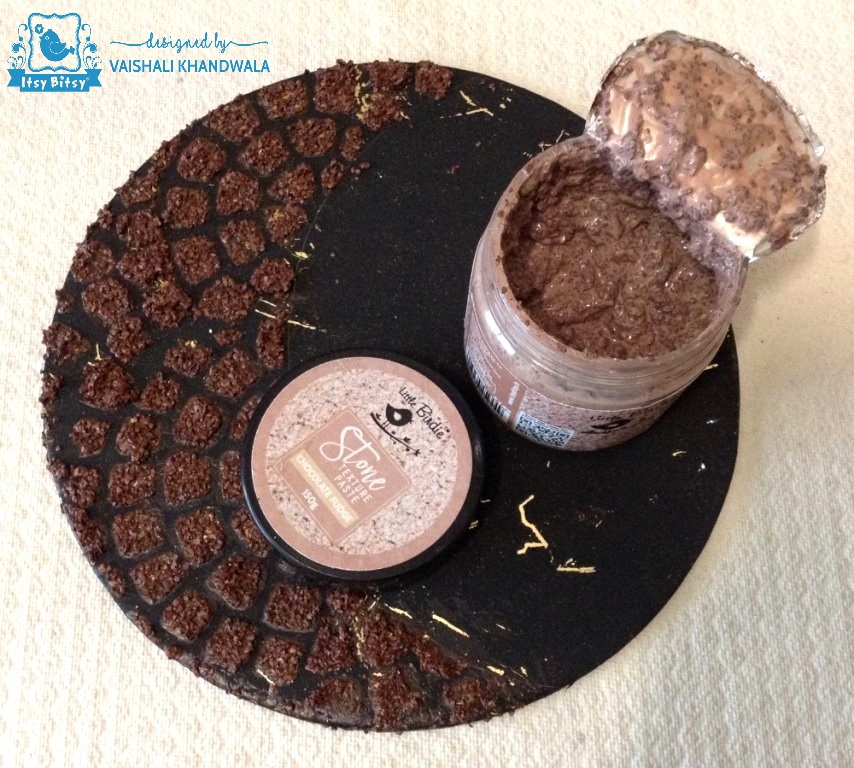
Stone Texture Paste works great with stencils with larger gaps. As you can see in the picture above, the paste dries some shades darker than when it is wet and also reflects the colour of the base surface to some extent.
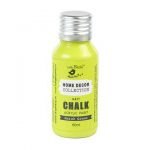
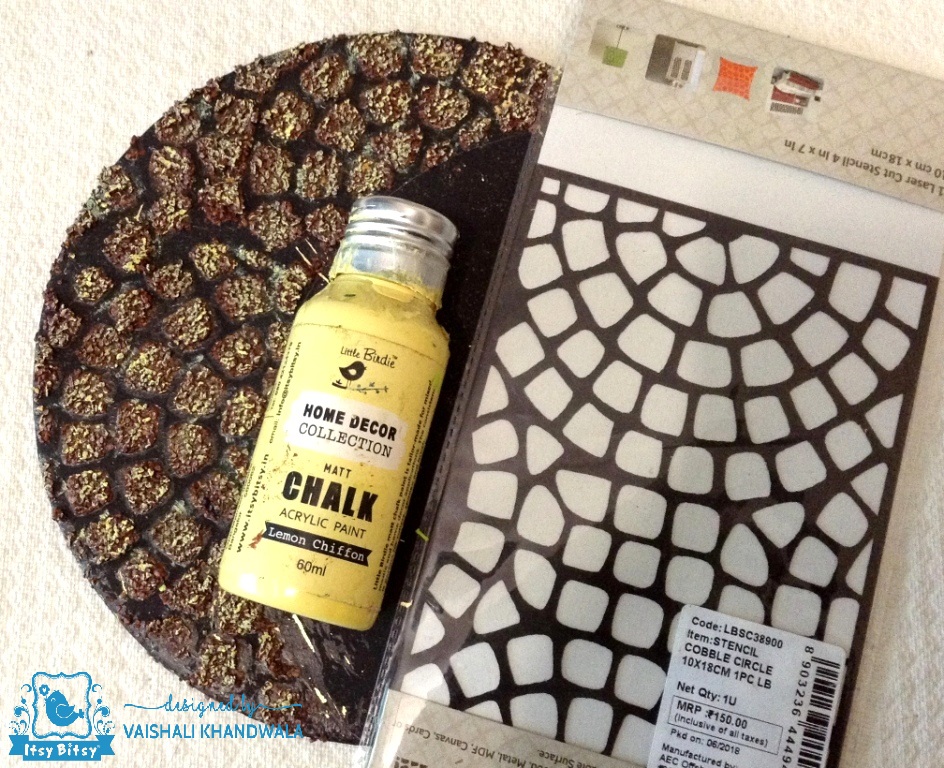
Once the paste dried, have highlighted the raised grains with yellow chalk paint Lemon Chiffon, using the dry brushing method. This adds dimension and you can see the texture clearly.
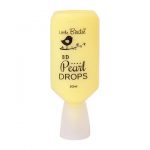
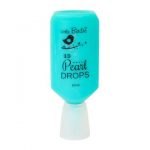
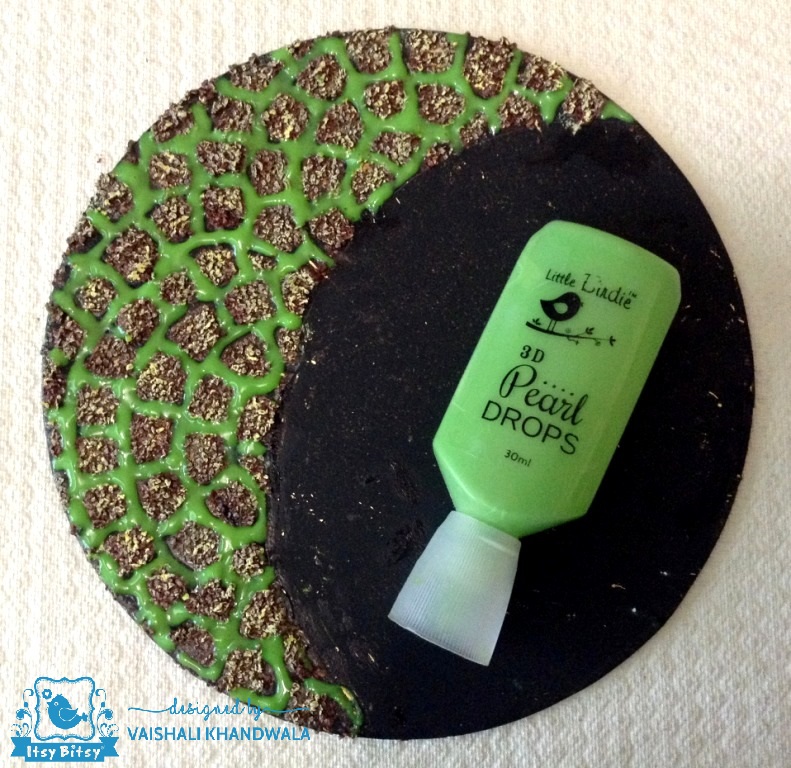
The idea was to create a paving effect on the cake base with some greens in between. To do so, I have used Forest Isle Pearl Drop and filled the gaps. Have a look.
I added some colours to the watering can too. Used chalk paints, Alcohol Splash and Pearl Drops, to get the desired effect. Wanted a moss covered look. Also adhered a jute twine around the spout of the watering can.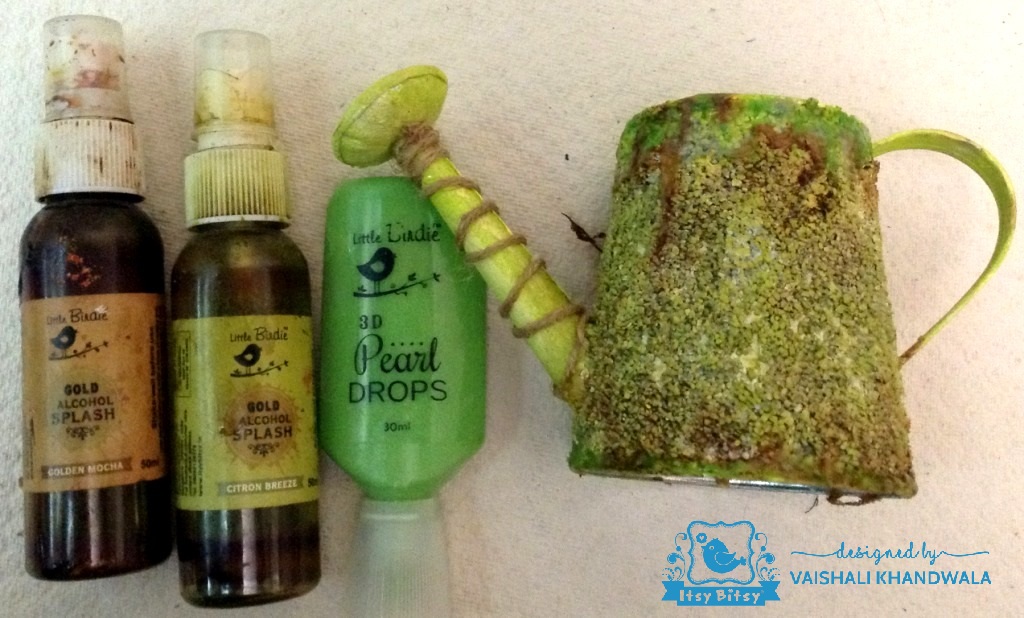
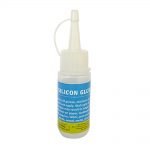
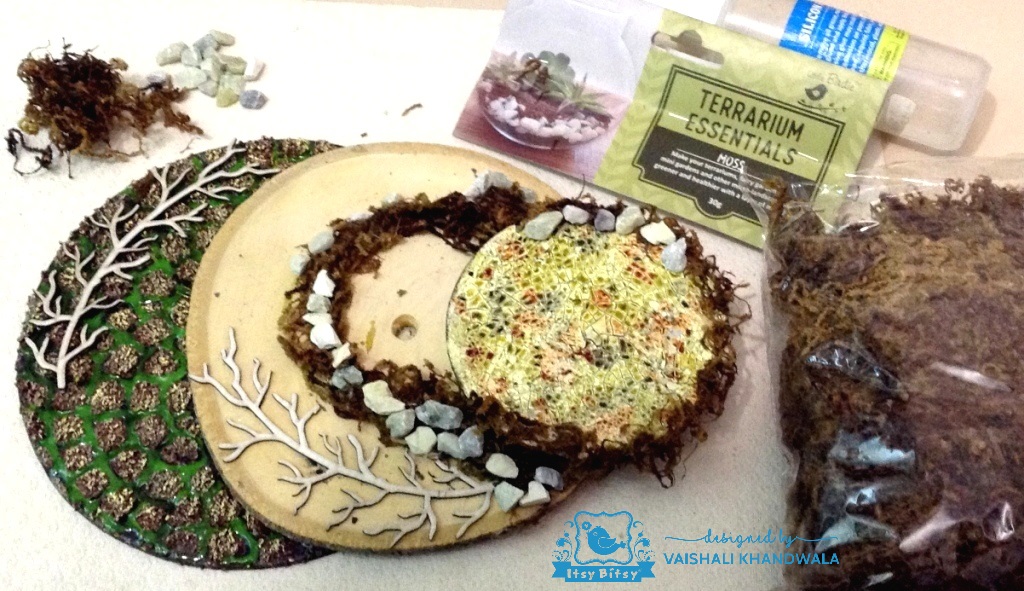
After all the elements of my creation were ready, it was time to assemble them together. Step 1 of assembling was to adhere the wooden disc on the cake base and the empty tape roll on the wooden disc, with a little overhang as seen below. Have used silicon glue to do so.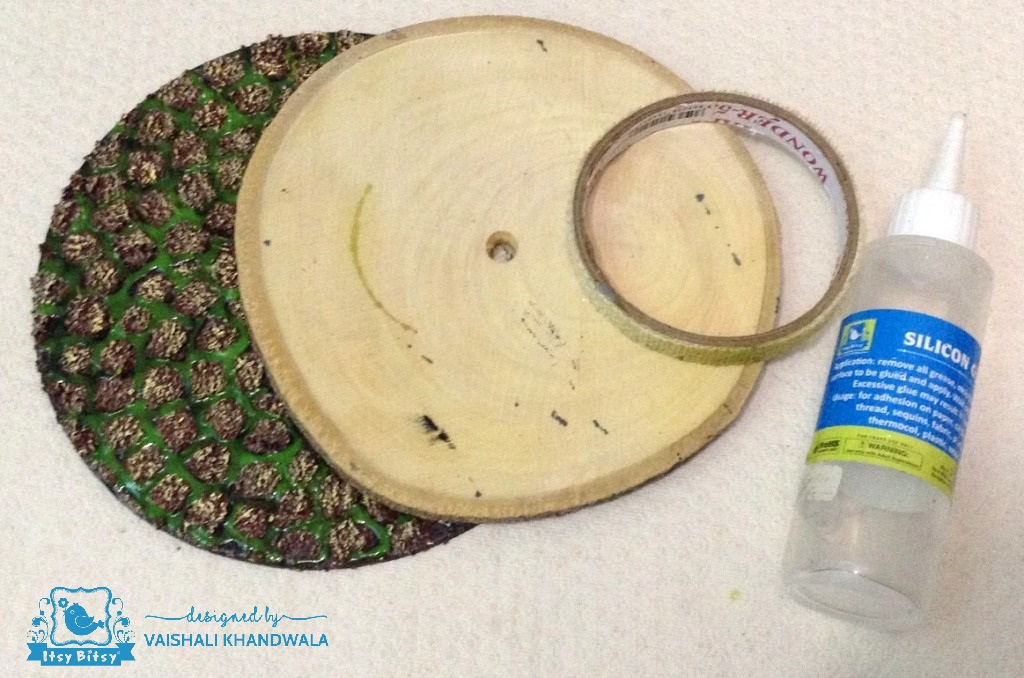
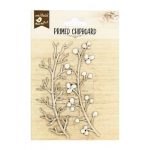
Next adhered the MDF coaster size piece with crackled effect on the tape roll. Also added some chipboard shapes.
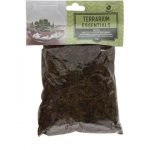
Itsy Bitsy has a great collection of terrarium supplies which are great for mini landscaping. Enjoyed using them here….the dry natural moss and mini stones are amazing! Again, I have used silicon glue to adhere it all. Silicon glue is just fantastic. Sticks all types of materials in a jiffy!
Finally placed the watering can. During my last holiday trip before the monsoons, I saw large patches of barren land, with cracks developed on them. Mother Earth seemed to be waiting for the rains to nourish and nurture it again. Have tried to express the same through in this creation.
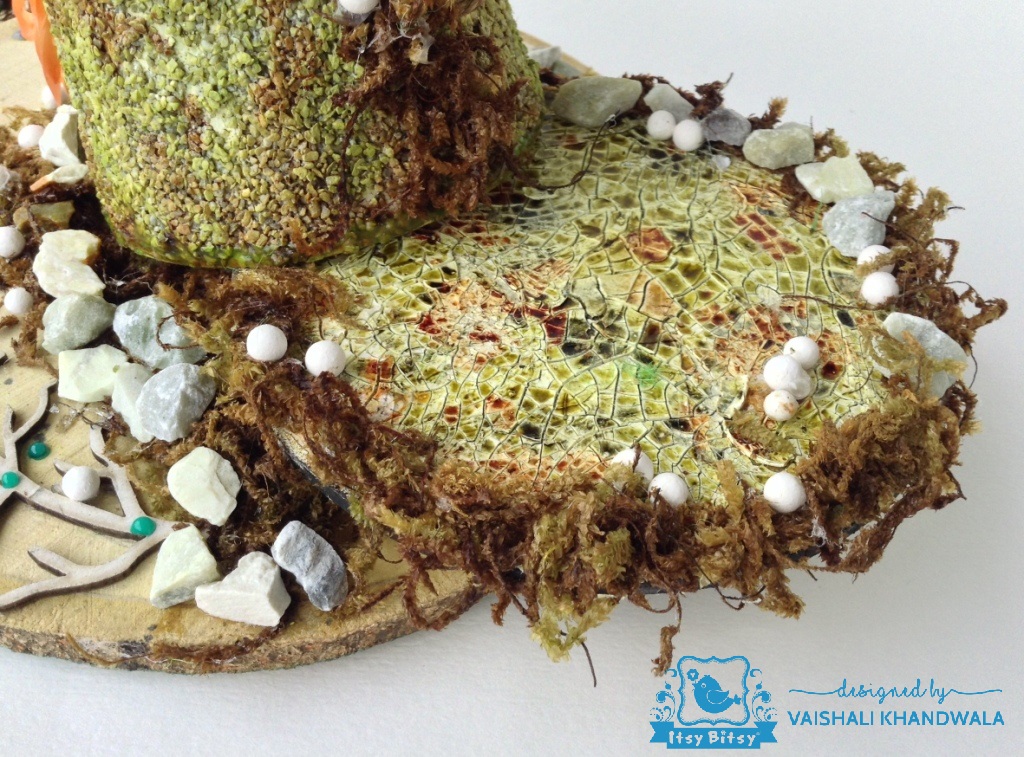 The dry cracked patches waiting for nature’s showers.
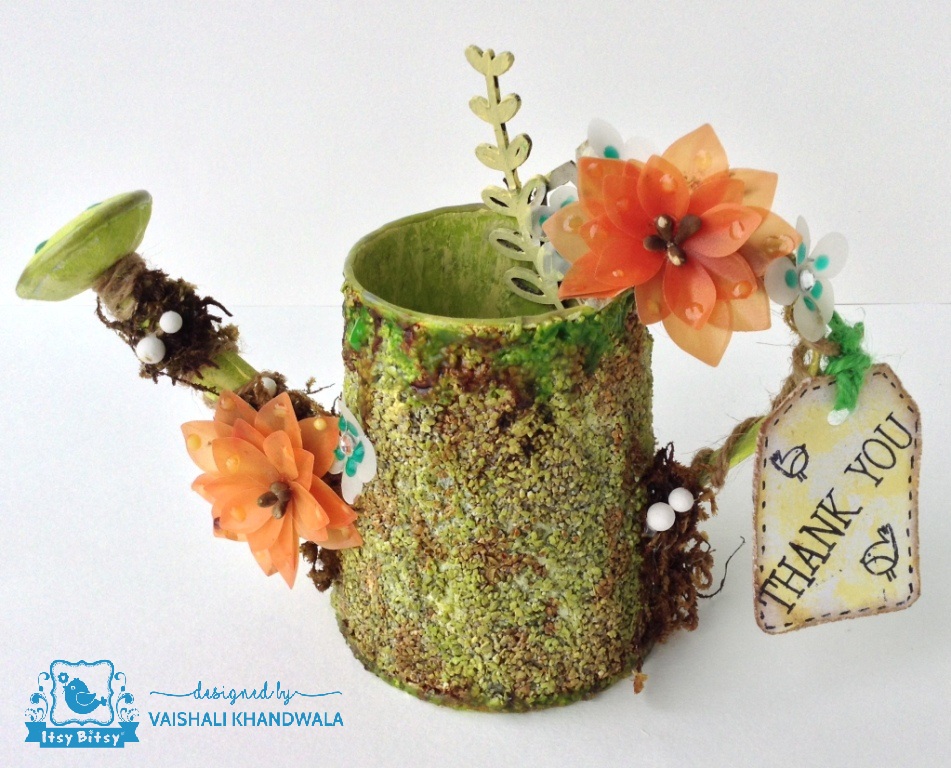
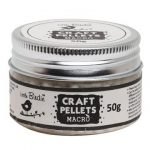
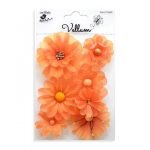
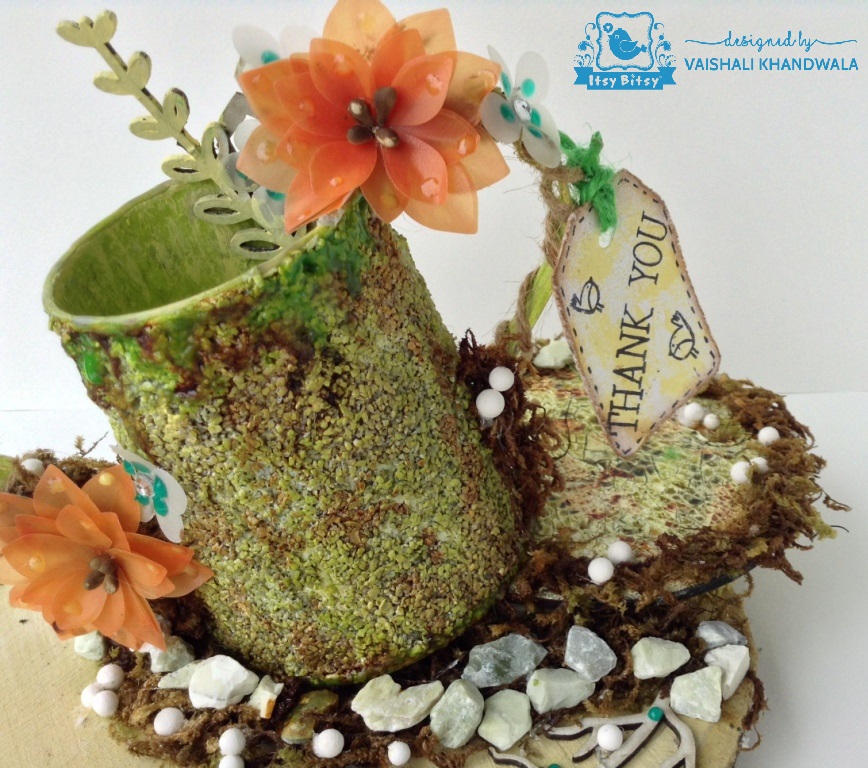
The watering can is embellished with chipboards, gorgeous vellum flowers, natural dry moss and Little Birdie Macro Craft Pellets. It represents the source of water. Thank you for nourishing us and providing the life source….
The growth of greens and blossoming of flowers on Mother Earth after the rains. A new life, a new beginning …..
The final look of the creation.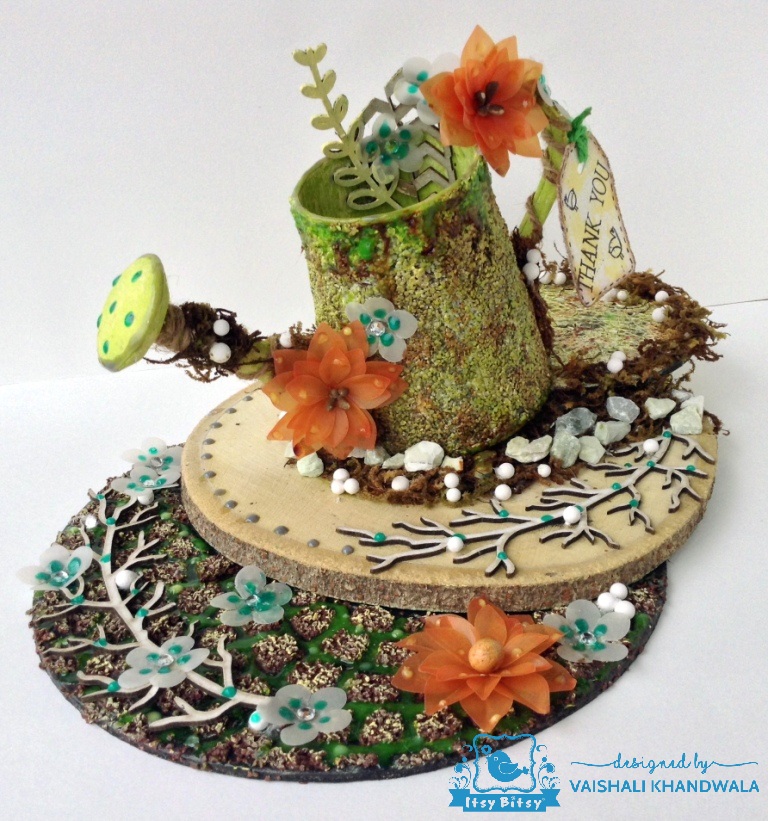
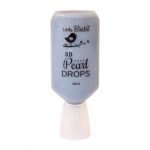
Have used Pearl Drops to depict the rain drop effect and as an embellishment too.
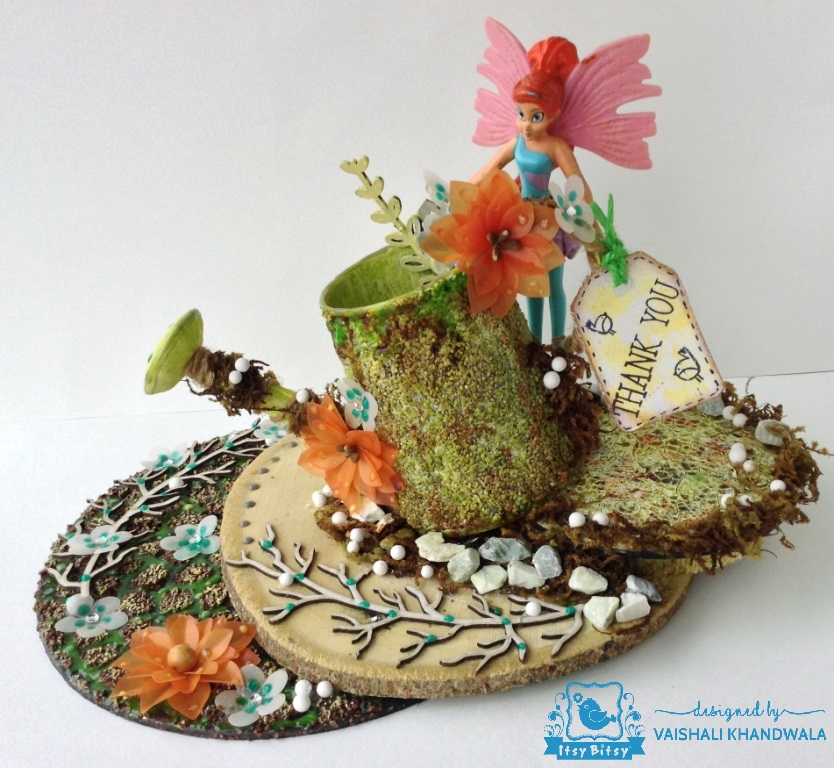
Another view- Tied a tag to the handle of the watering can and stamped the sentiment, ‘Thank You’, and birds on the tag, using black archival ink and clear stamp. 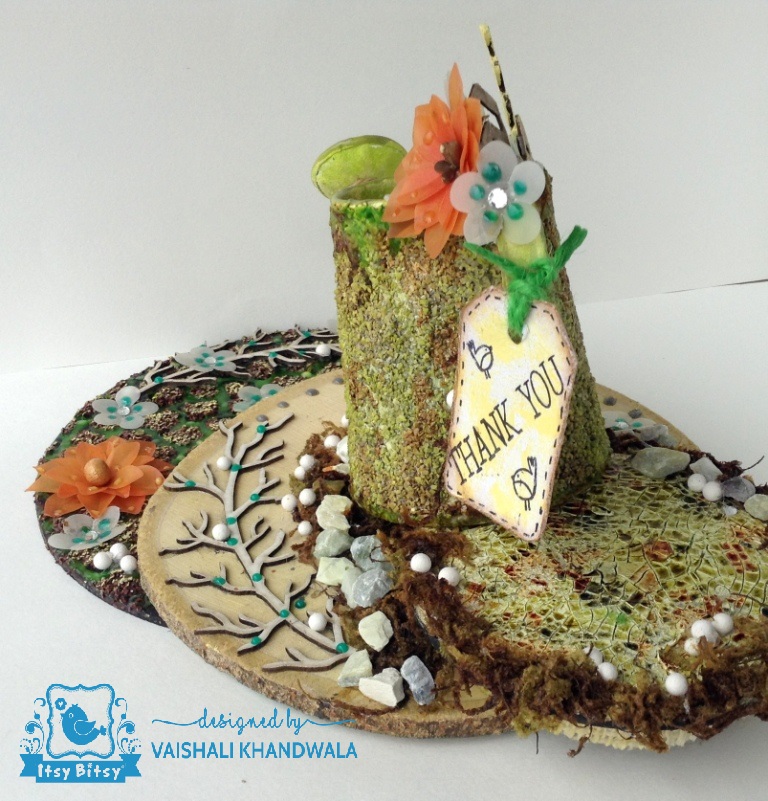
My daughter said its the fairy who spreads the magic around, have a look at her addition to the decor piece-
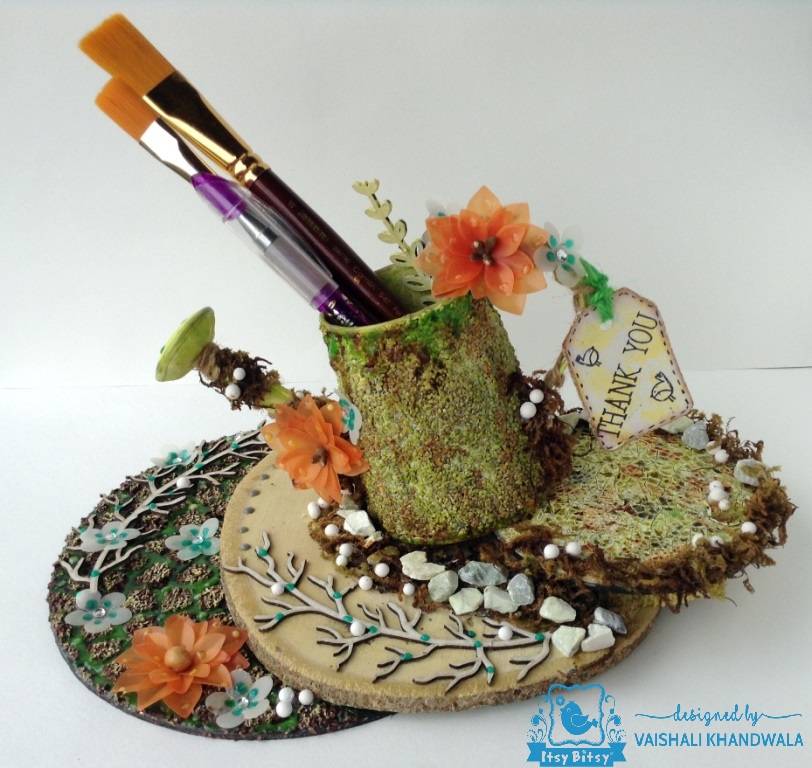
As you all know, I love to create utility products, so here it is –
Thank you so much everyone for being with me till the end of this post and always.
Hope you liked my decor creation. Craft is a beautiful form of expression for each one of us and so I always say….Create, Express, Enjoy !!!
Happy Crafting.
Vaishali Khandwala.
List of materials used-